Modeling & Materials

Weekly Design Challenge Template

Elaine Li


Module 1


Design Challenge 1
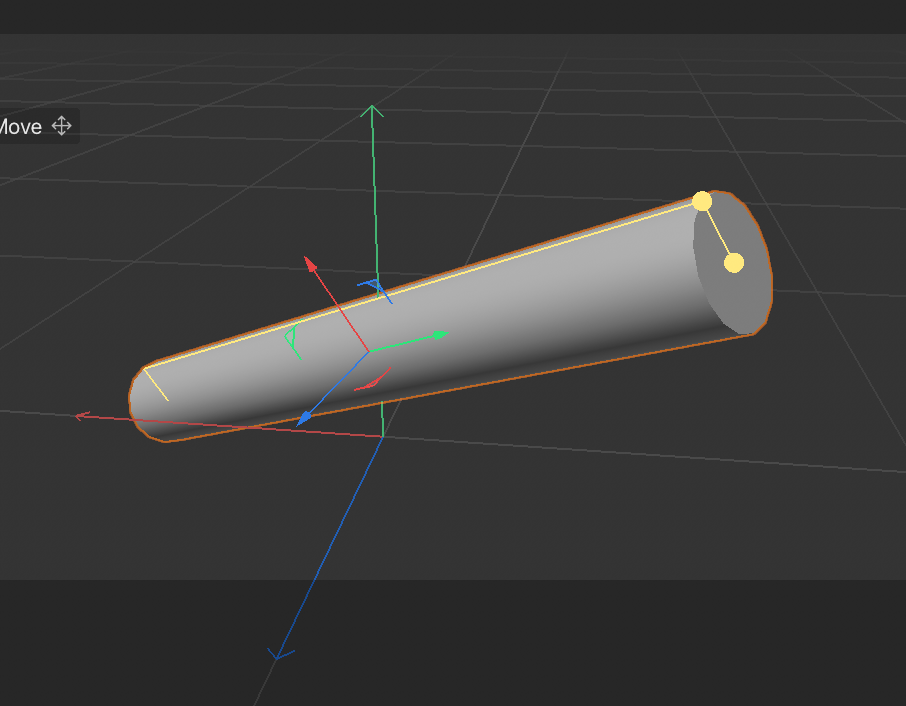
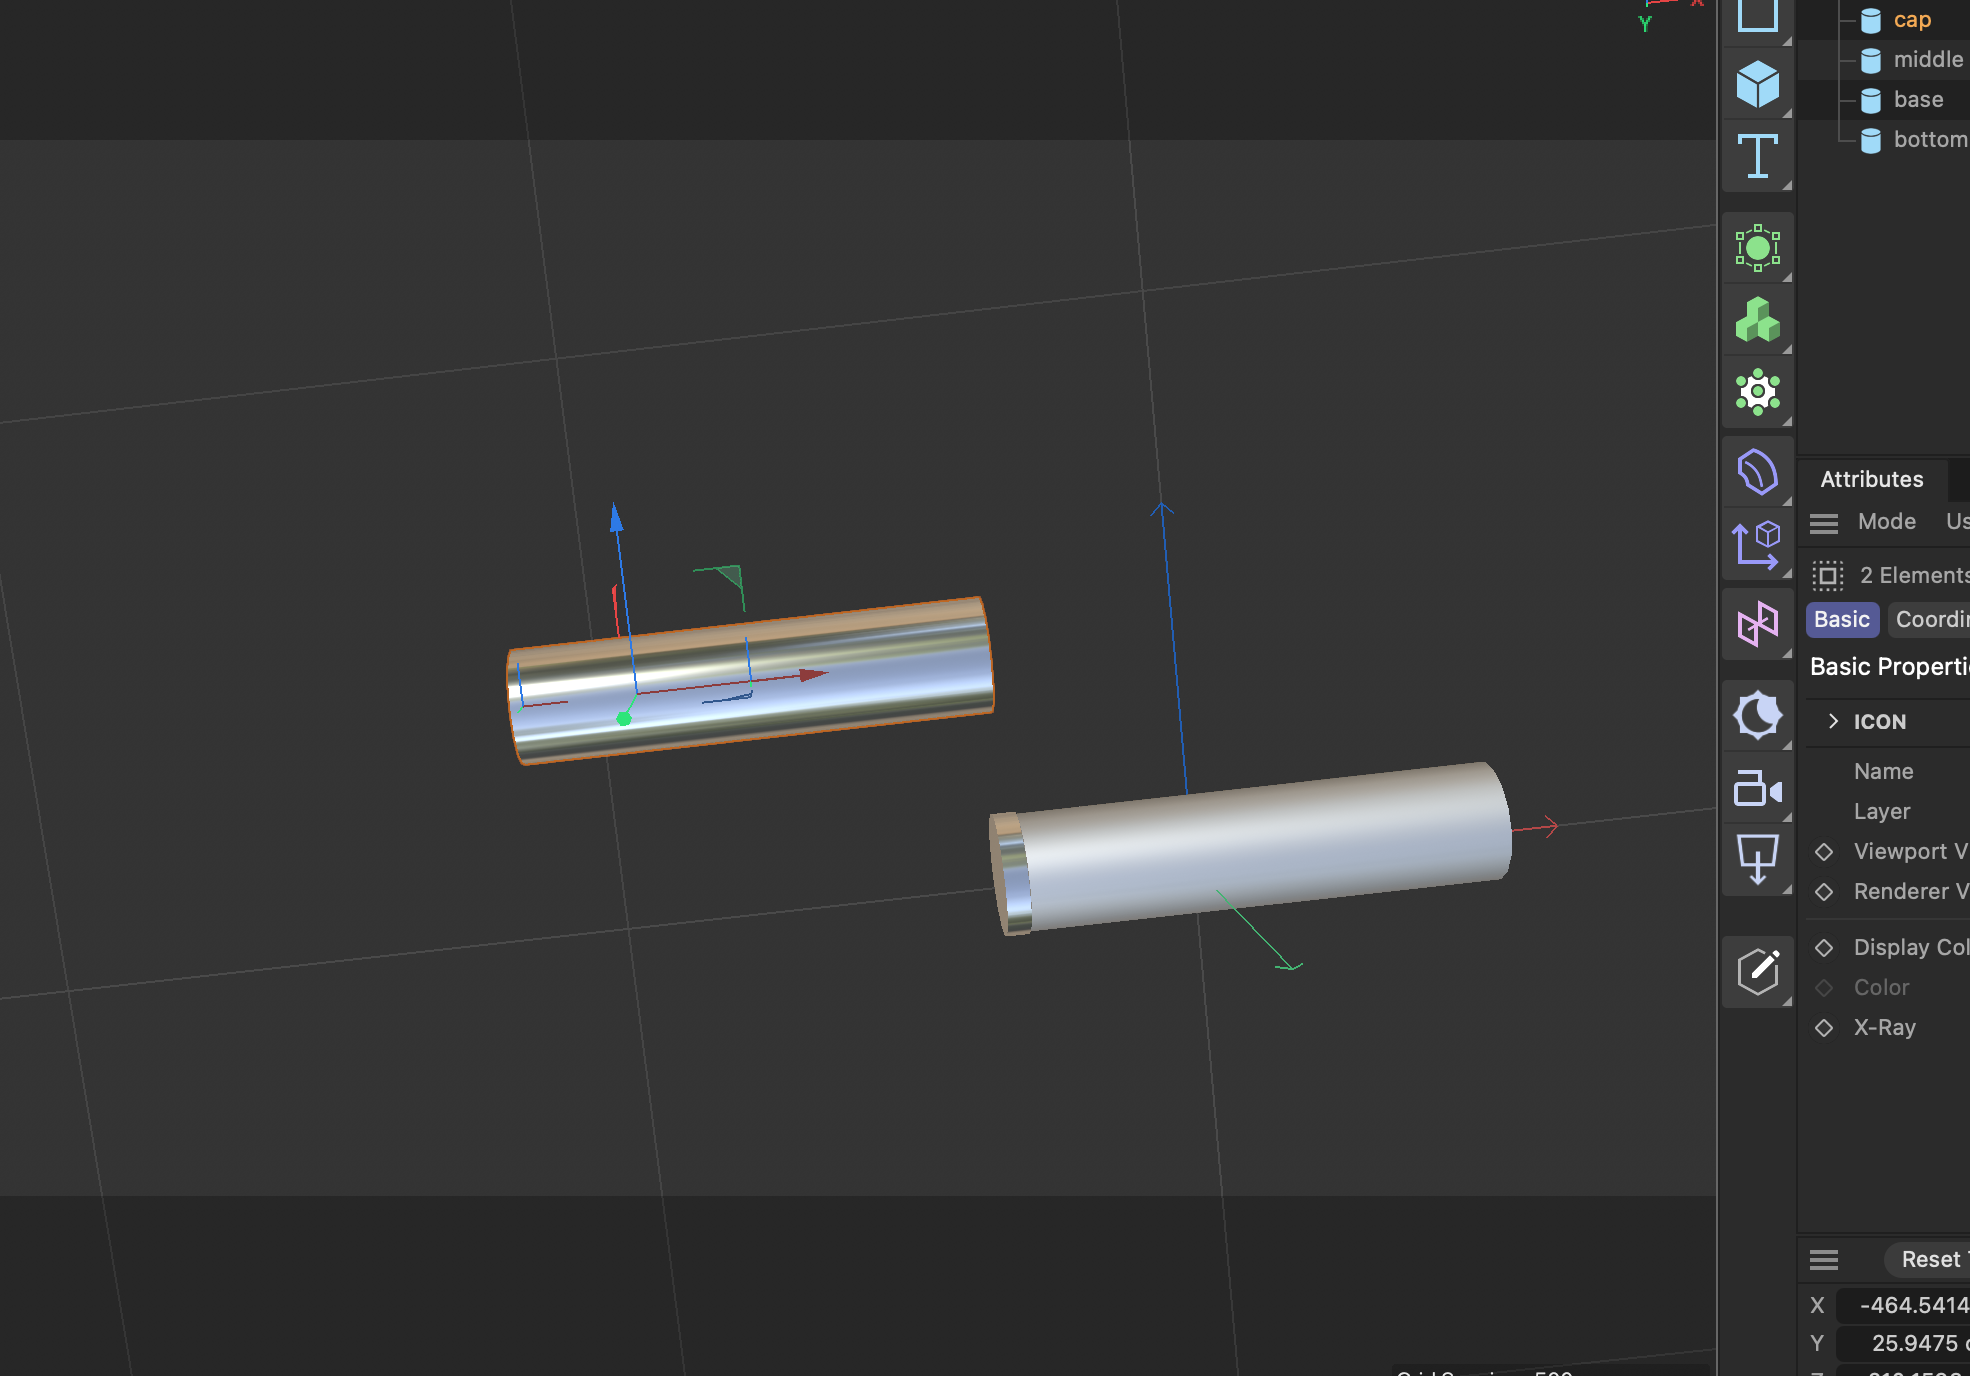
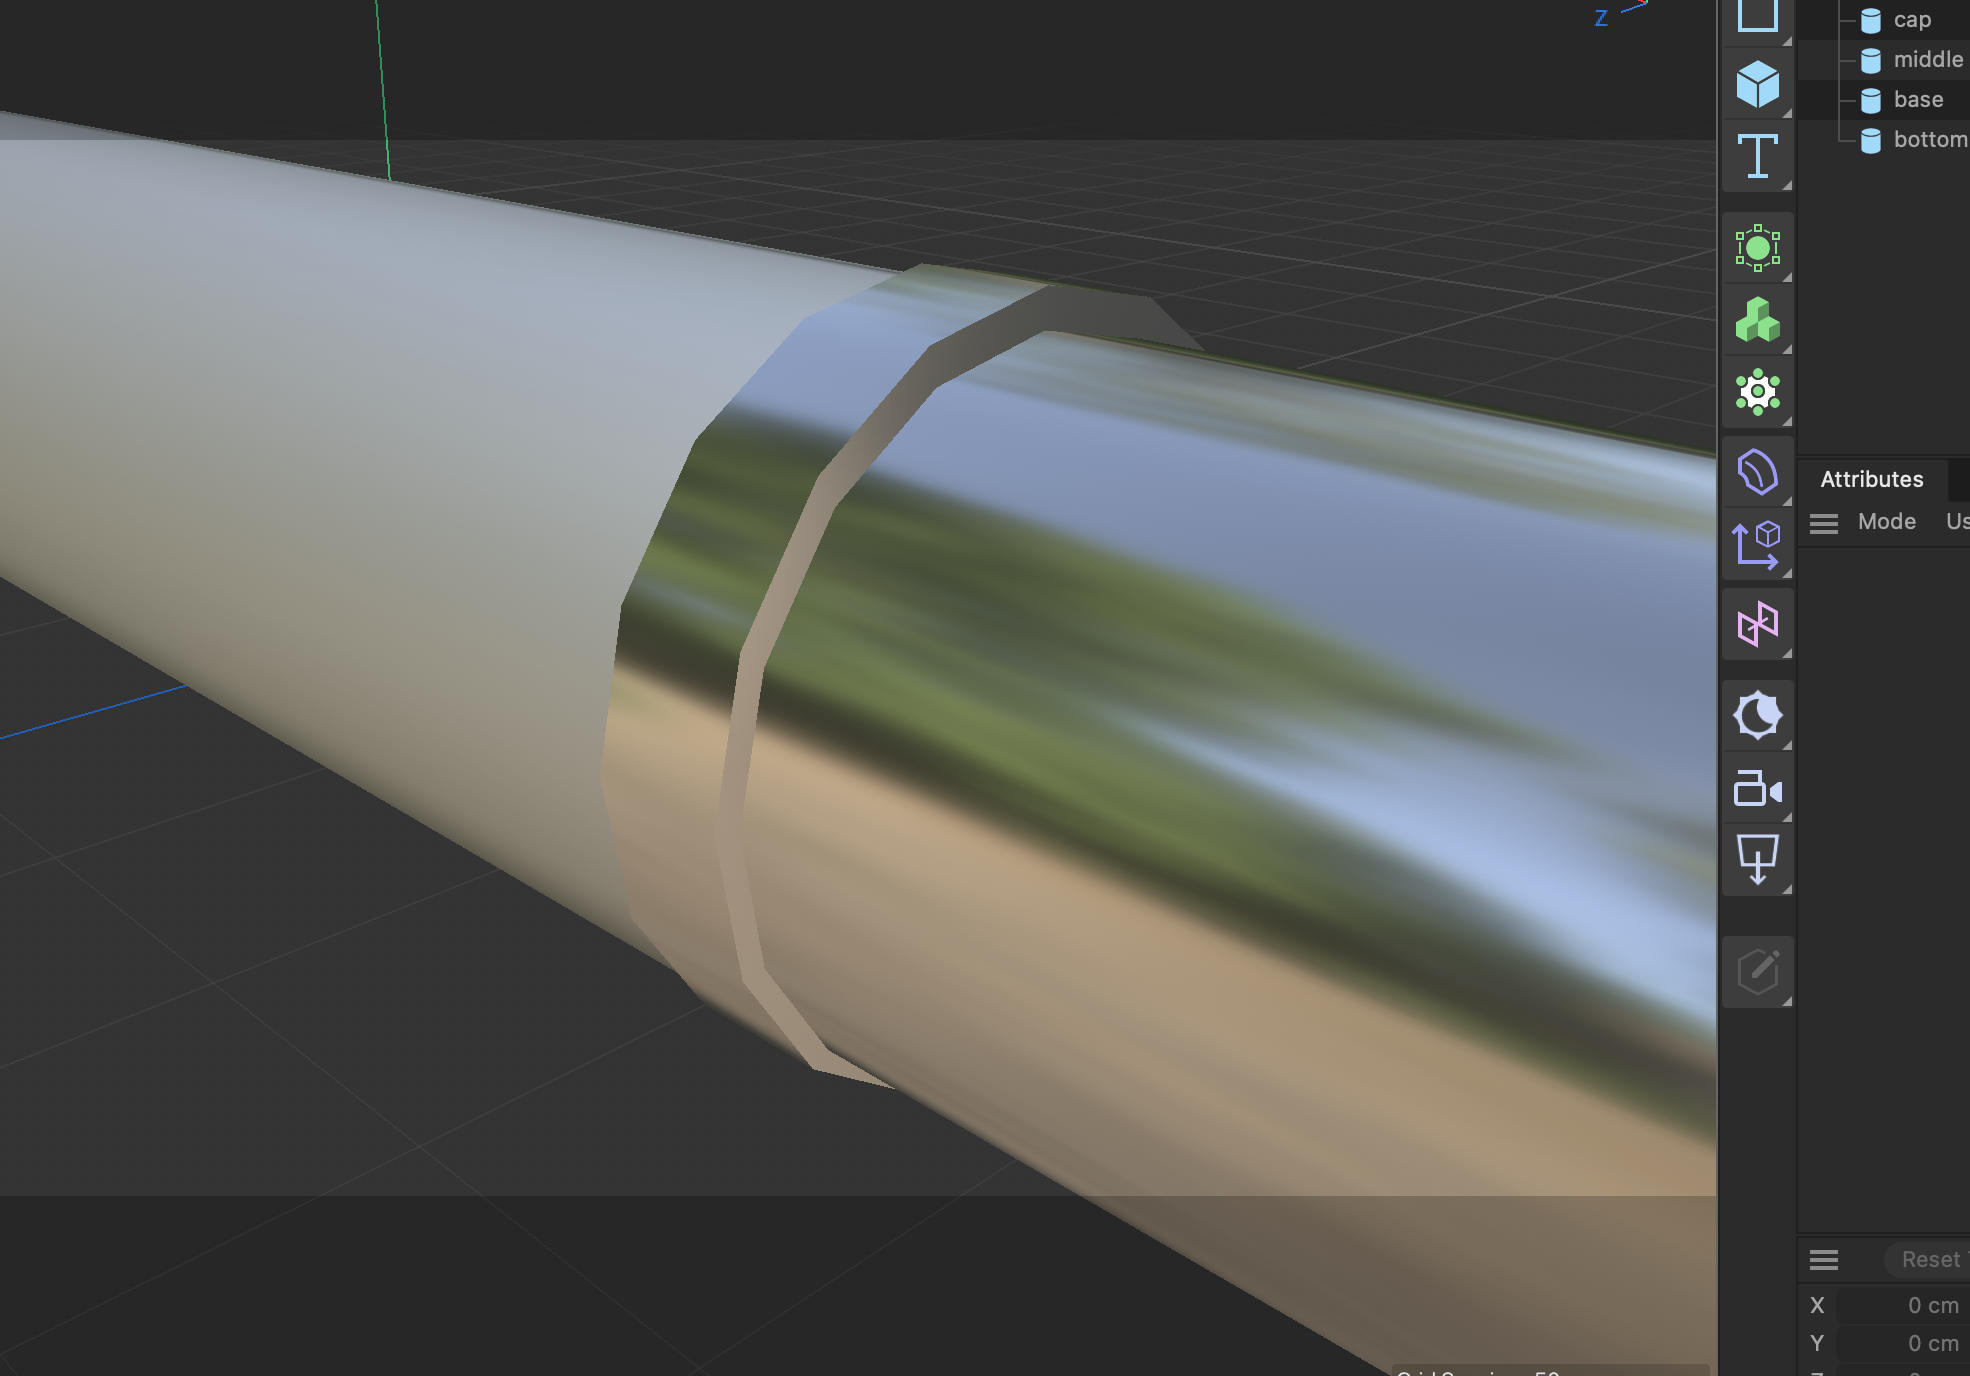
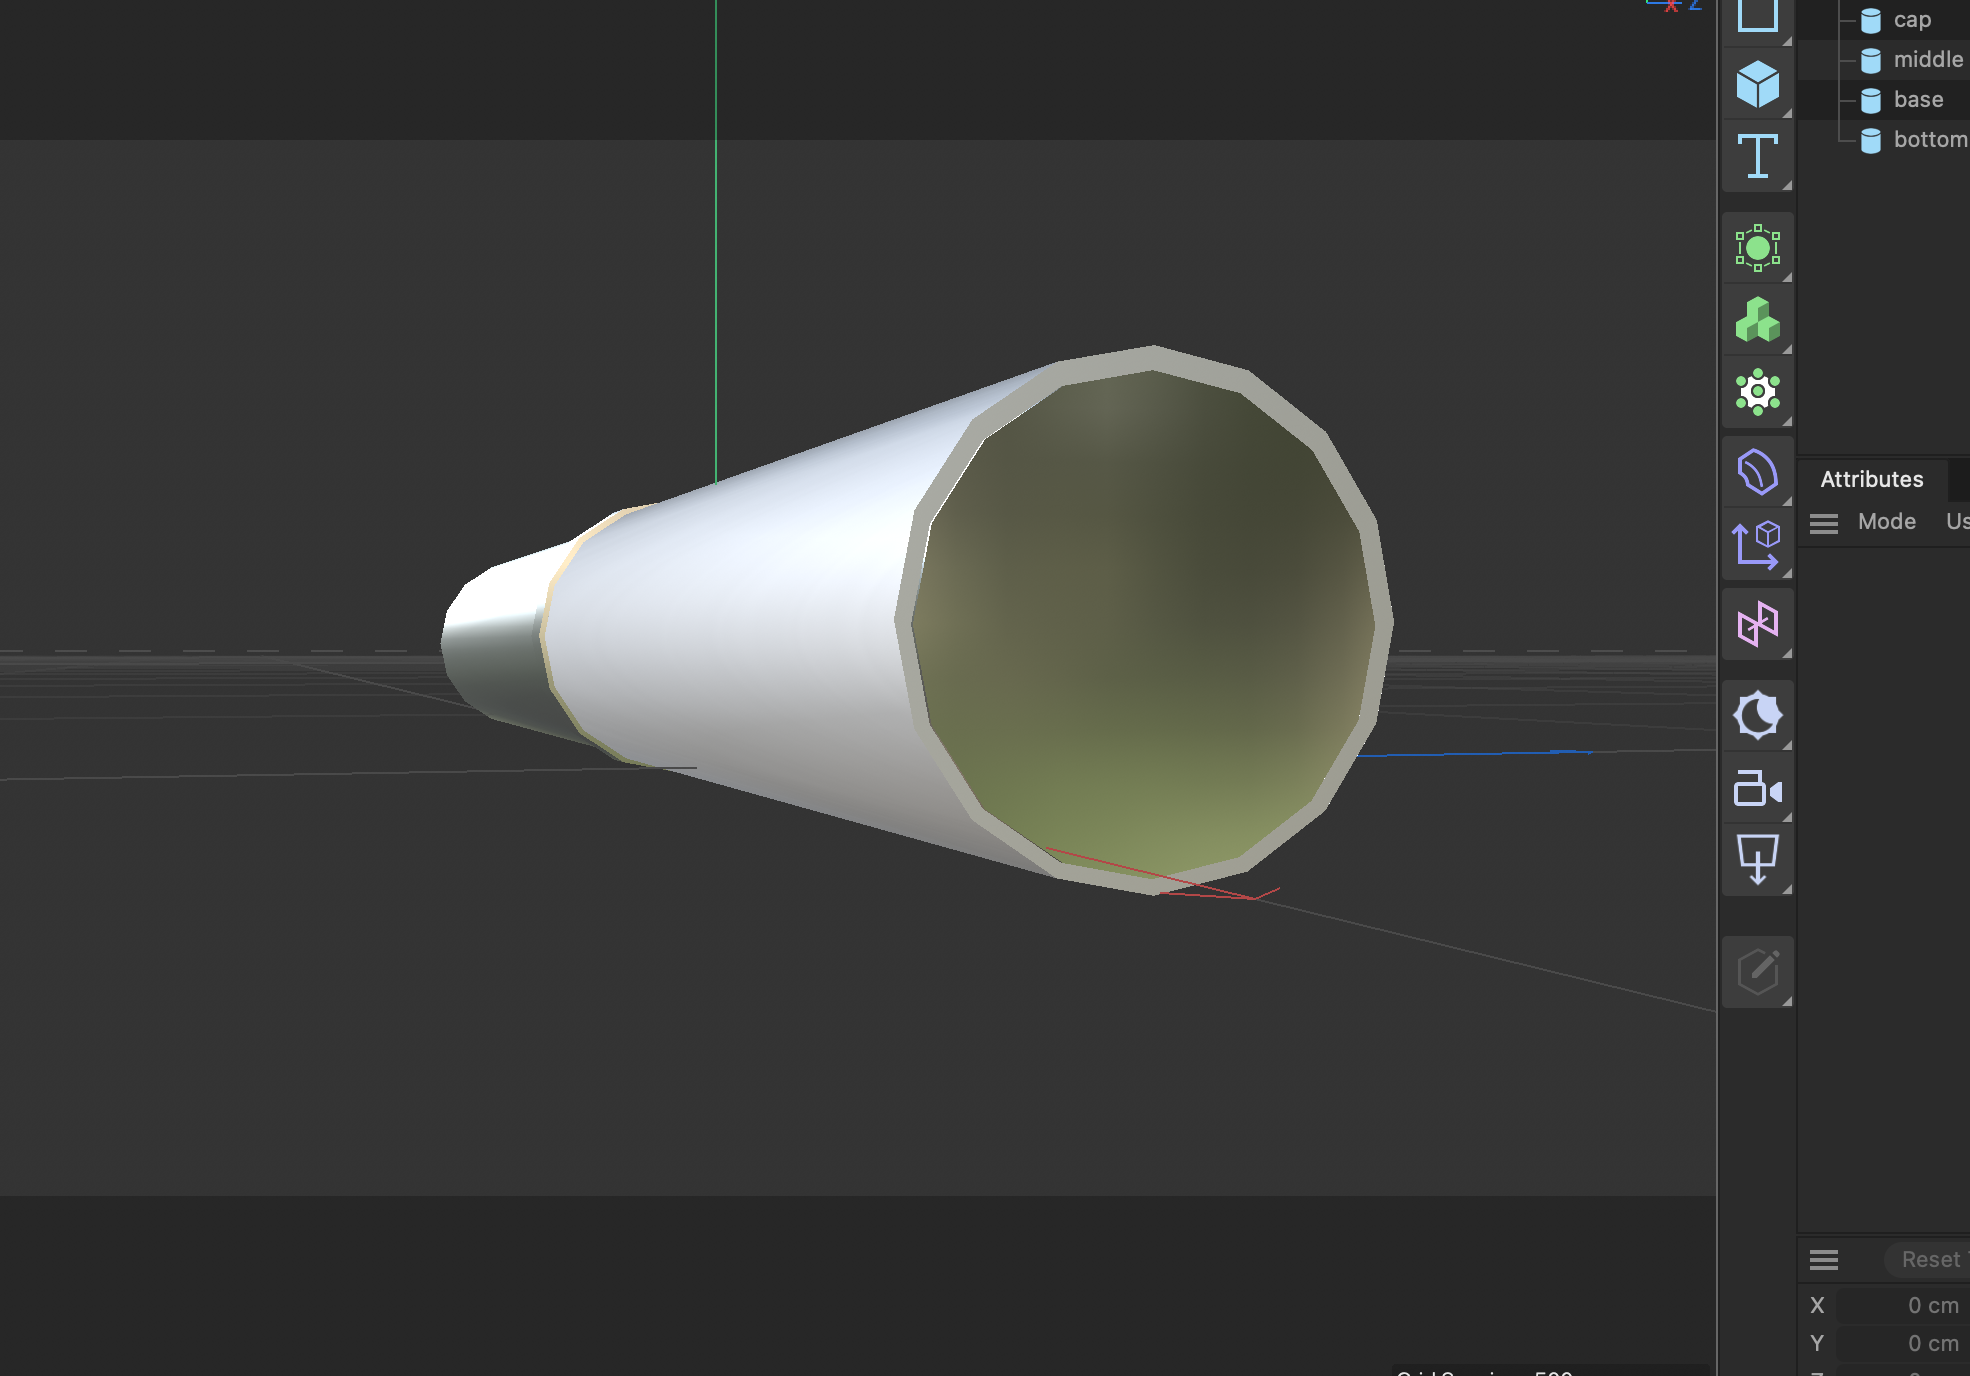
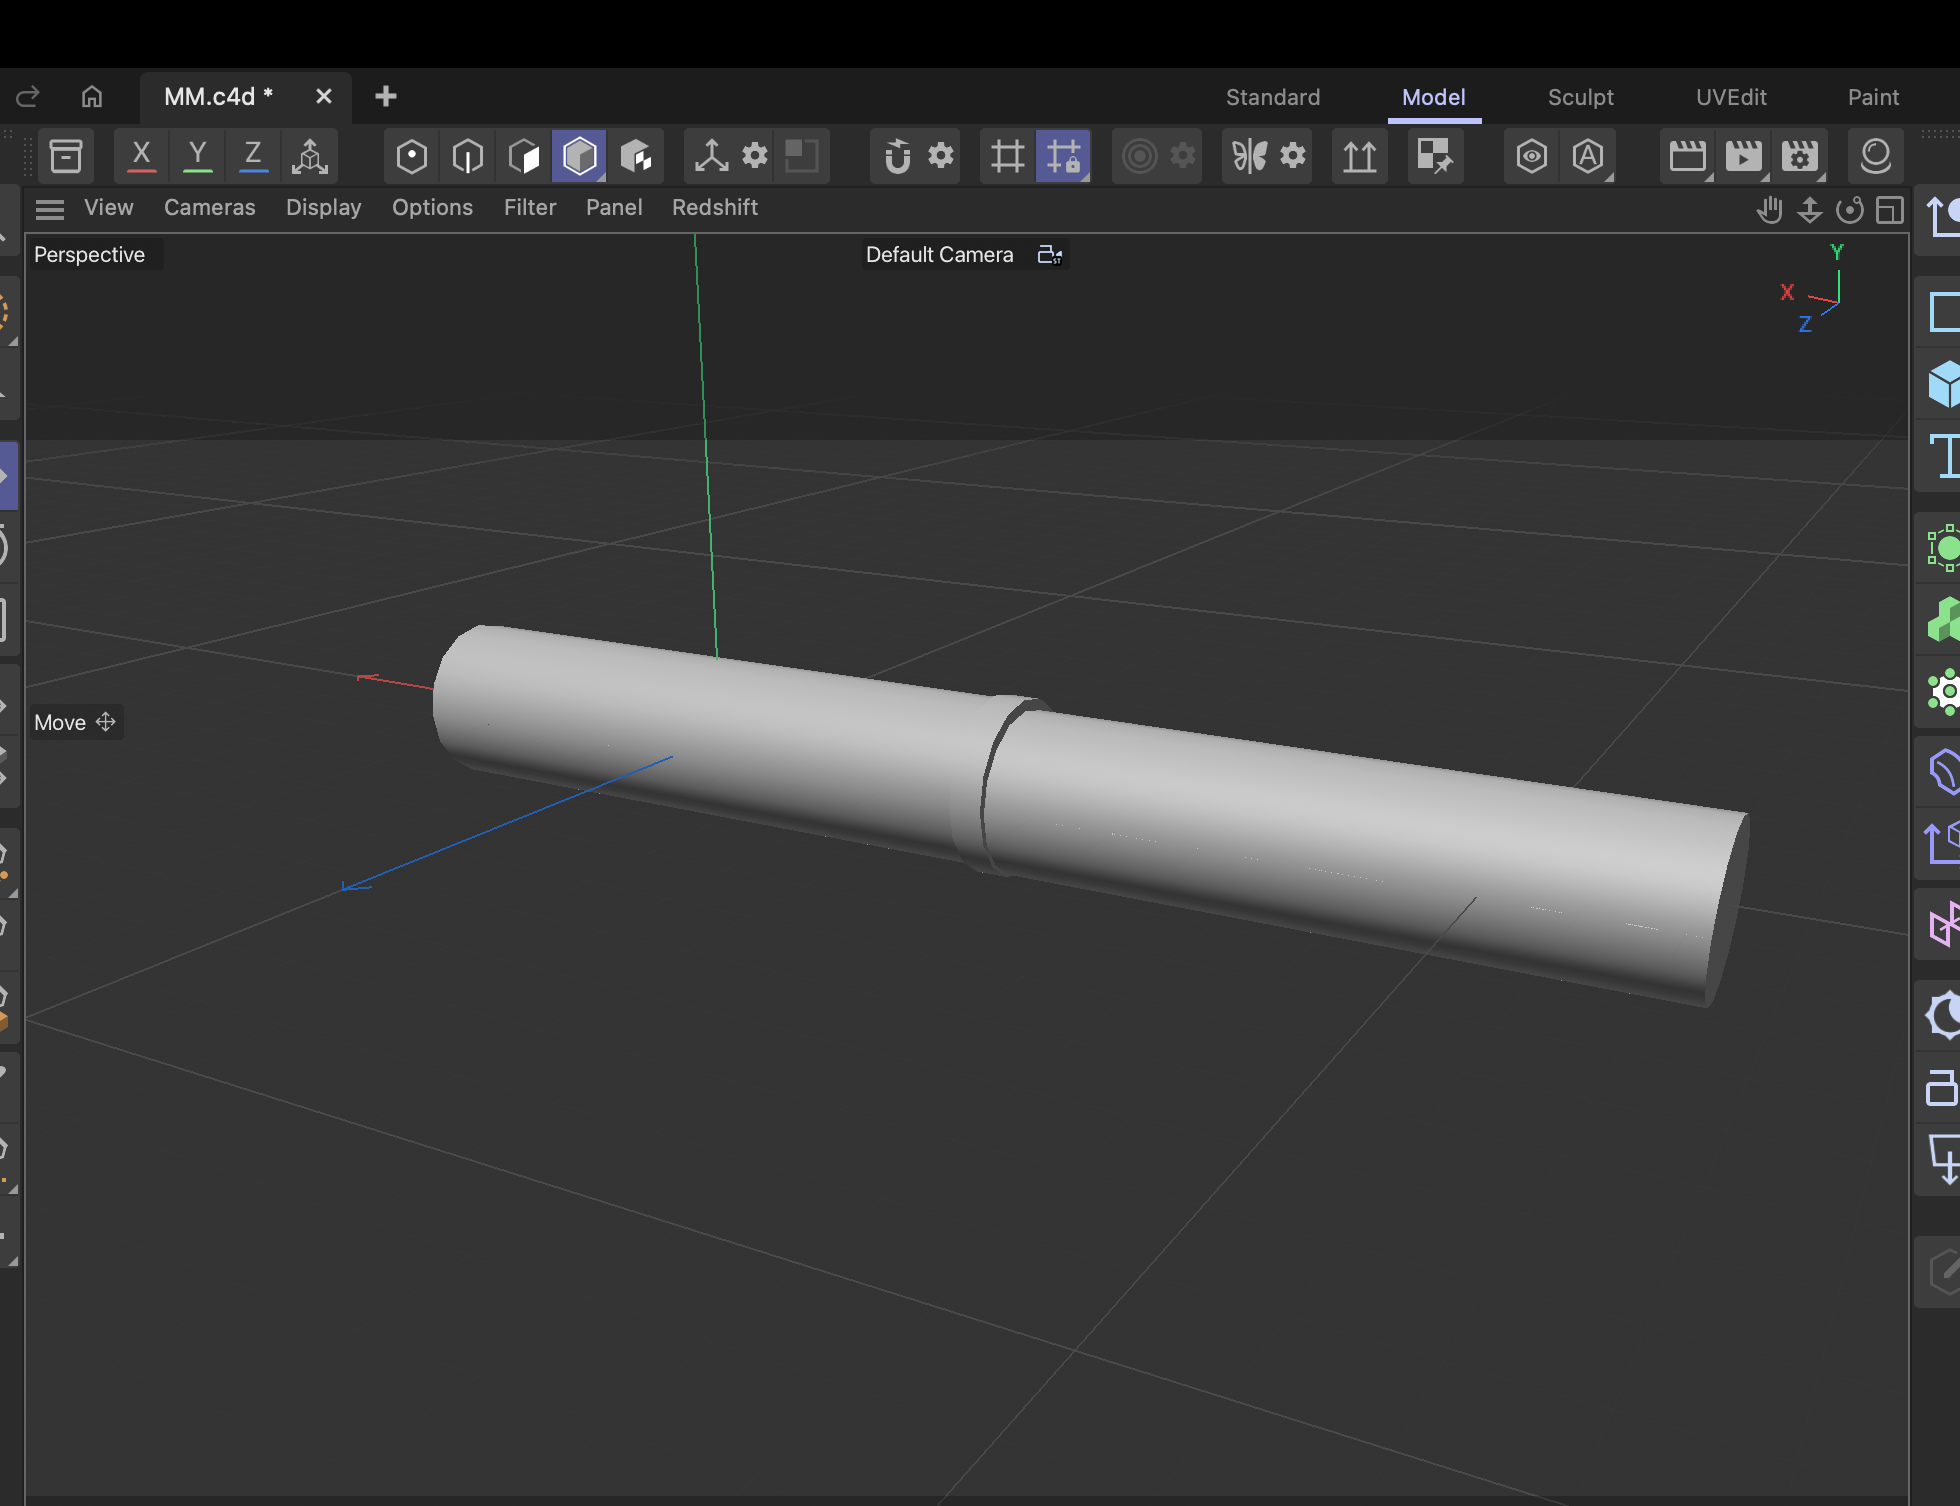
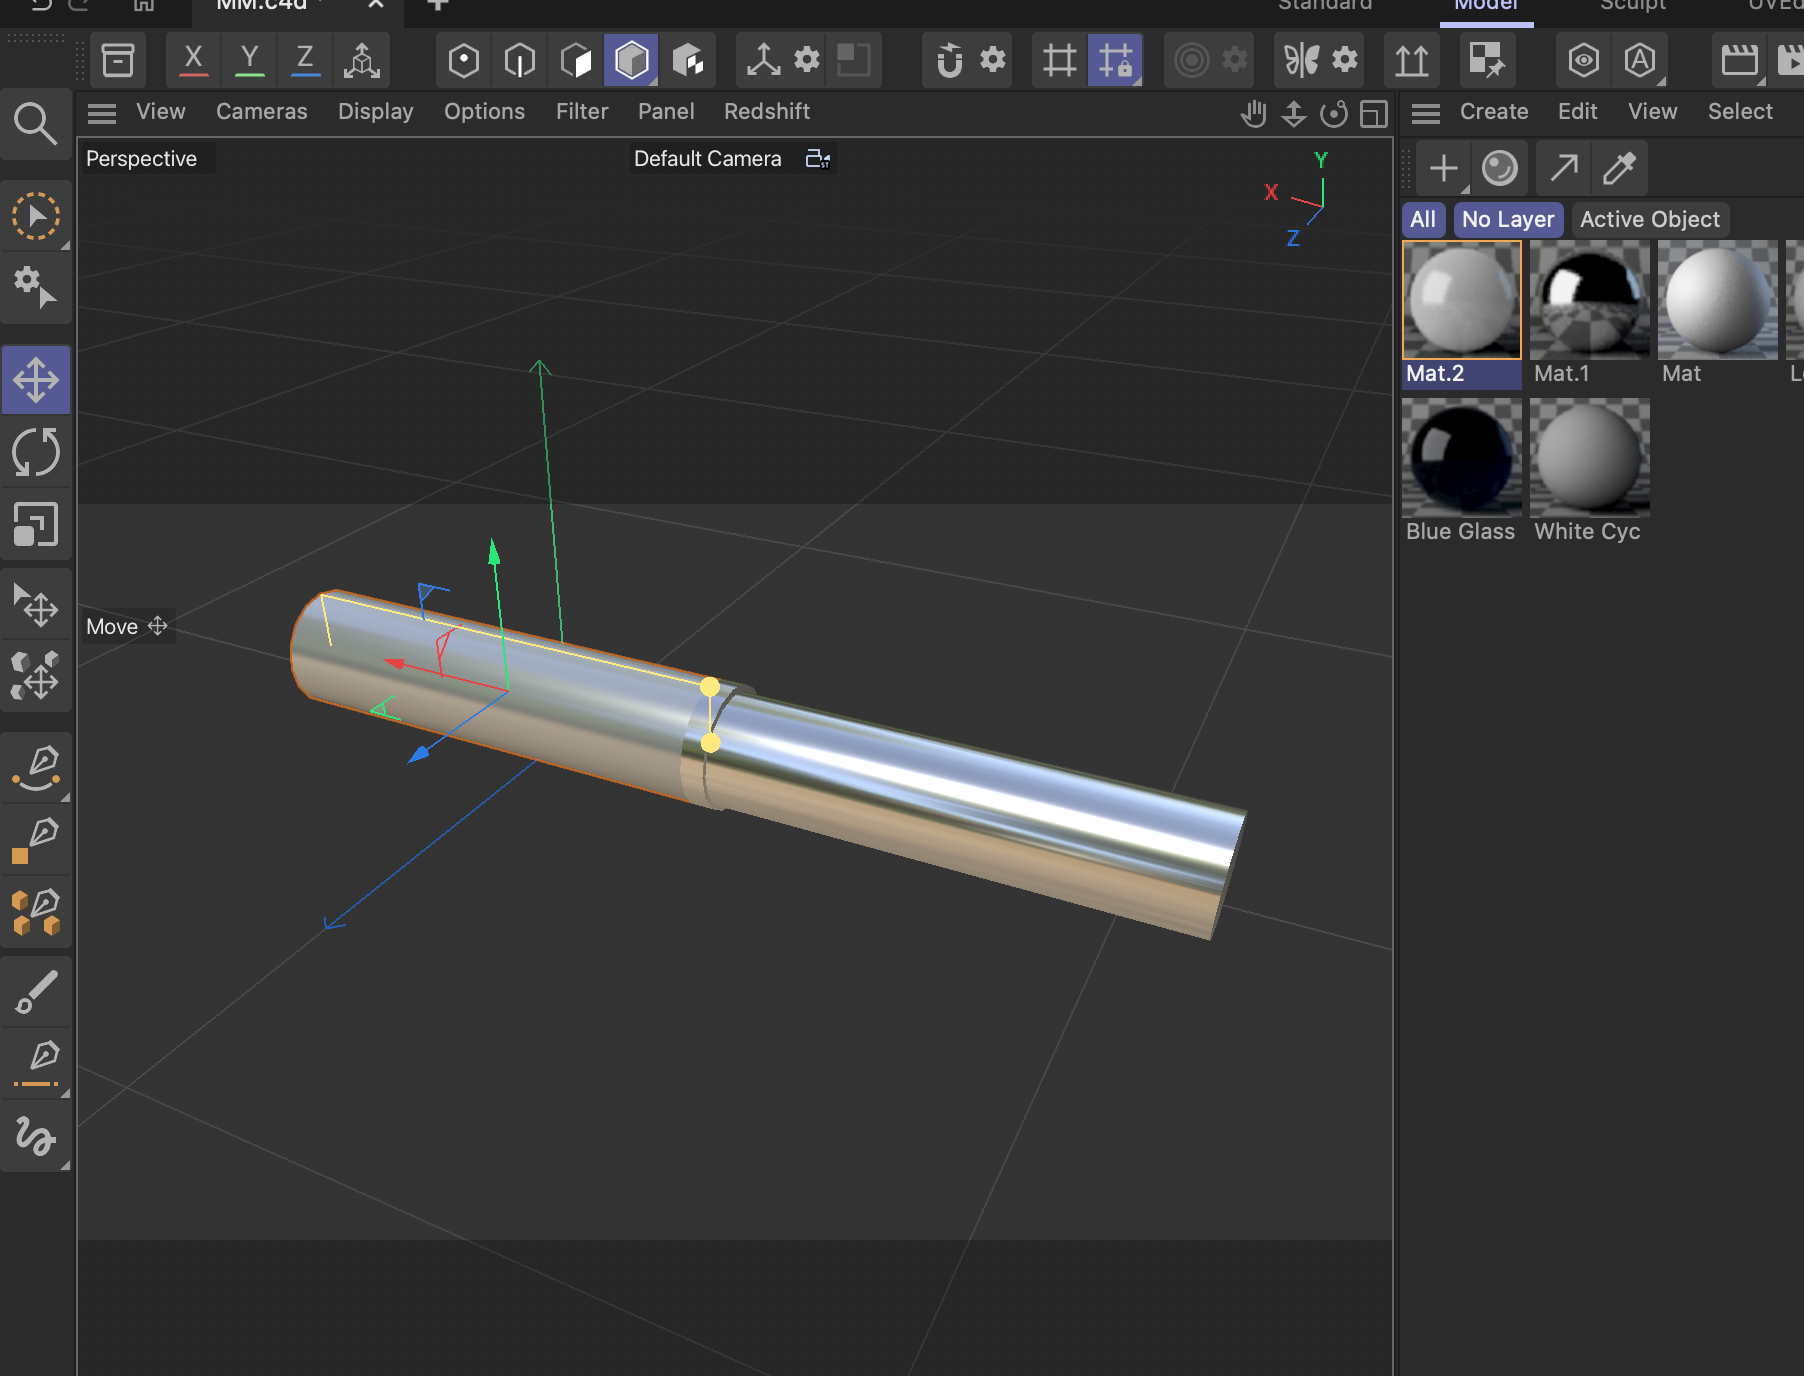
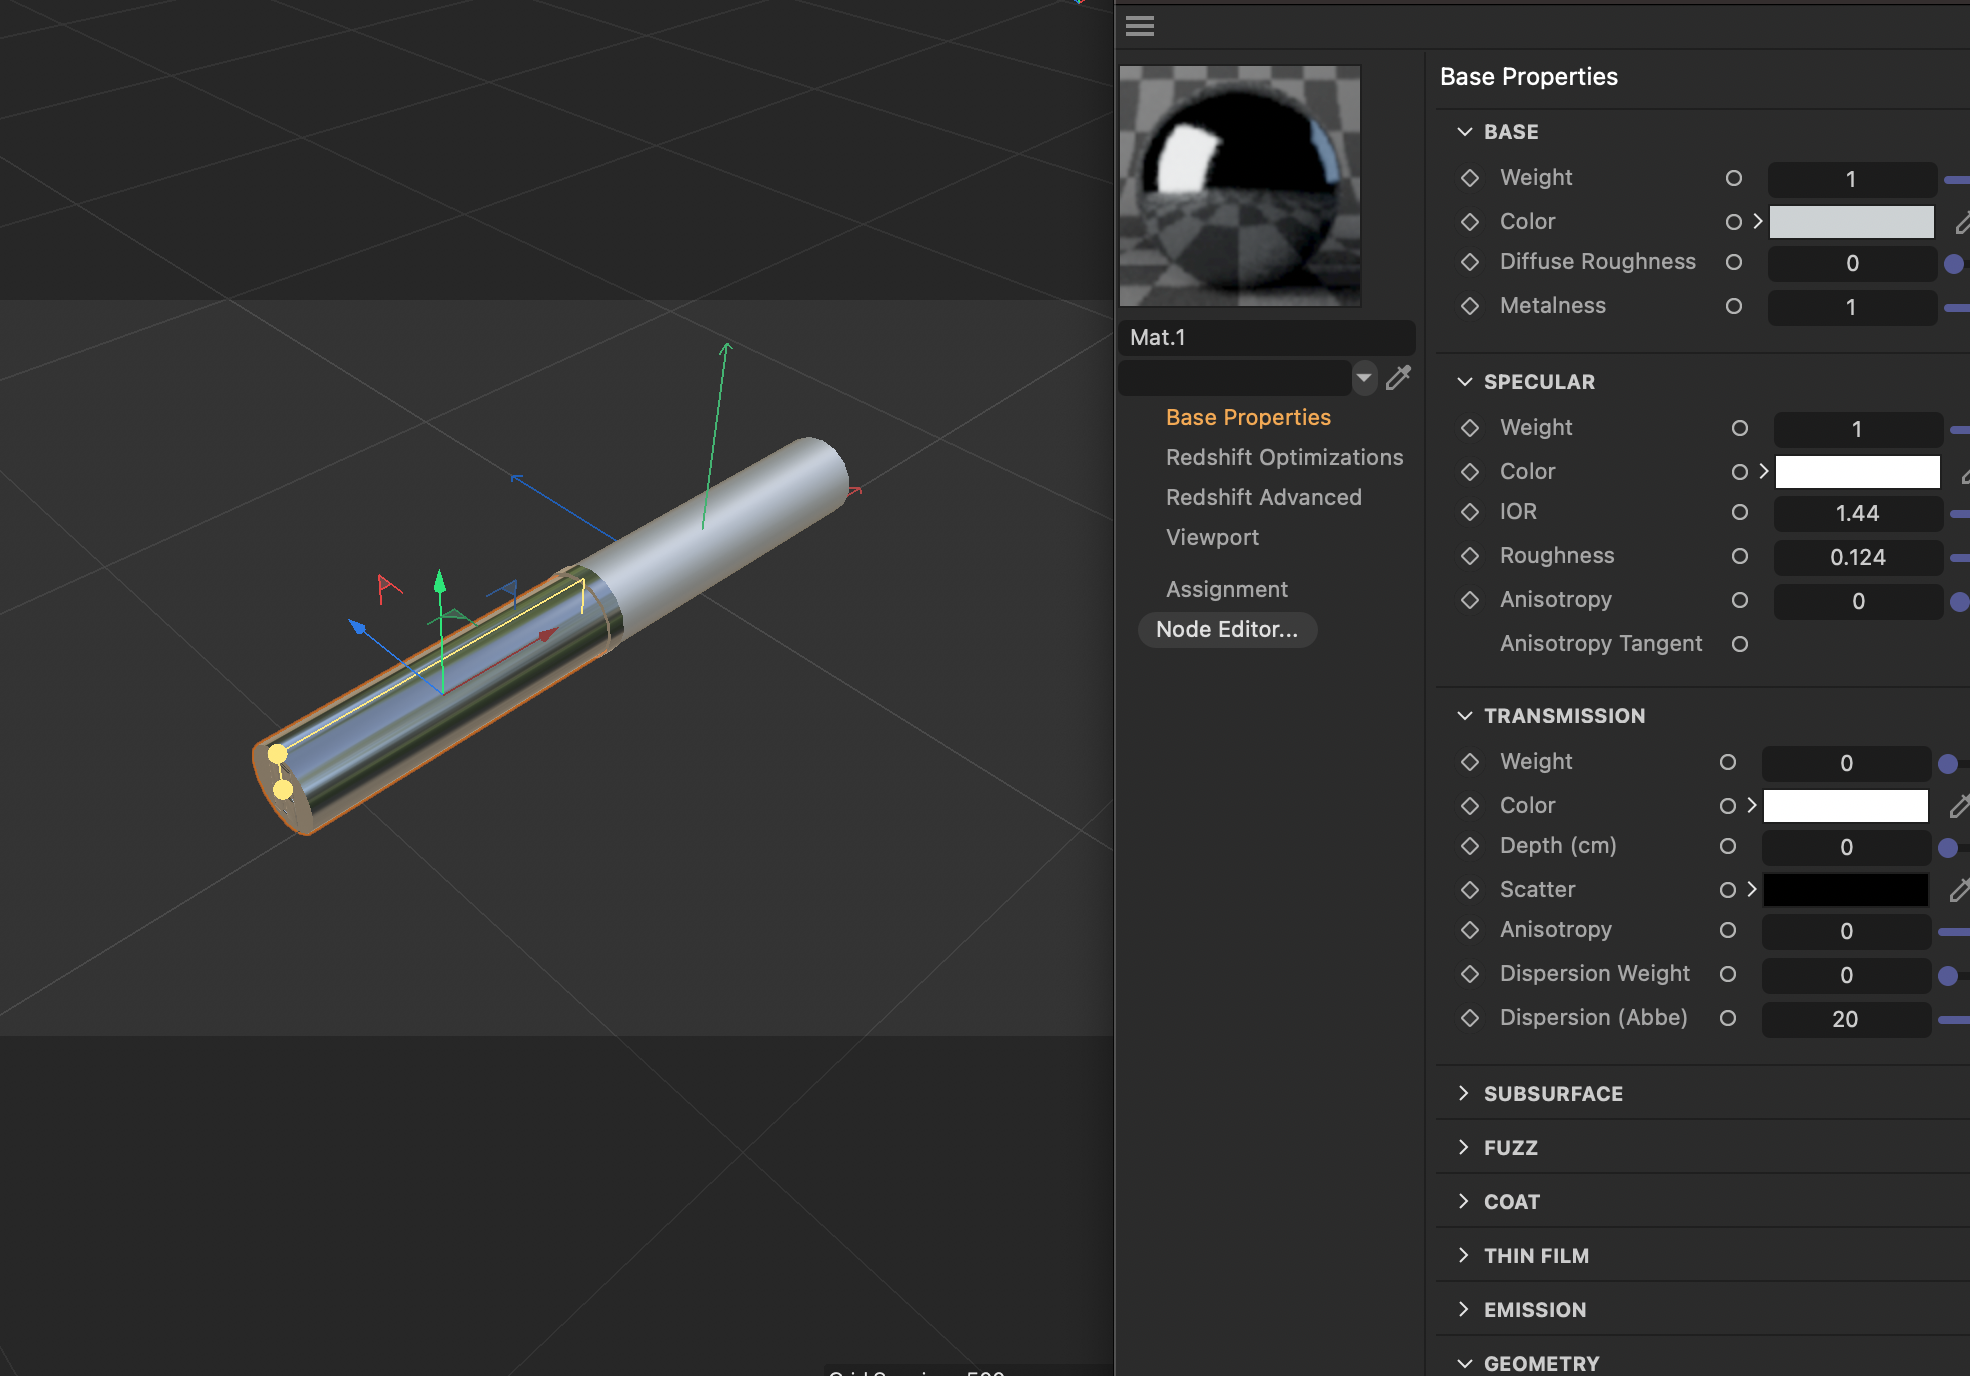
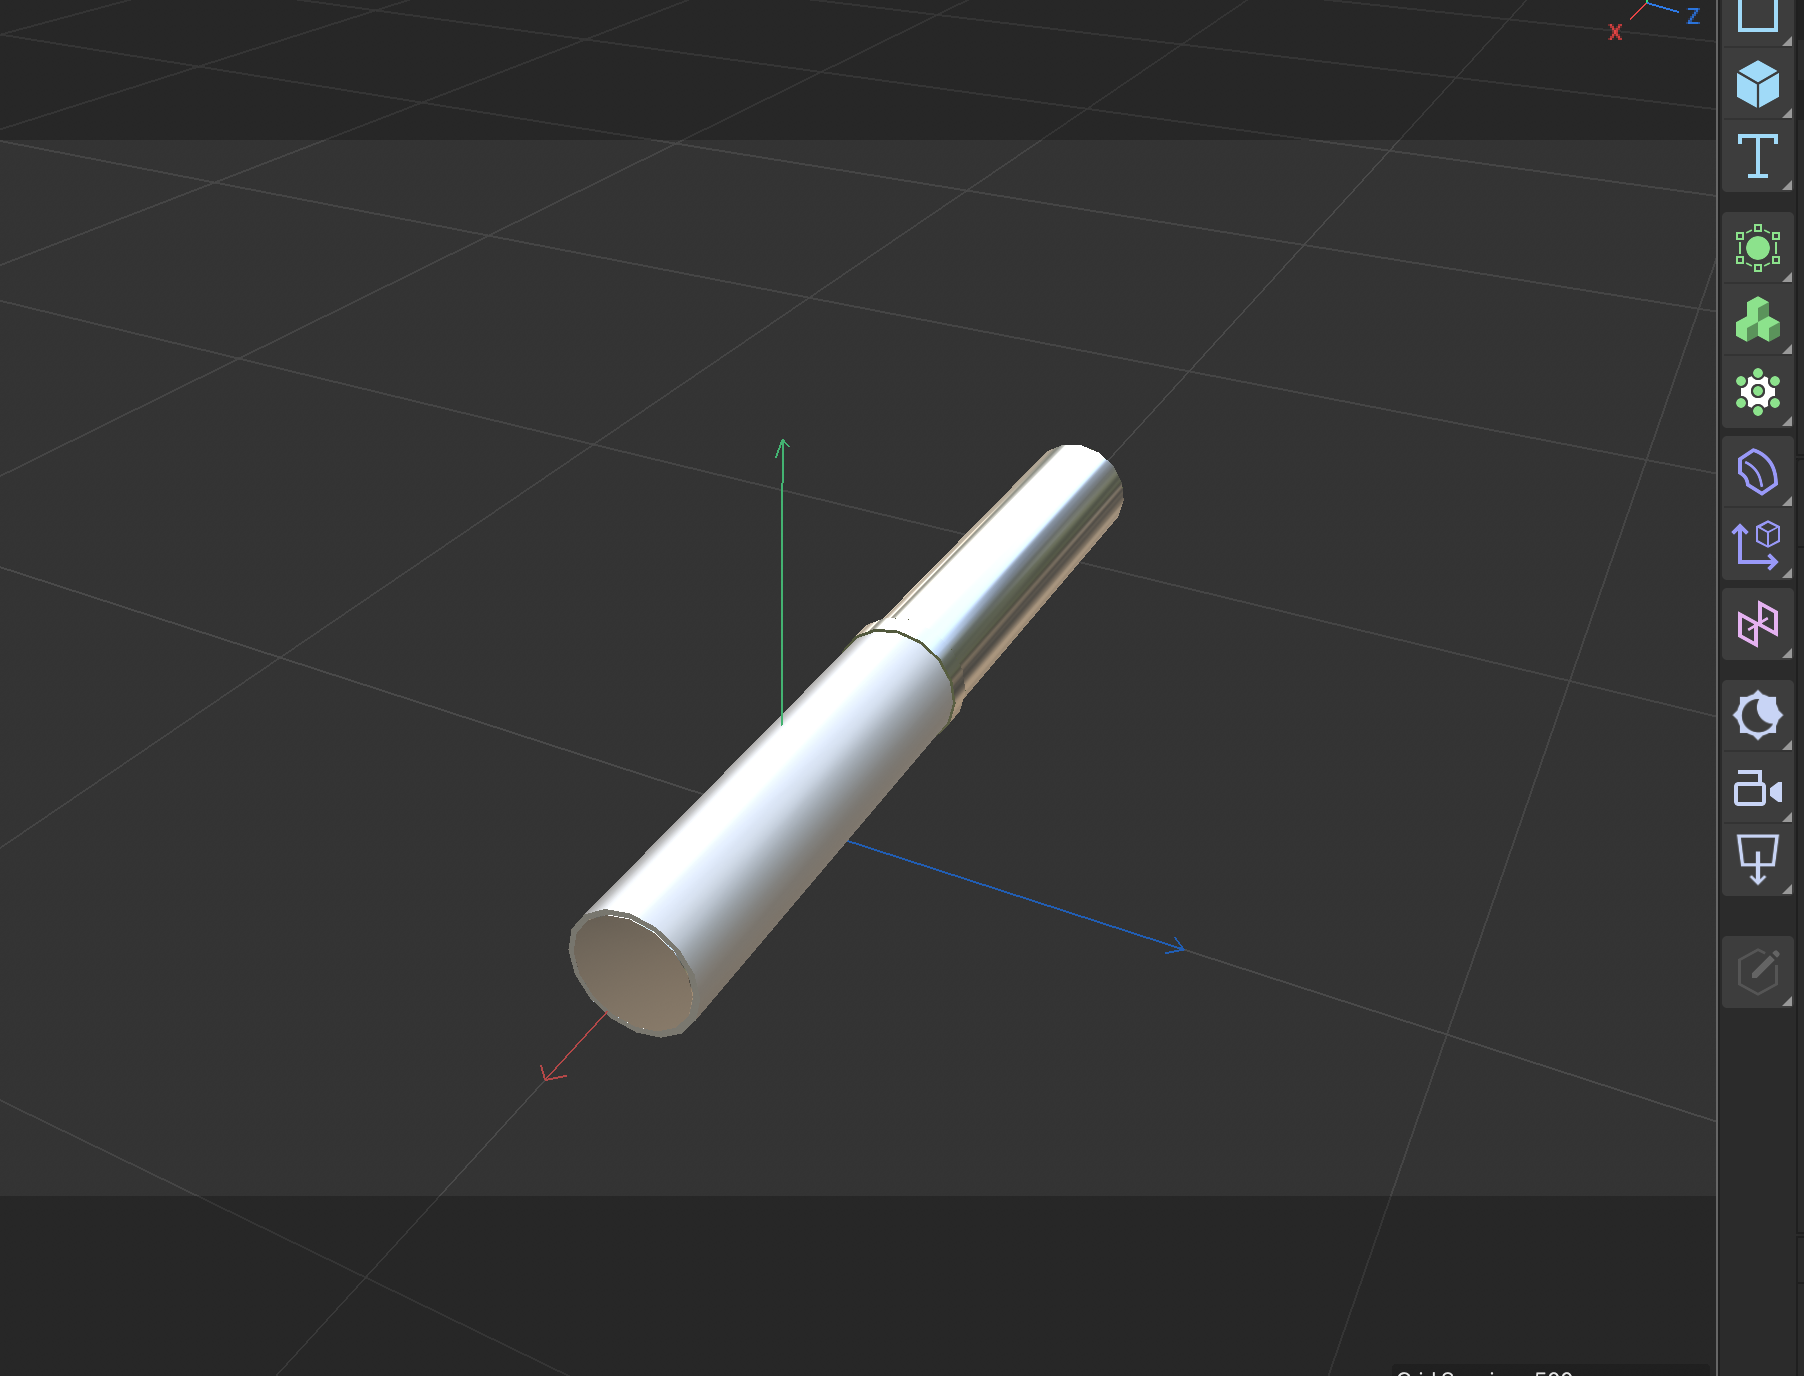
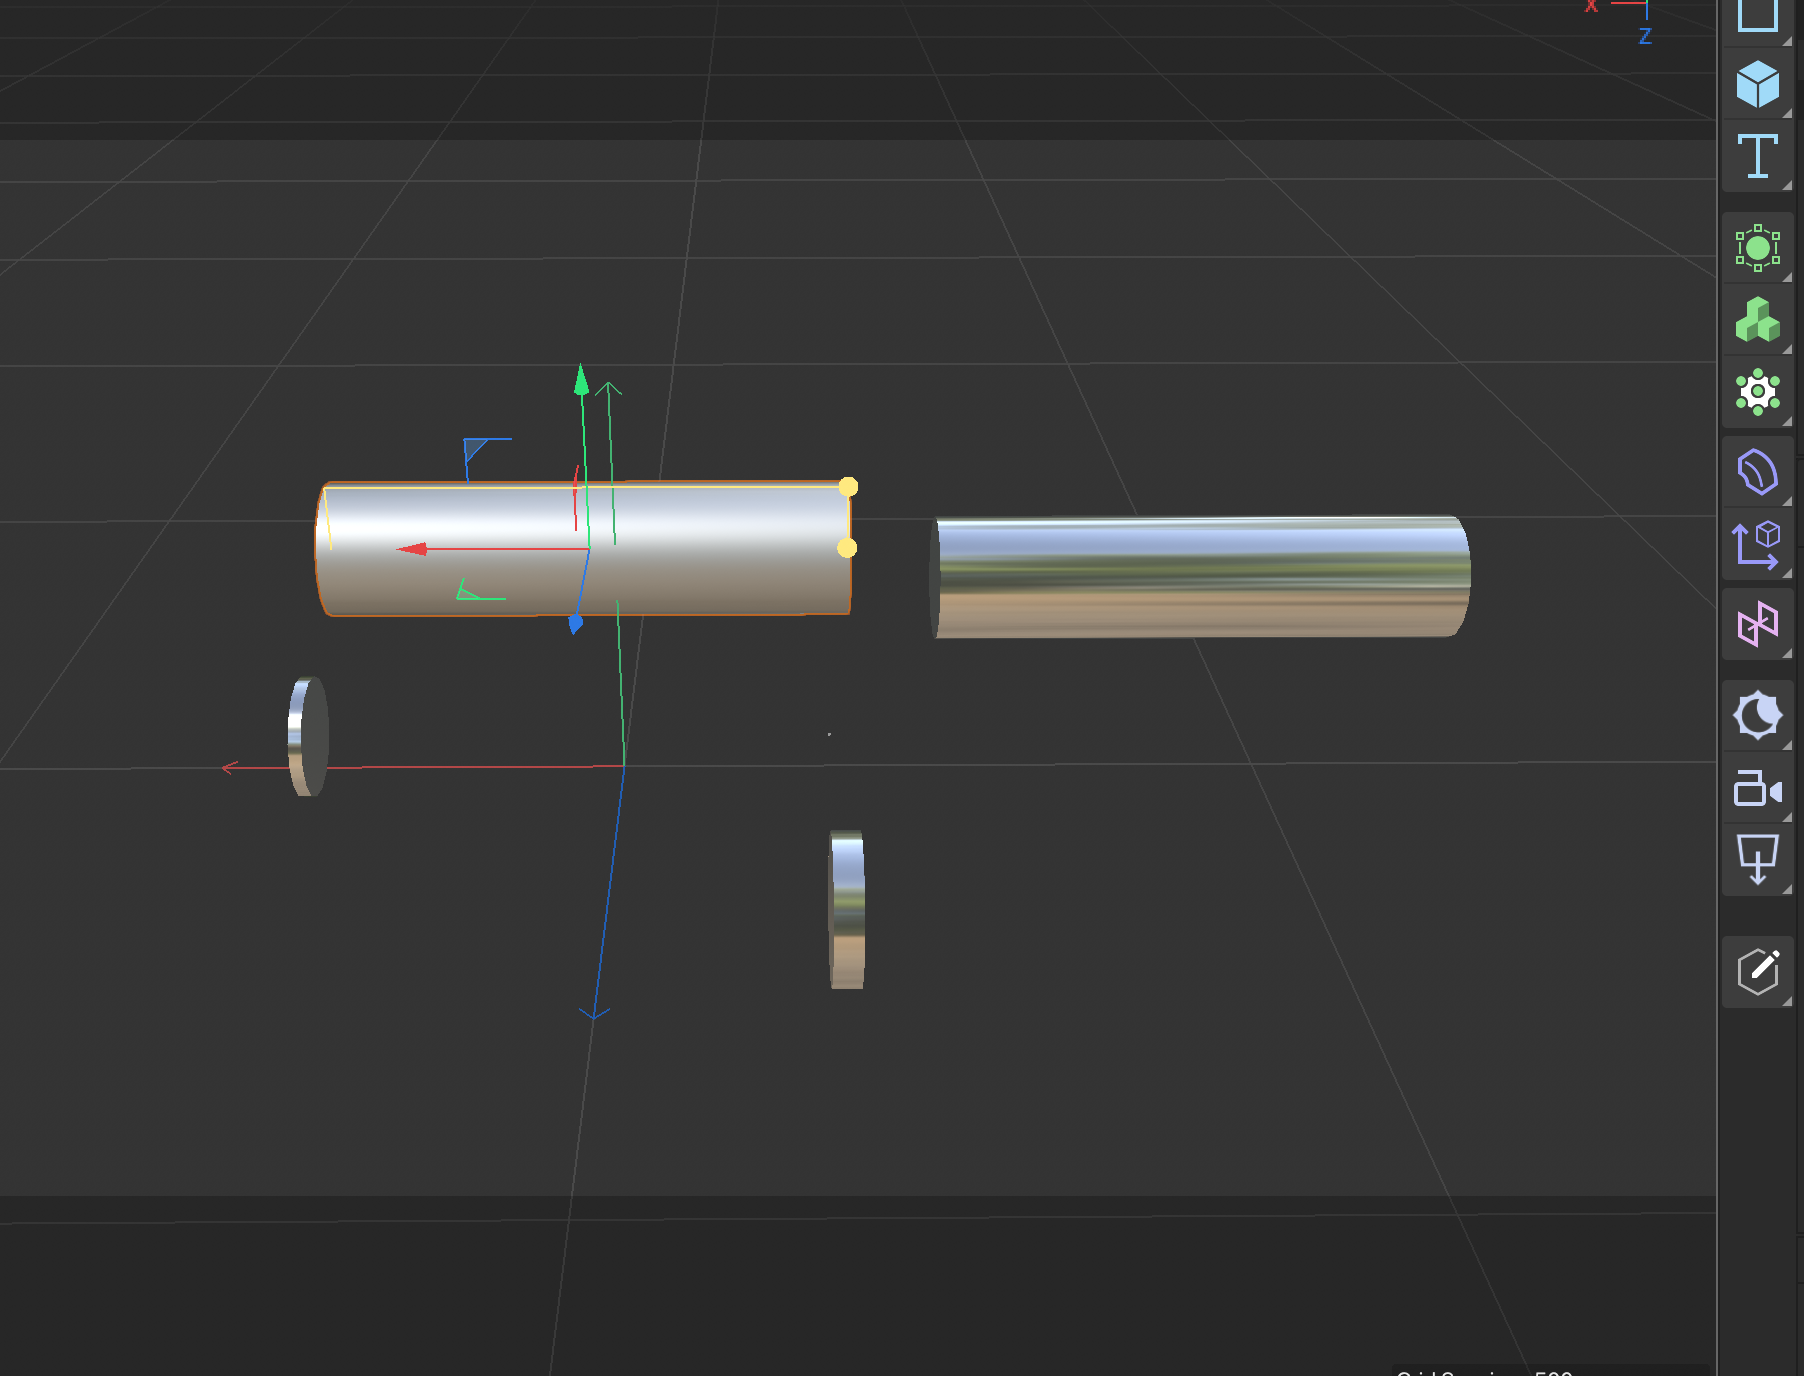
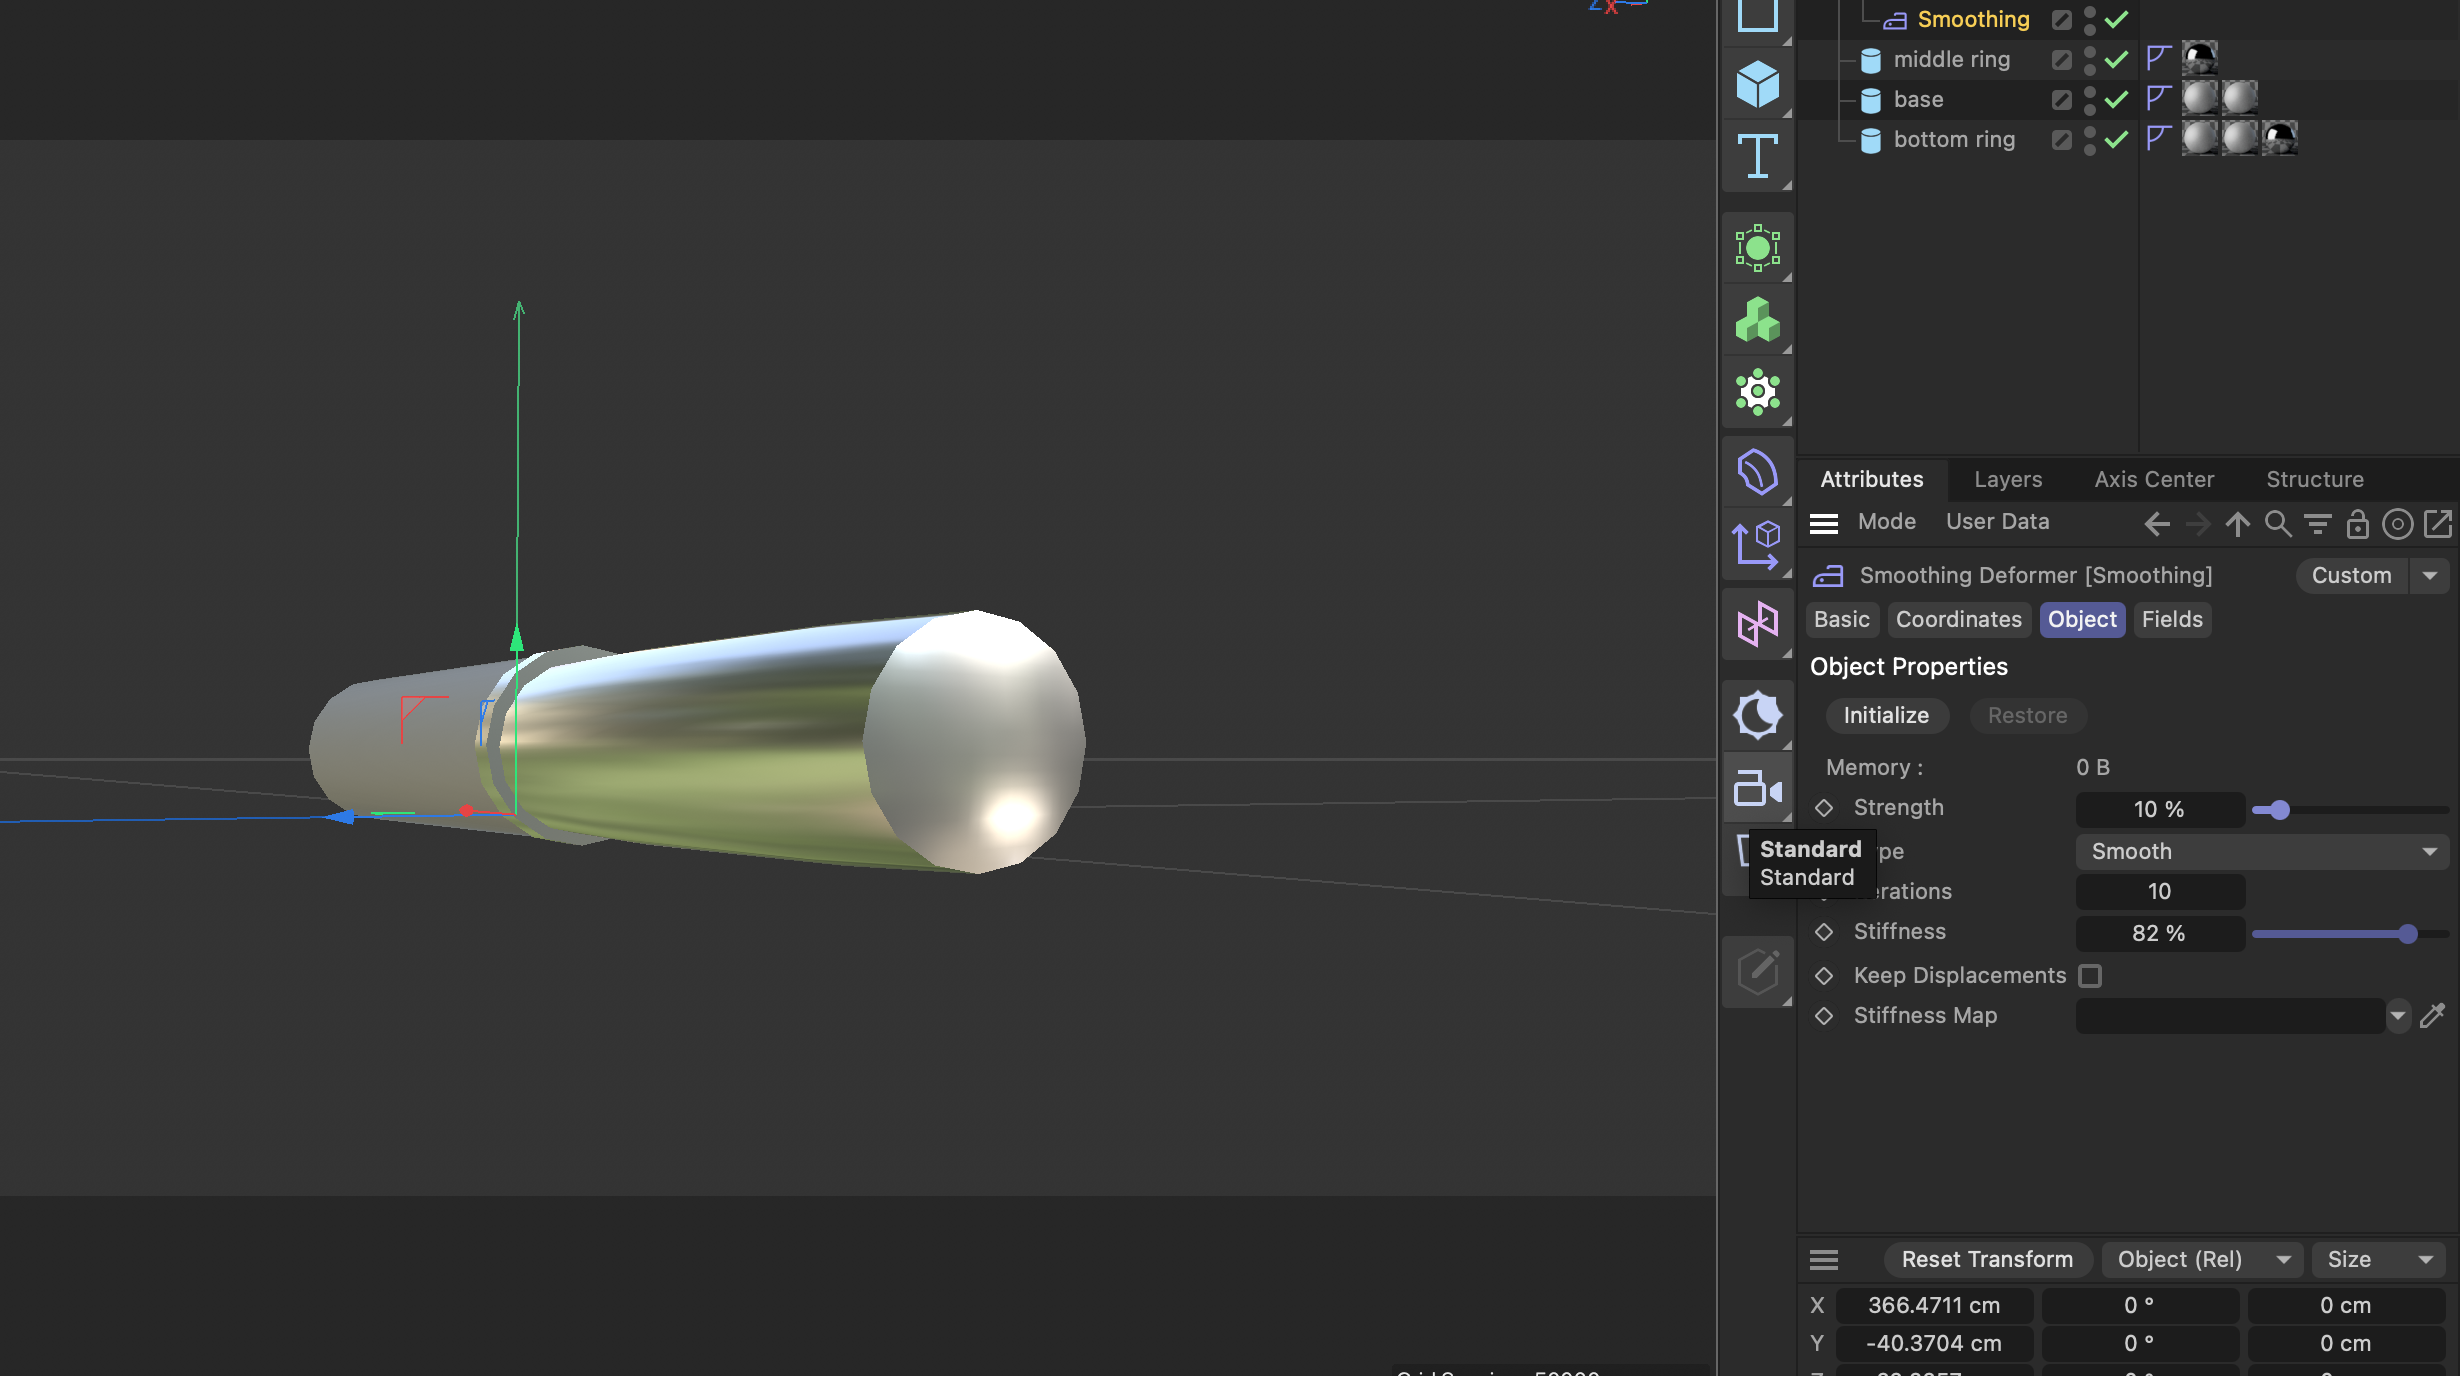
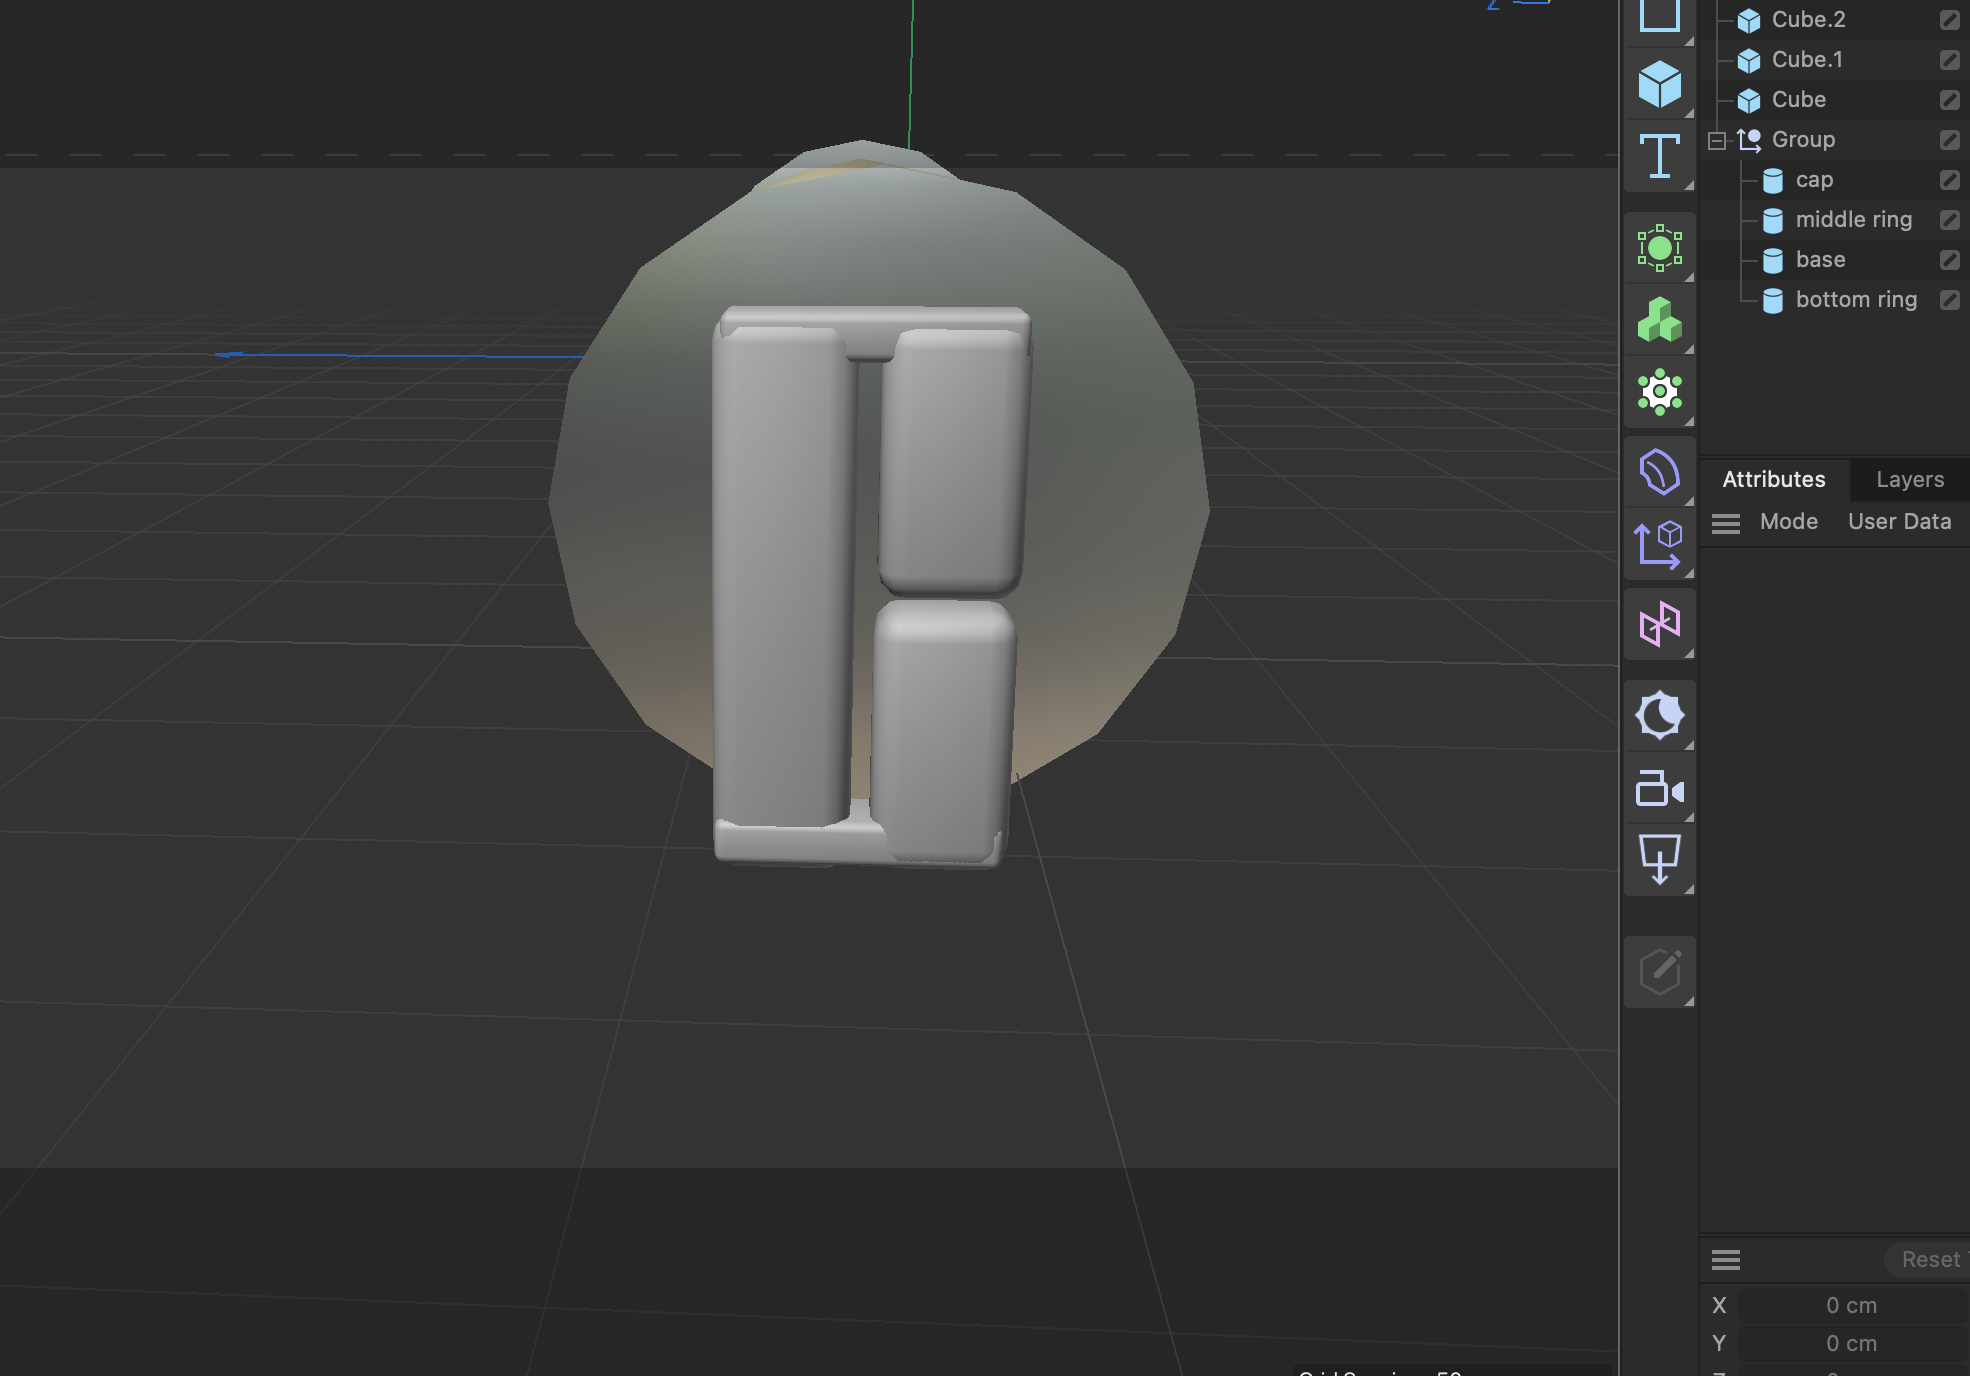
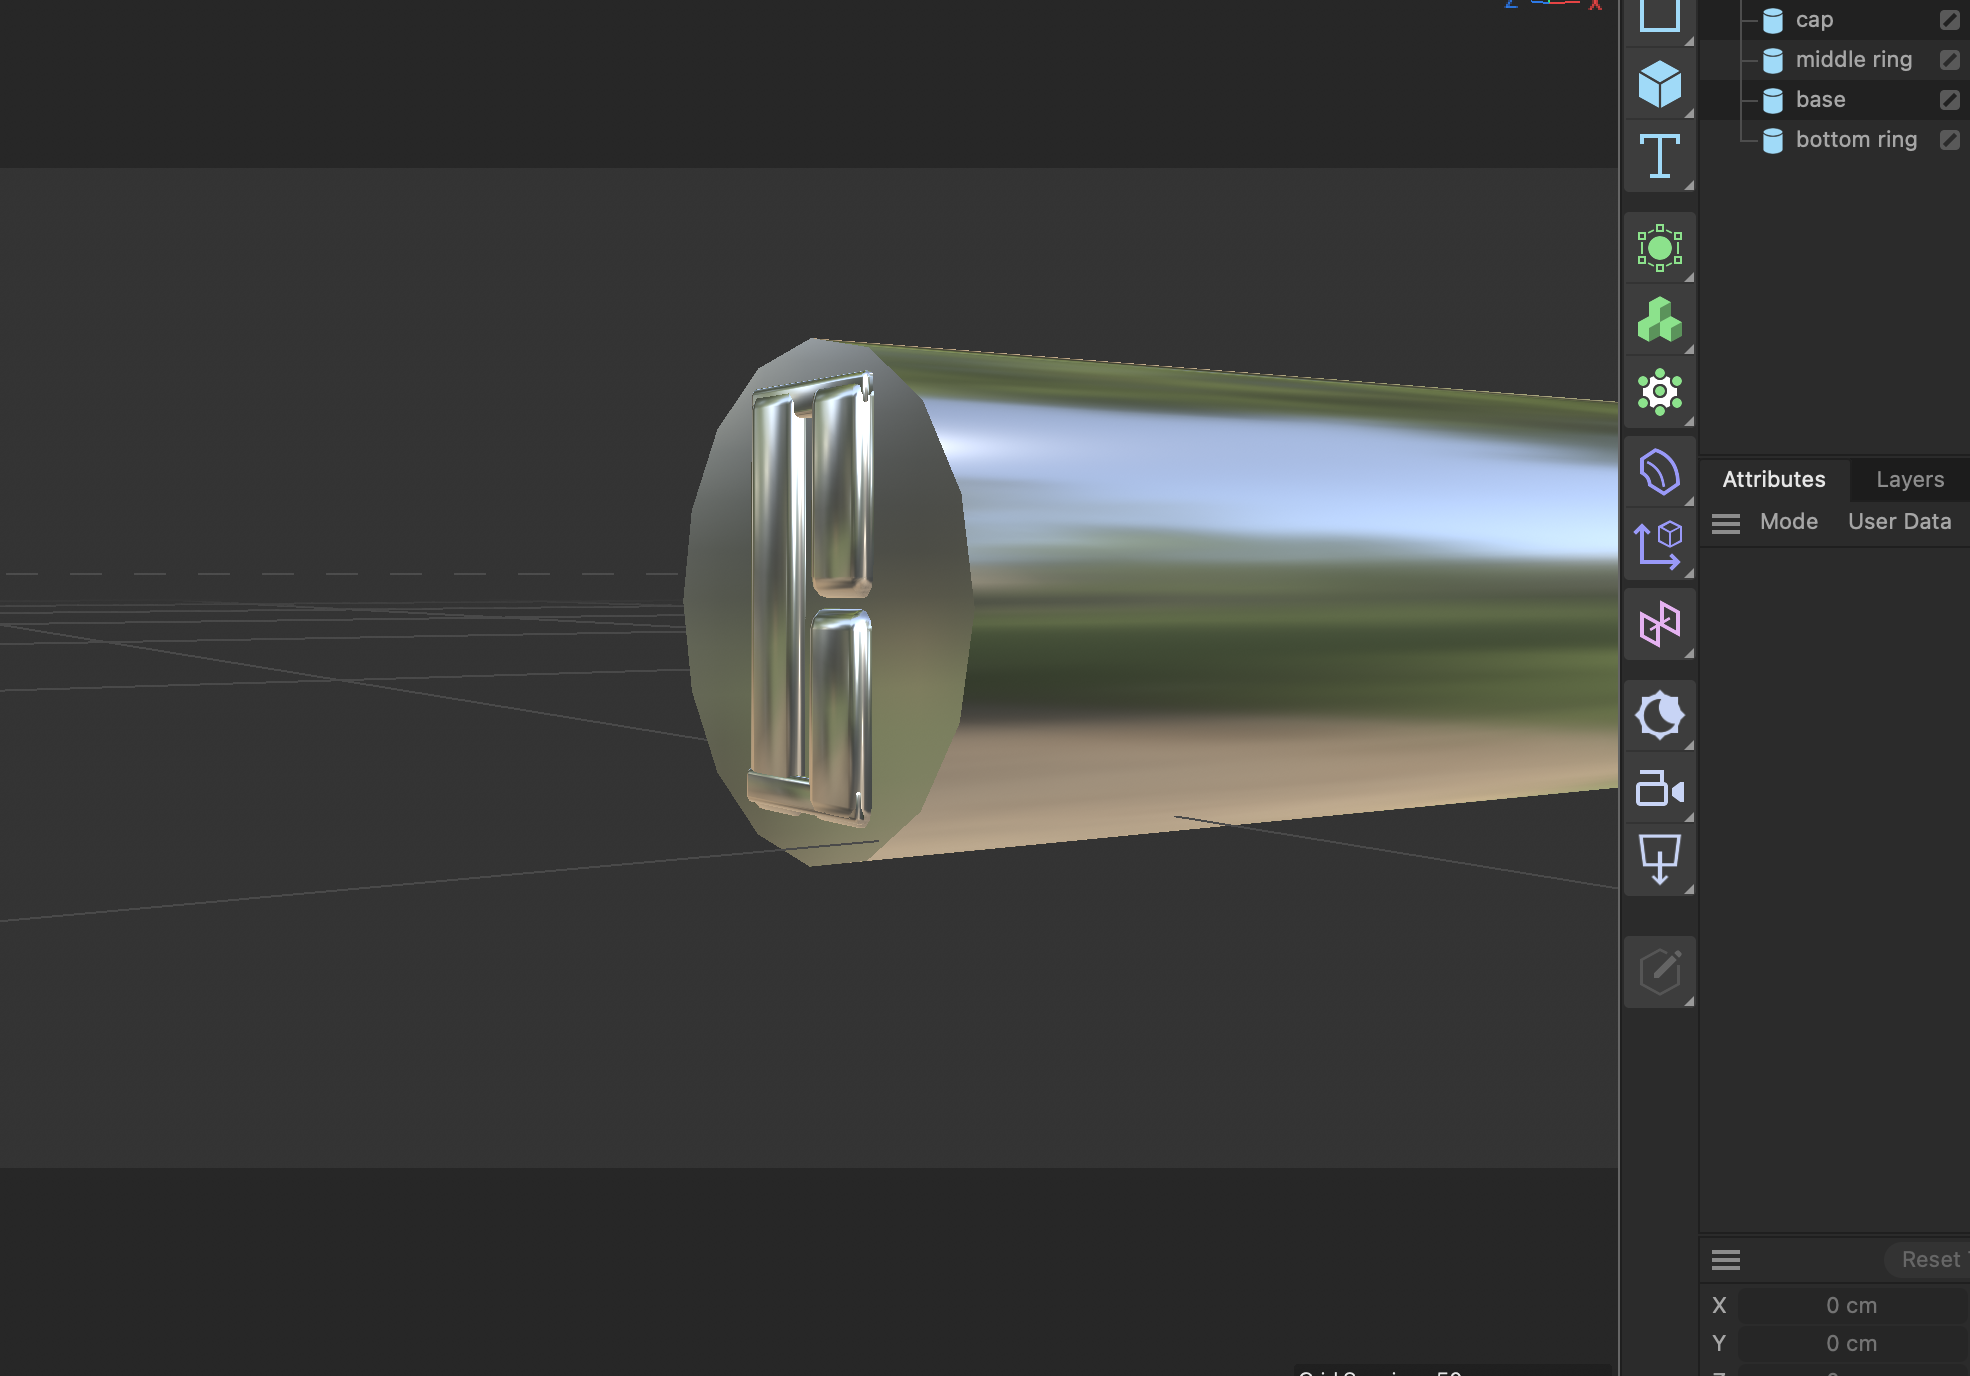
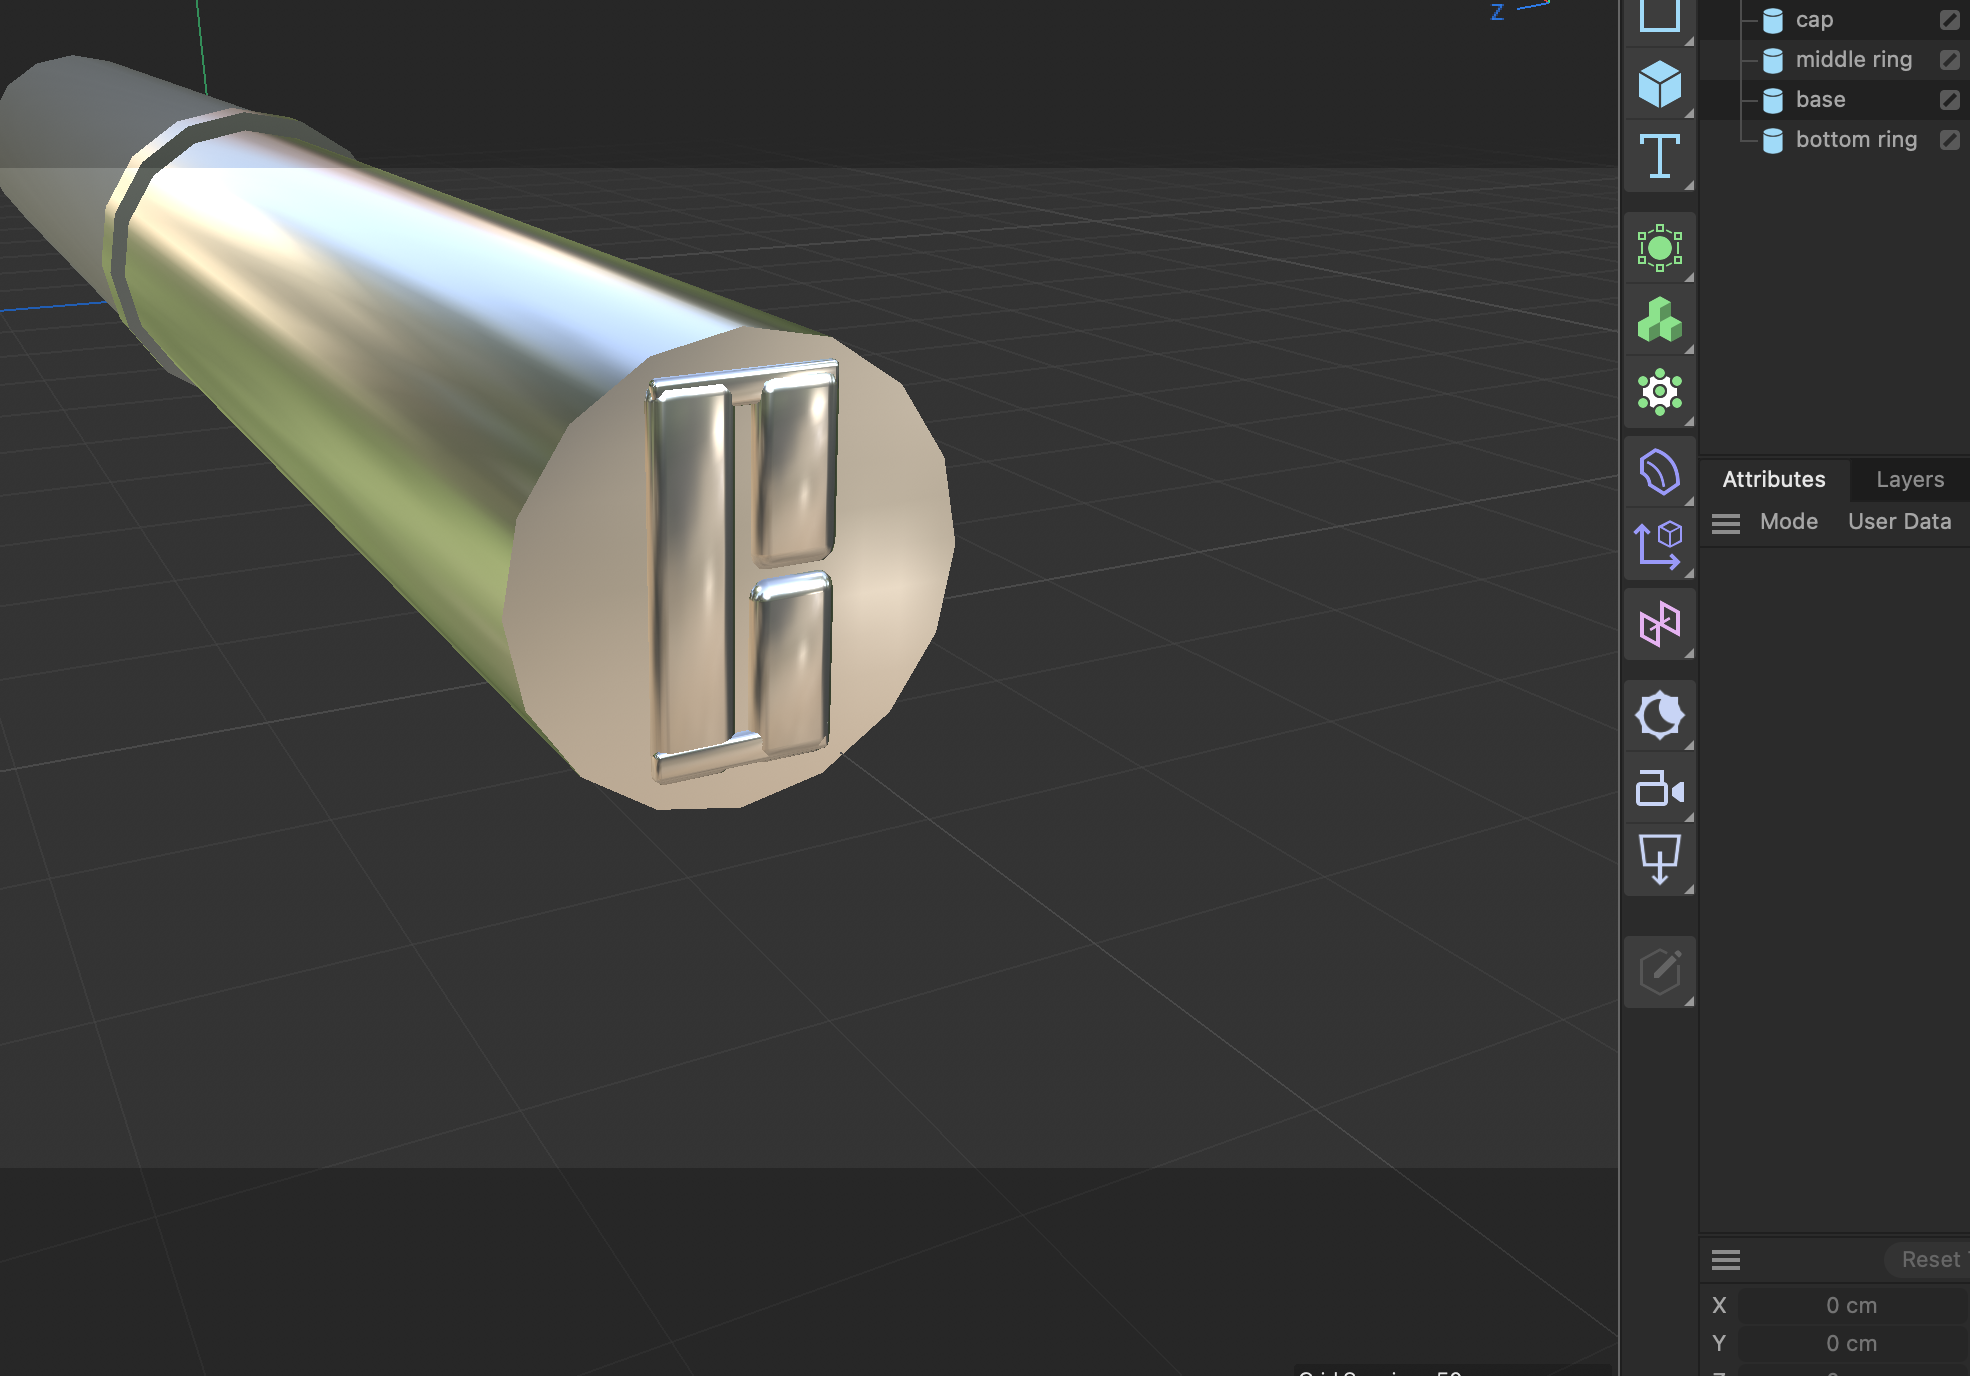
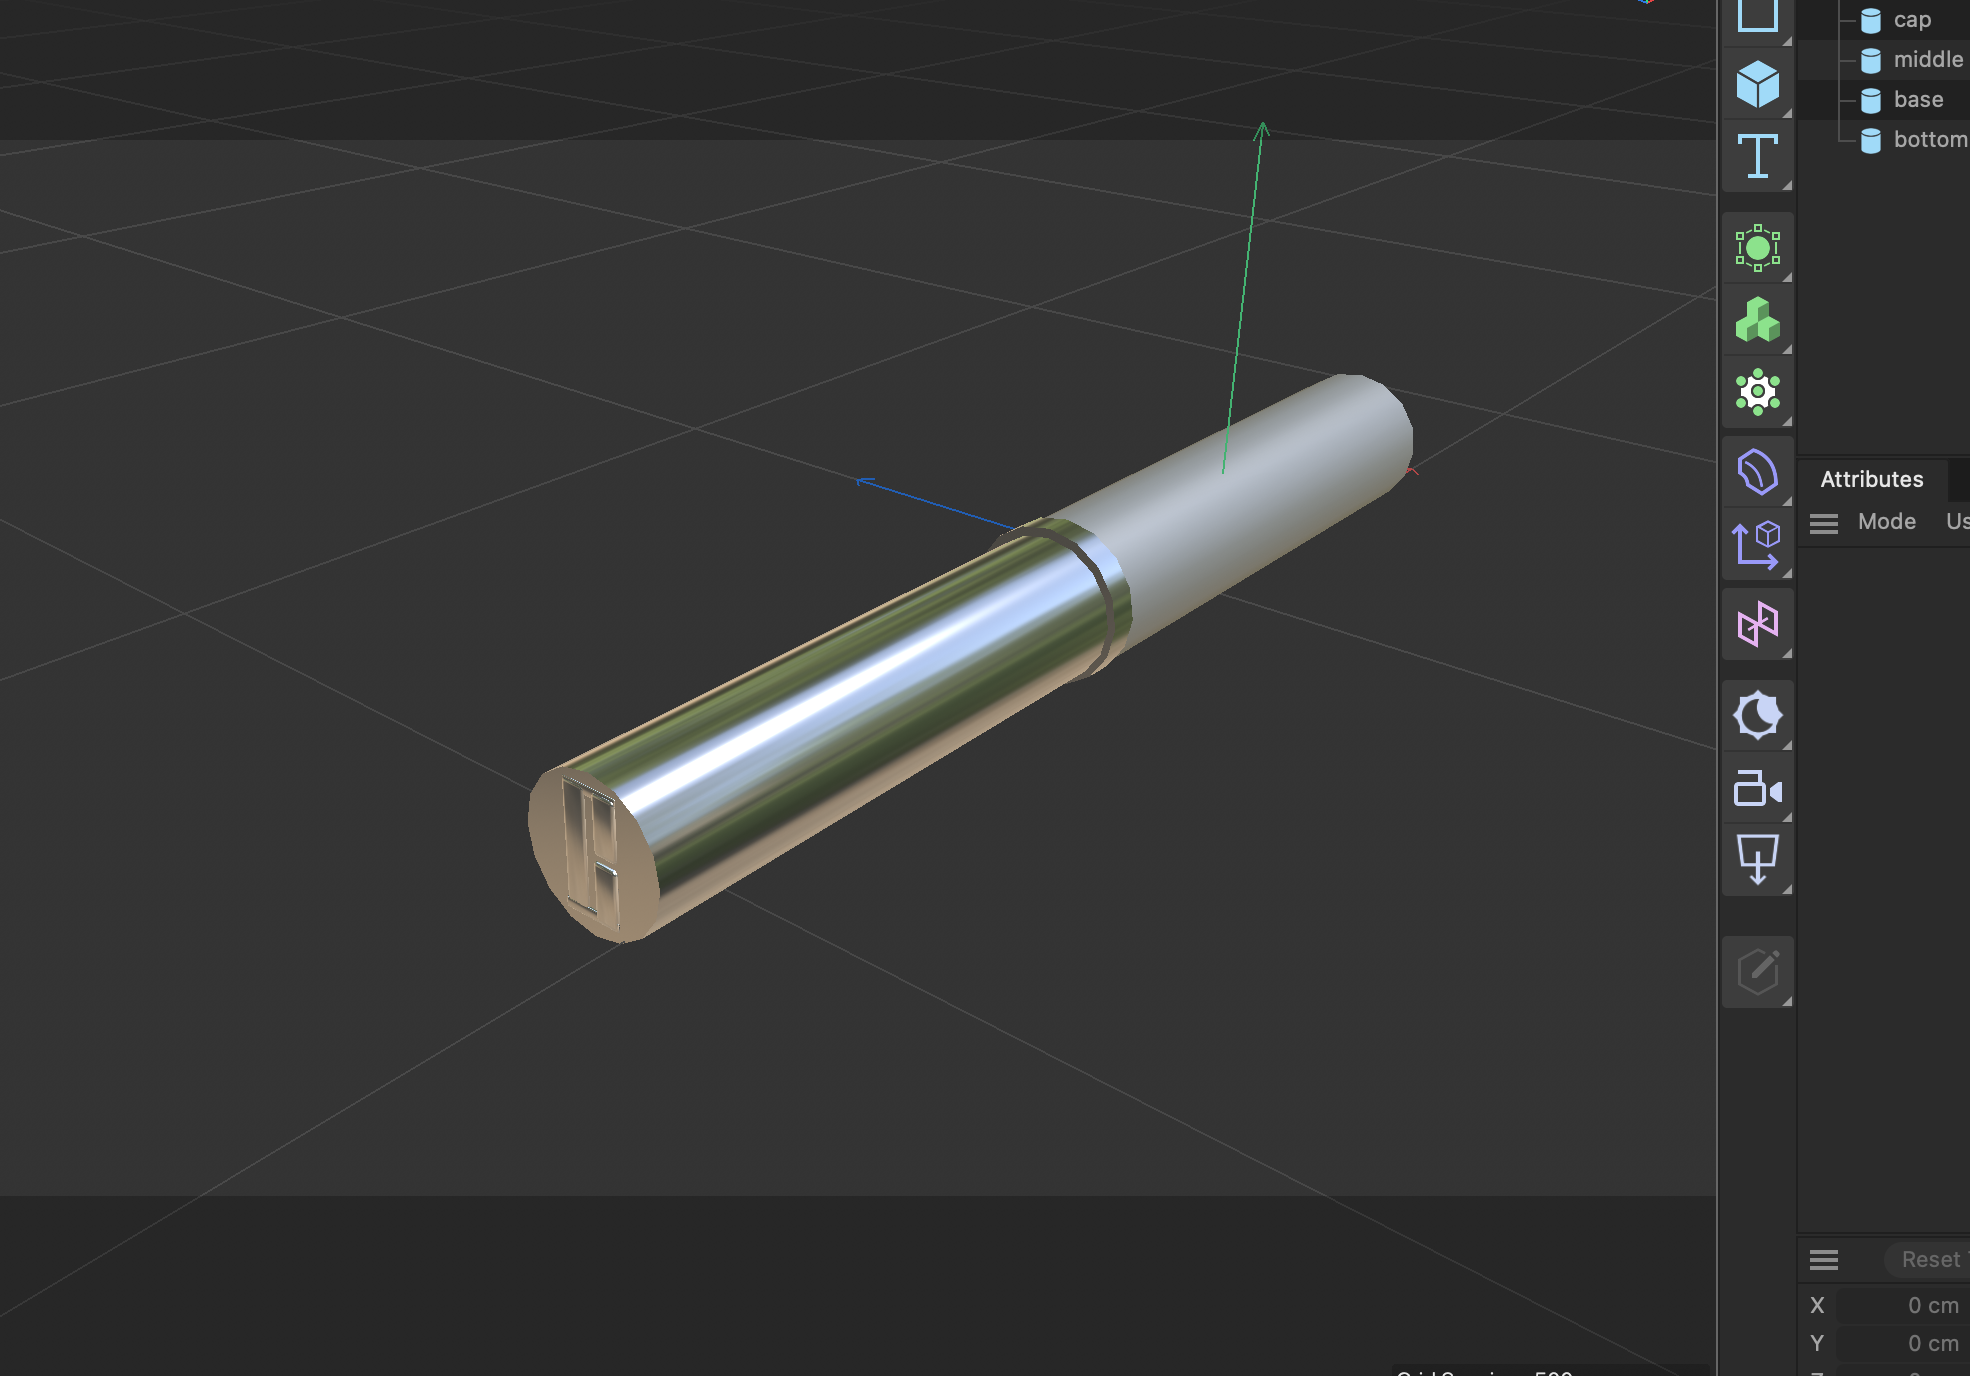
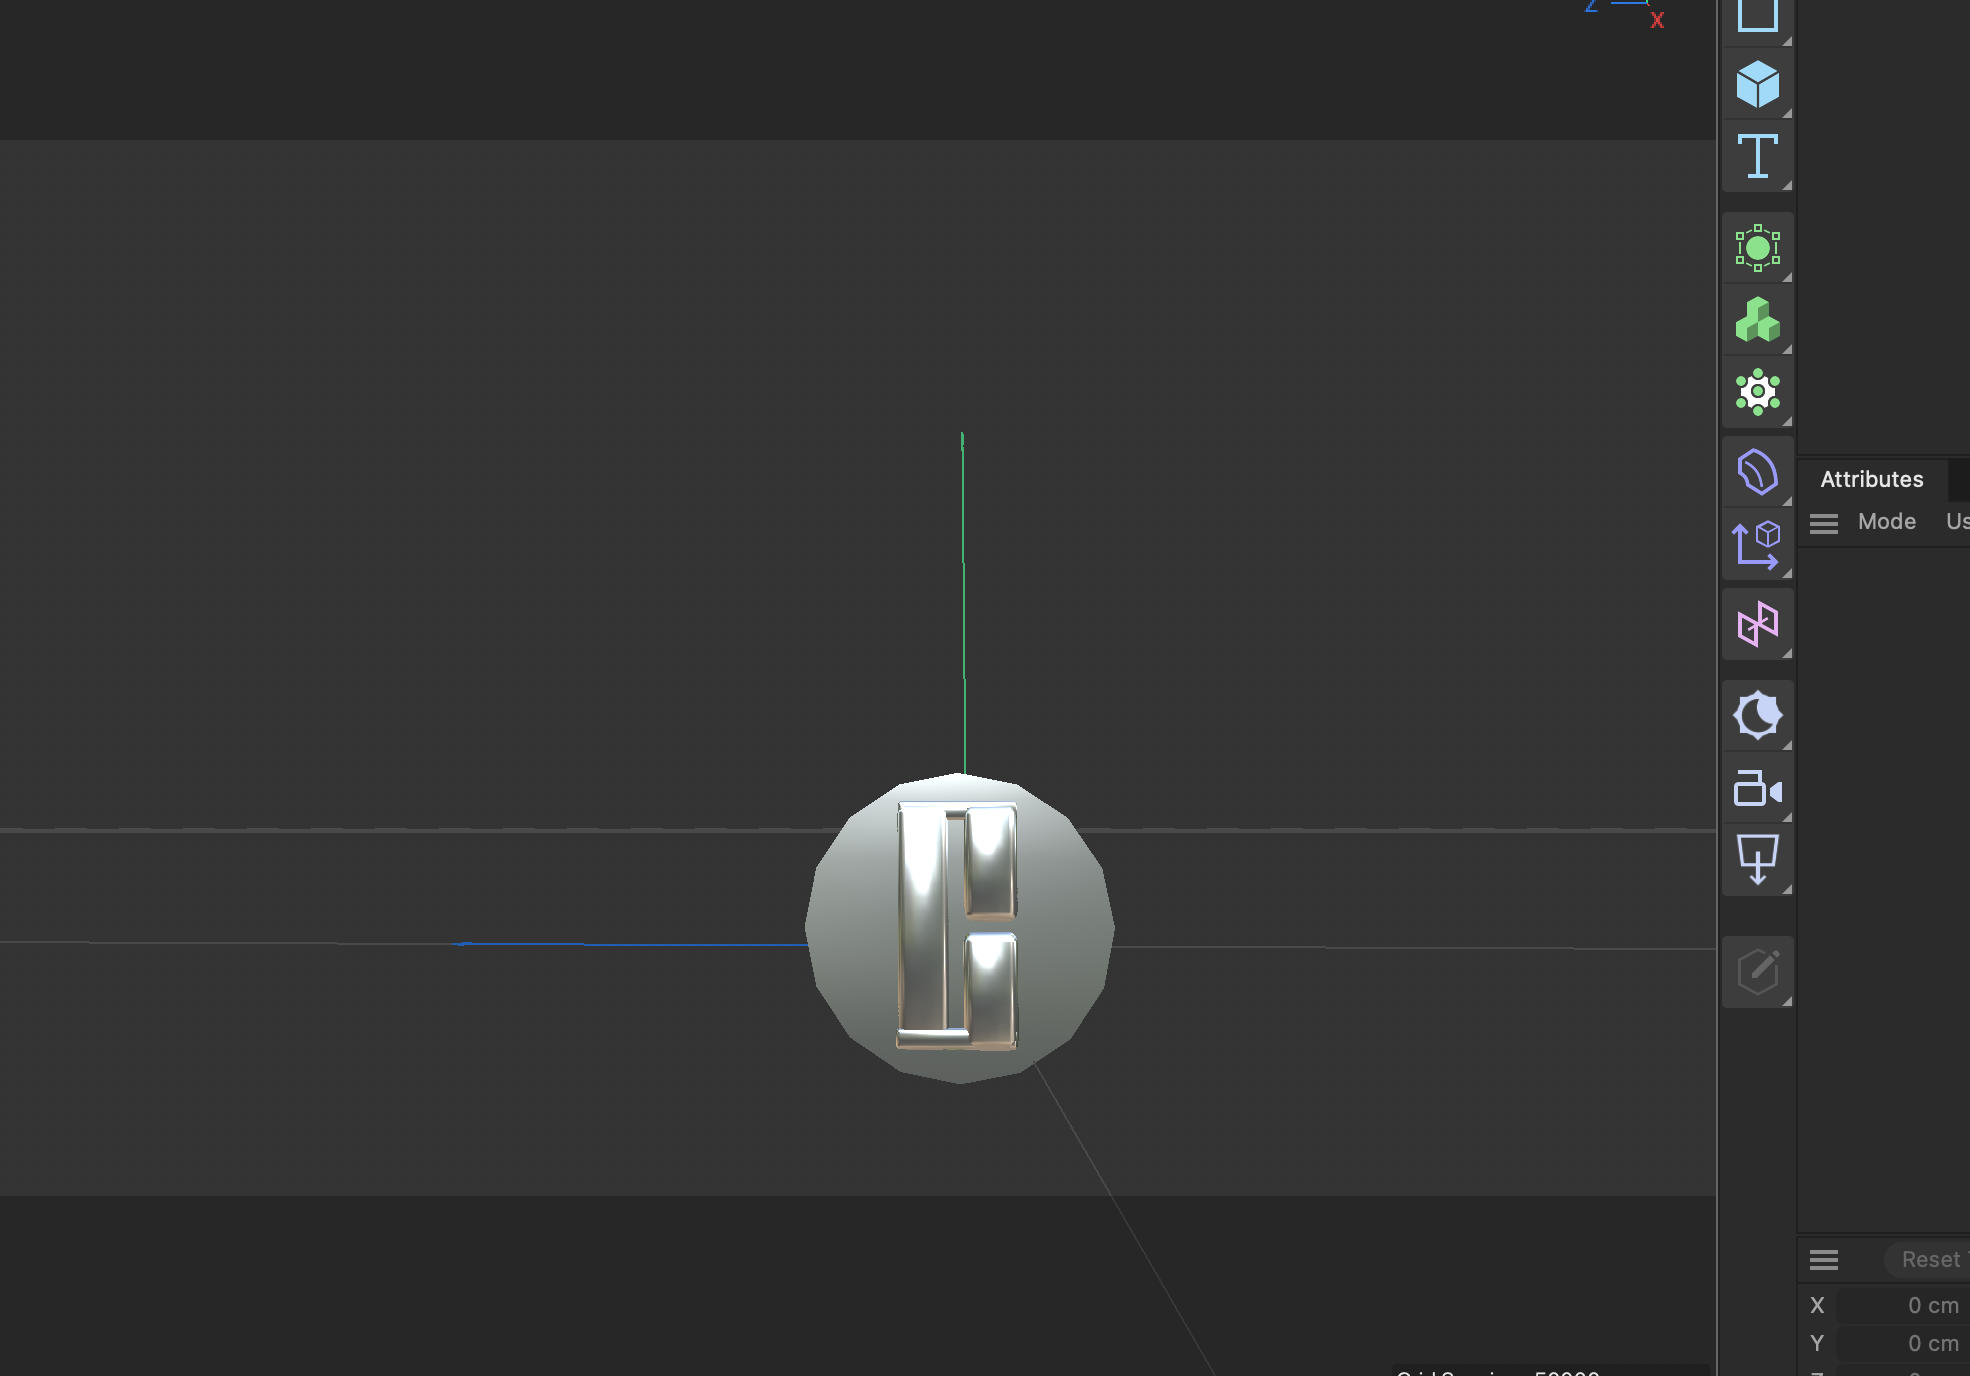
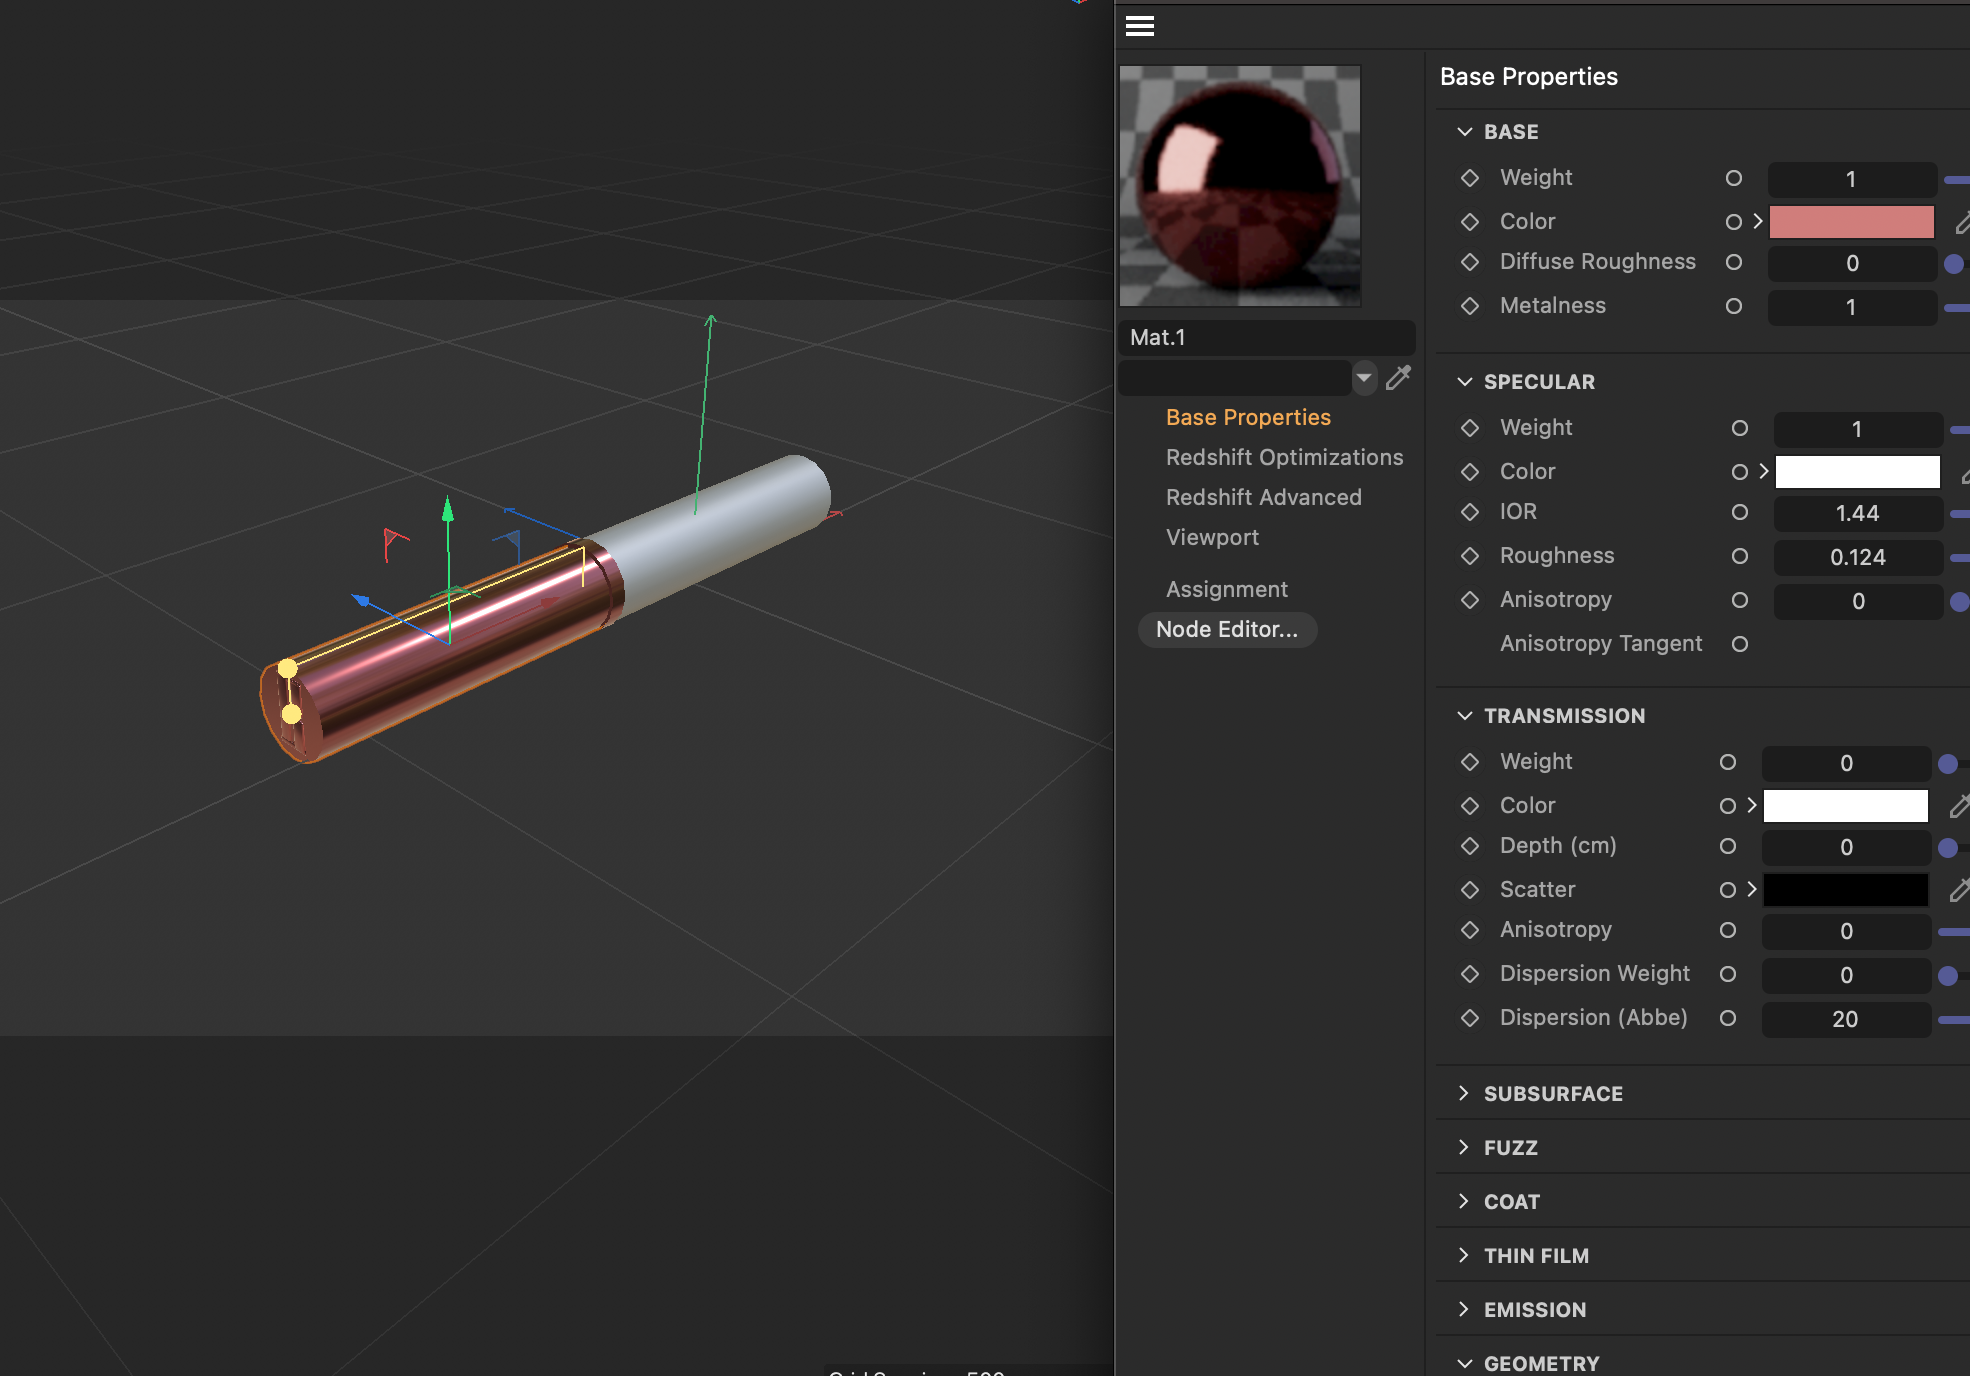
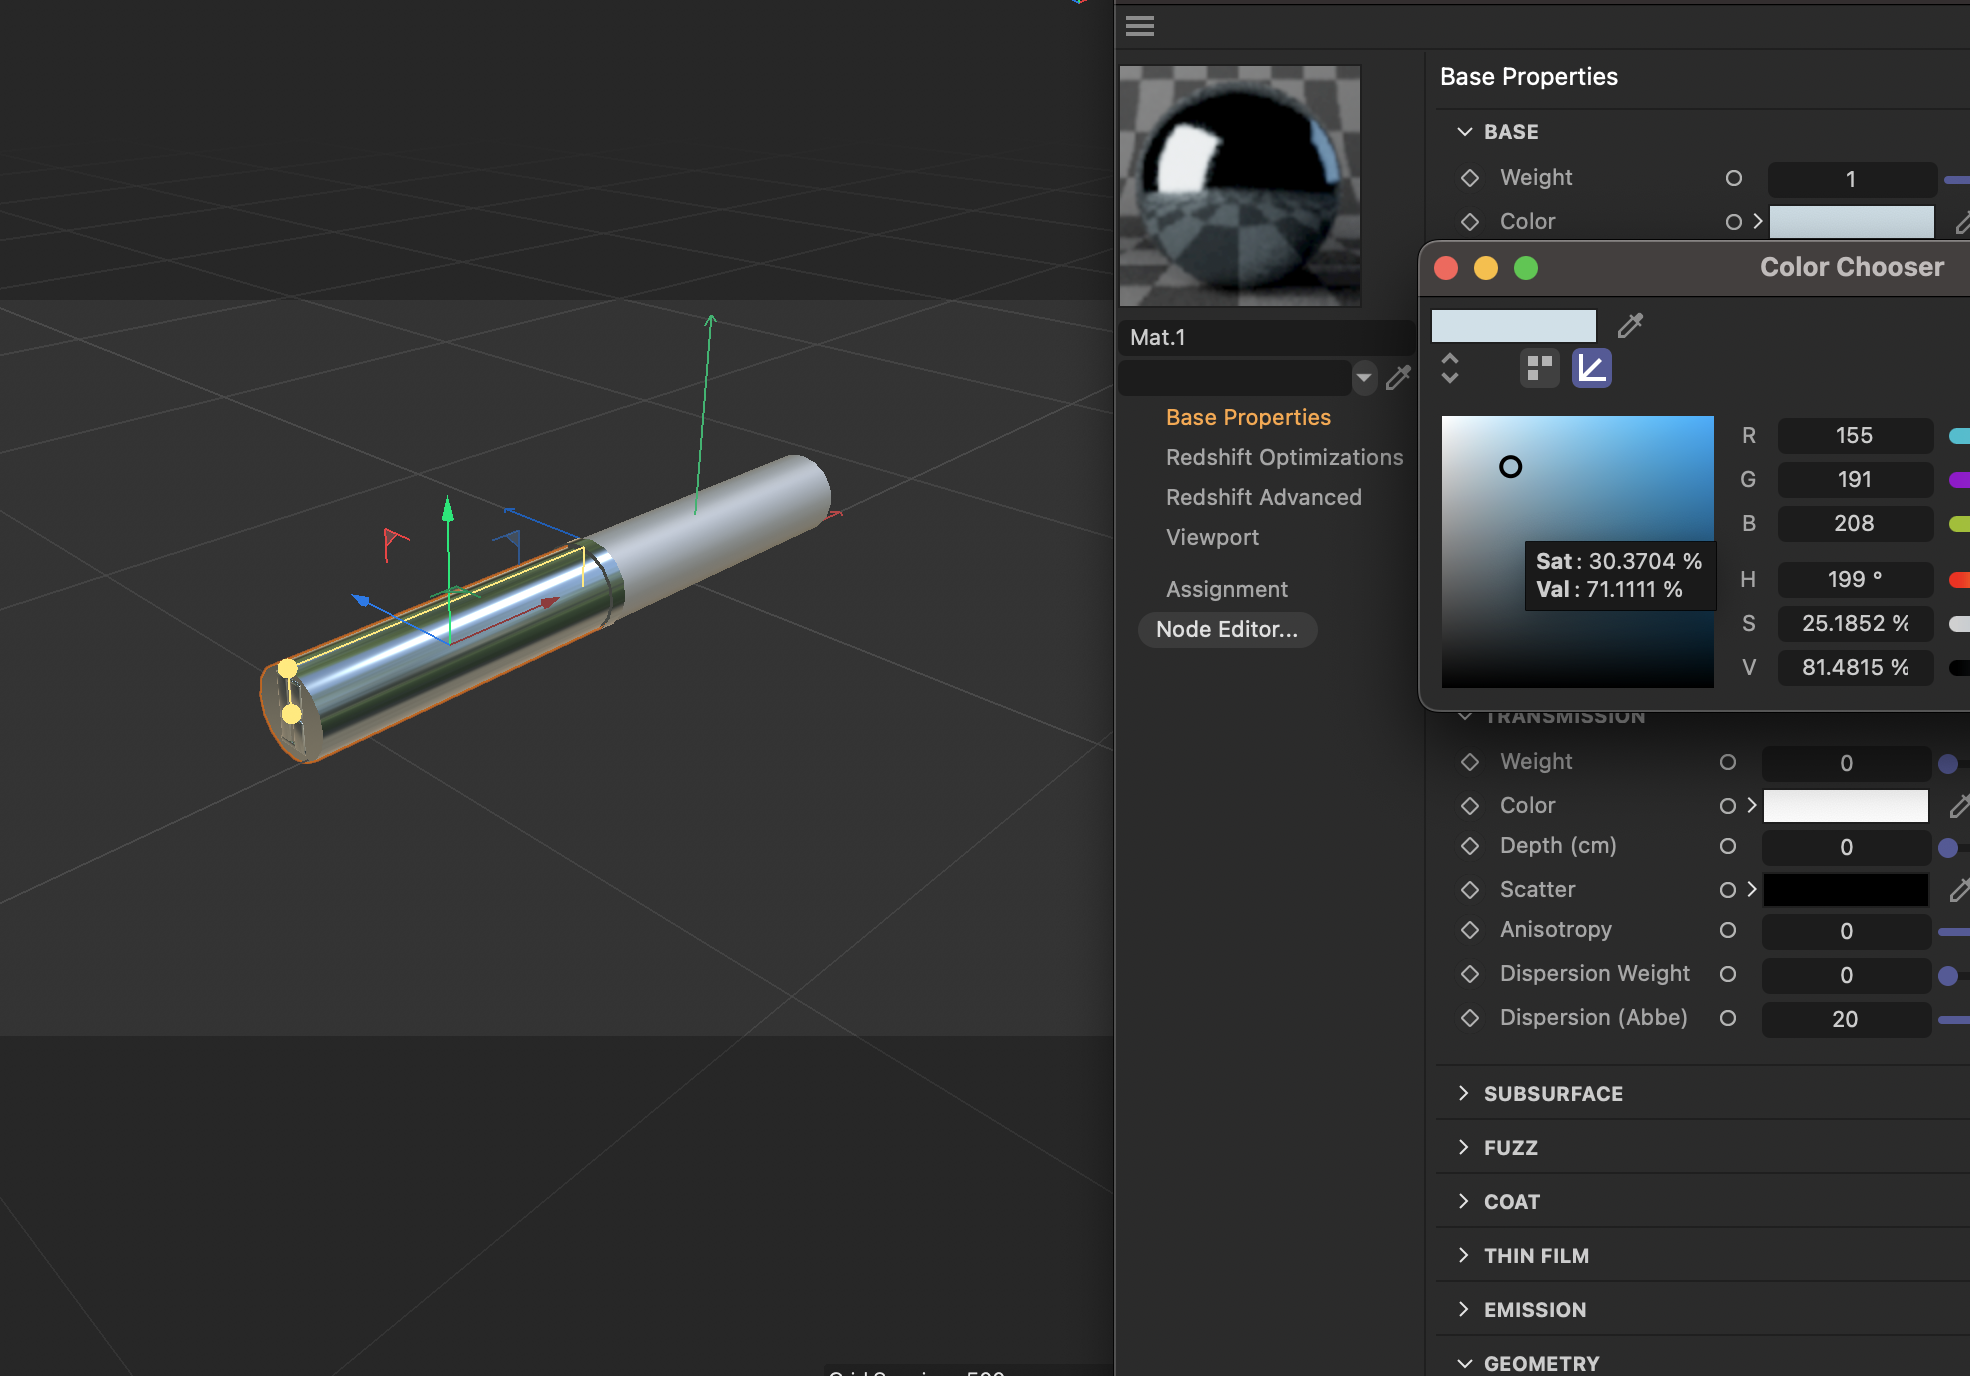
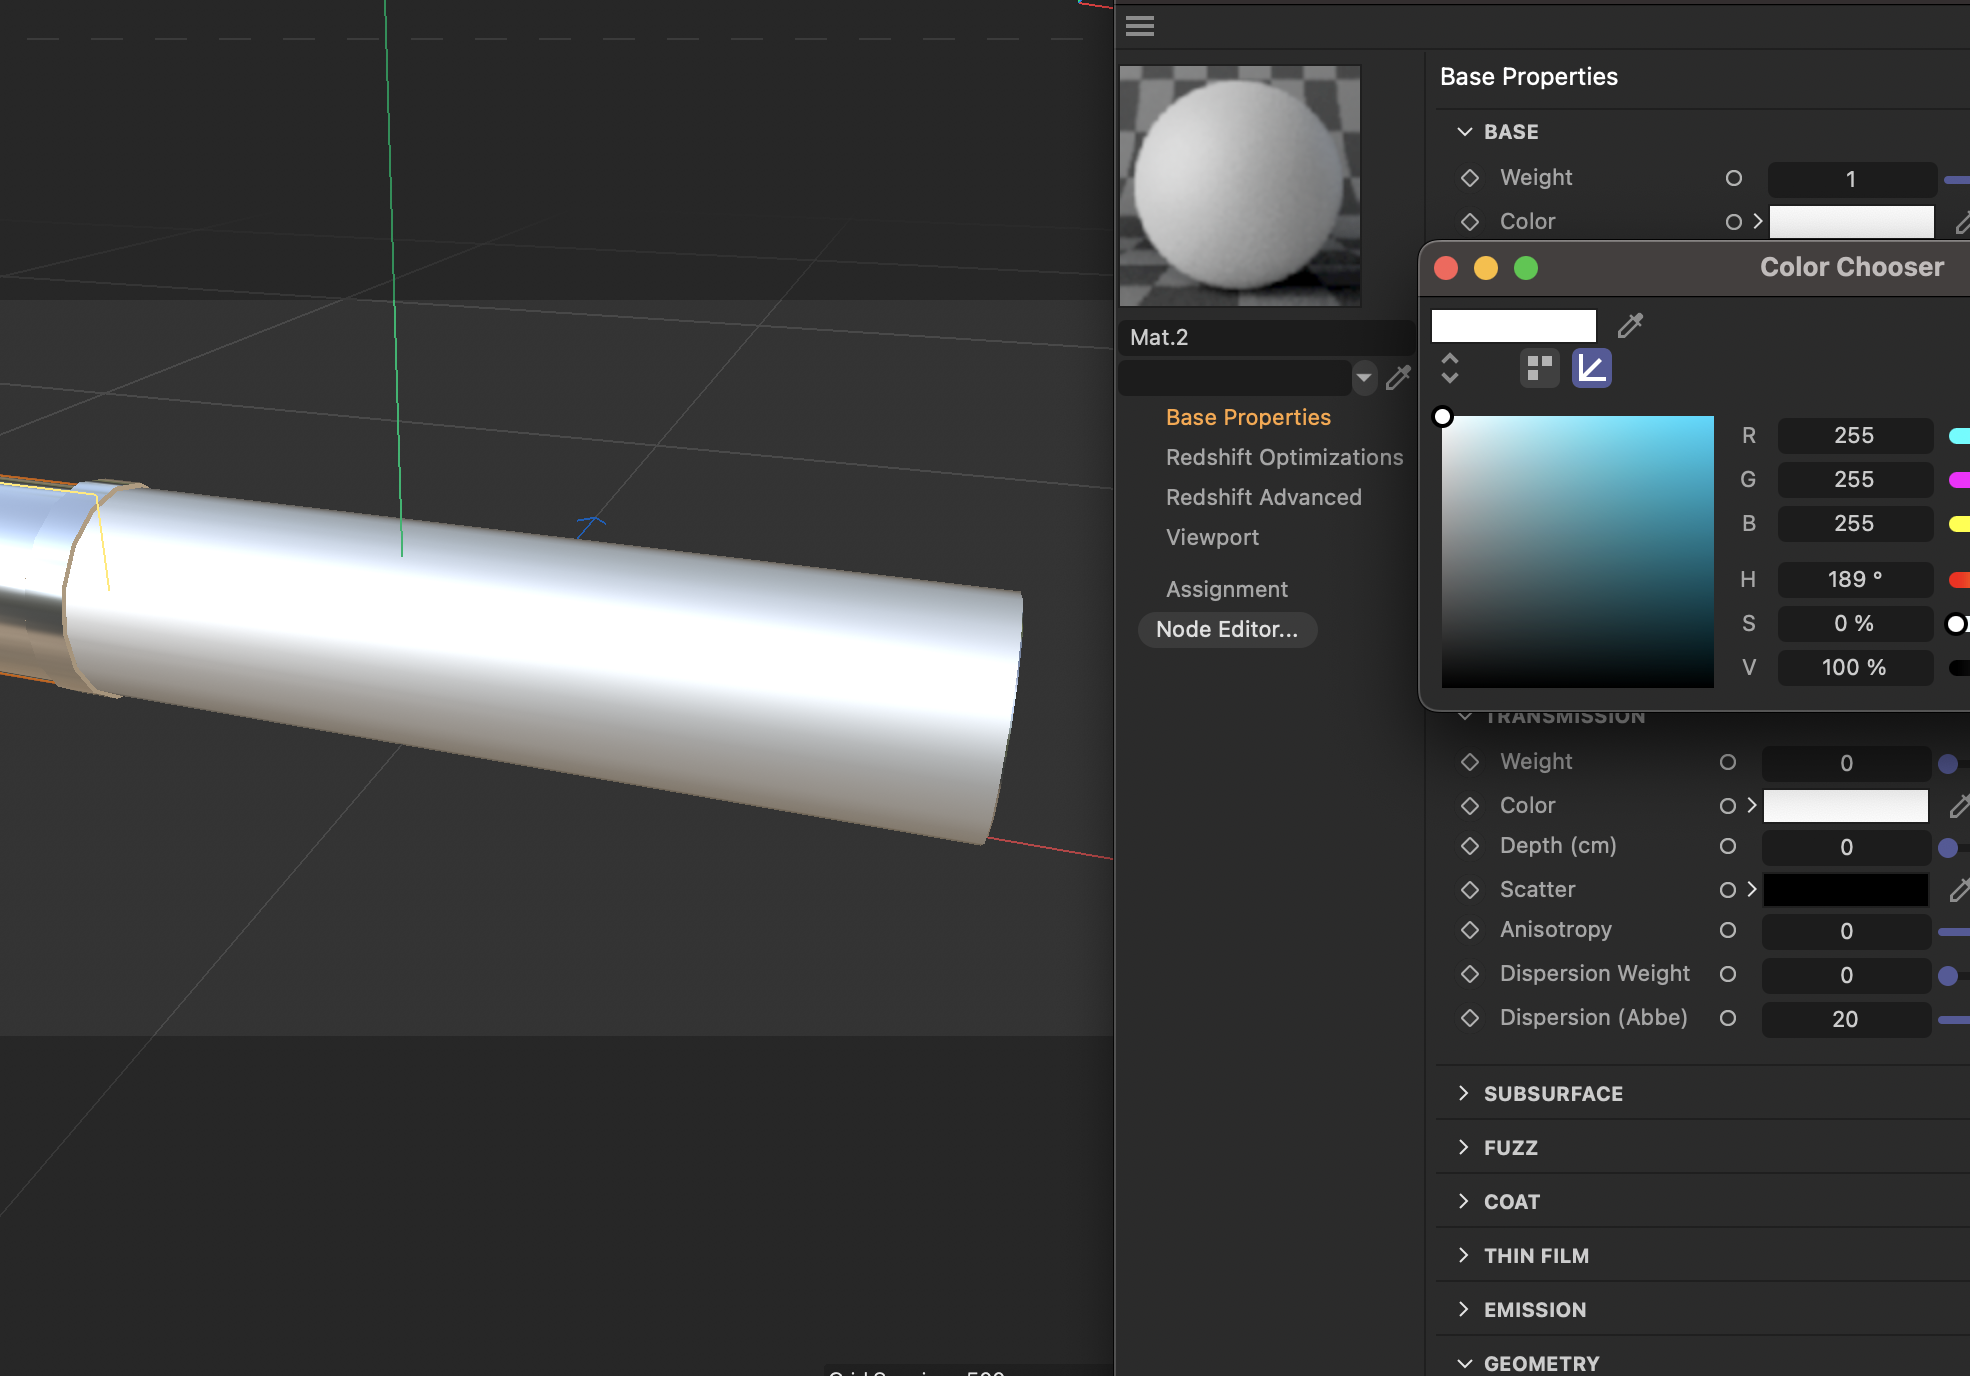
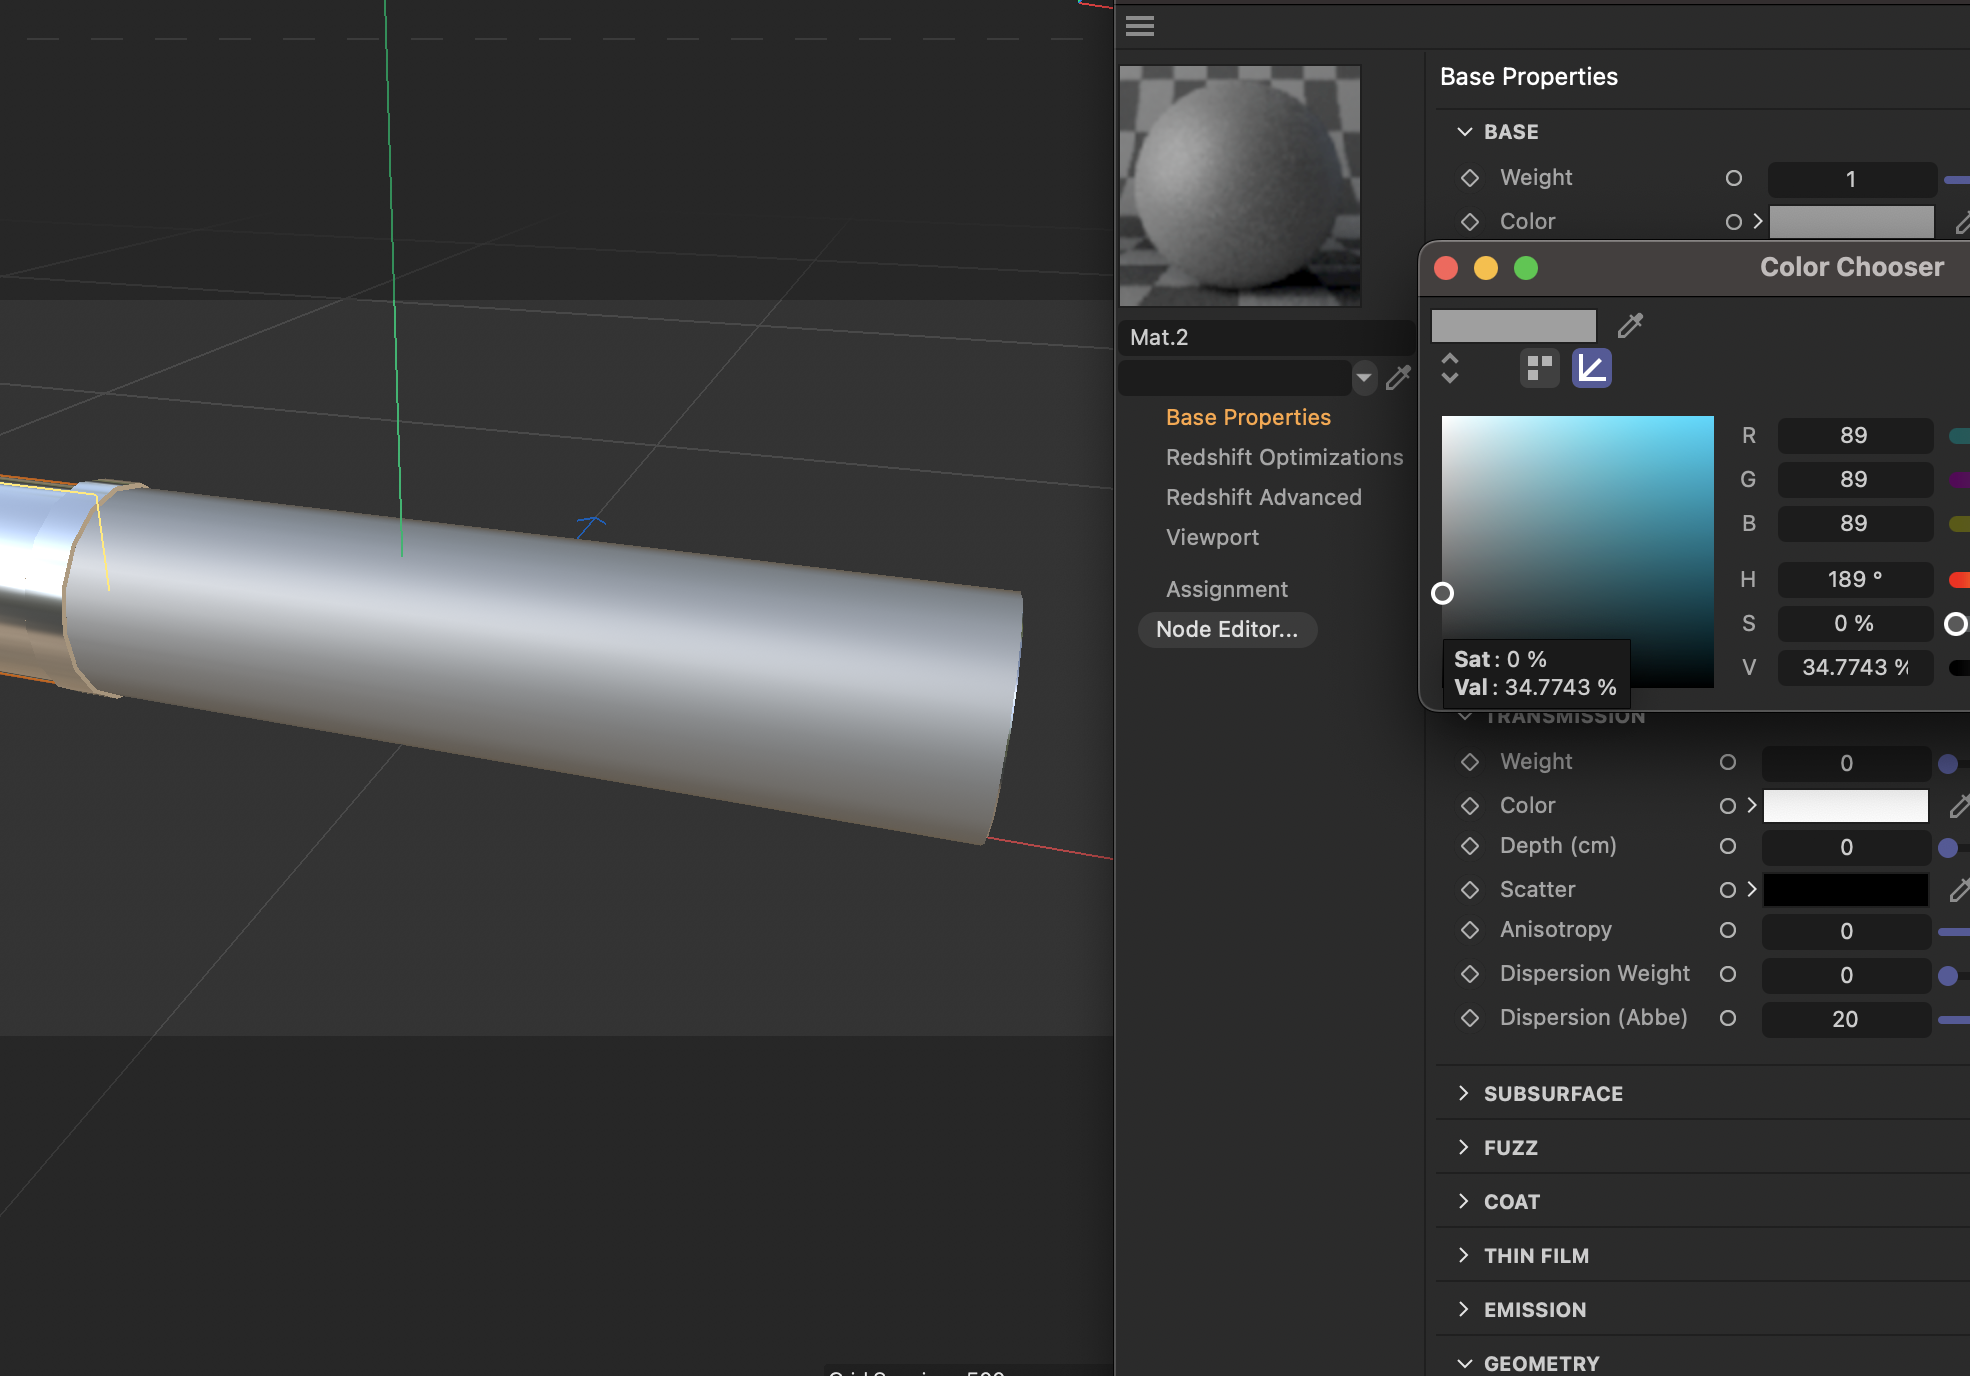
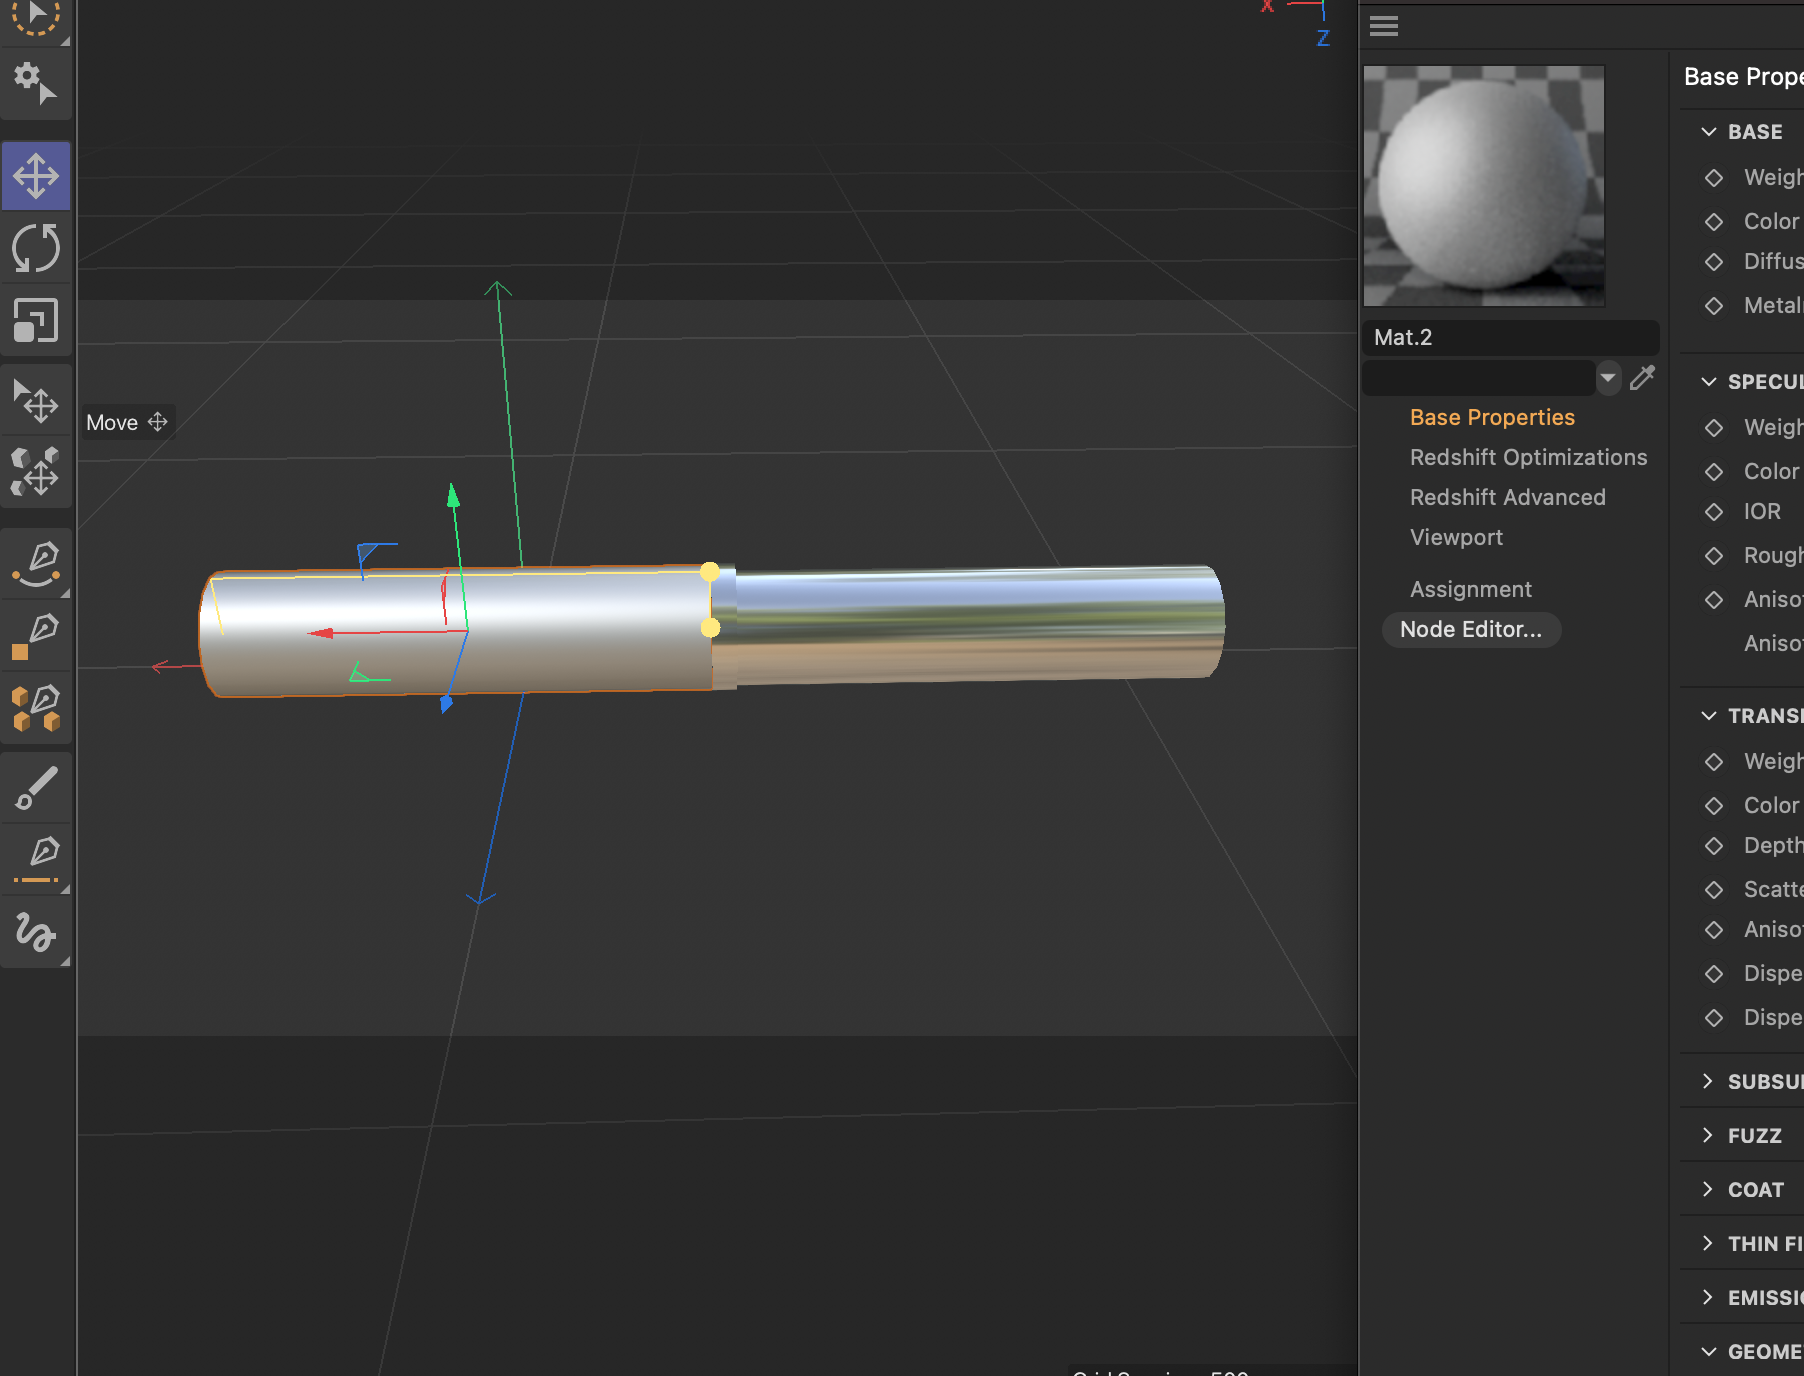
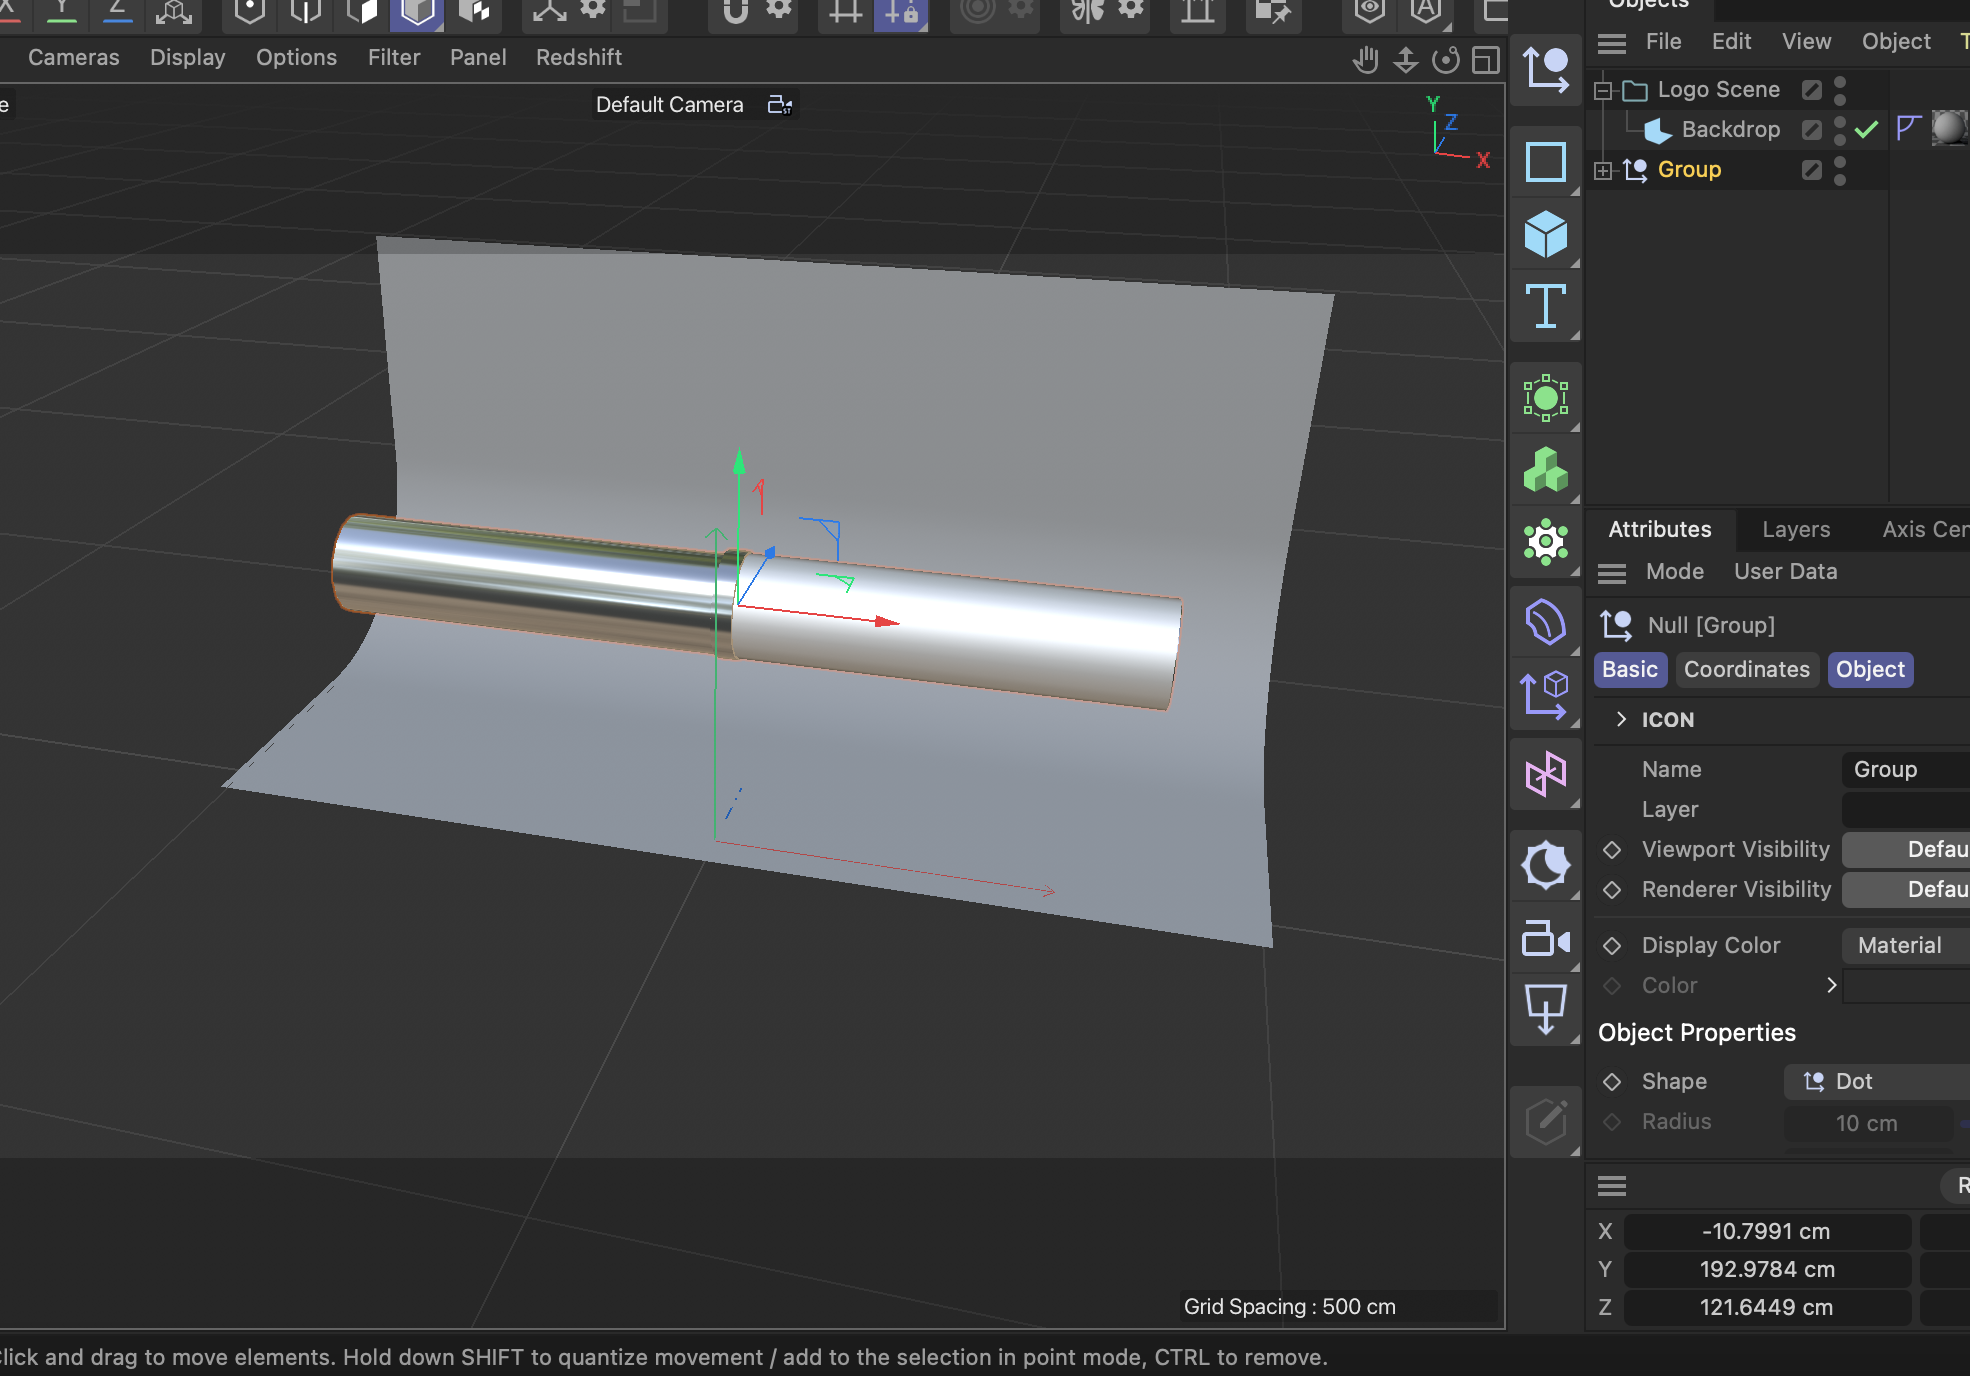
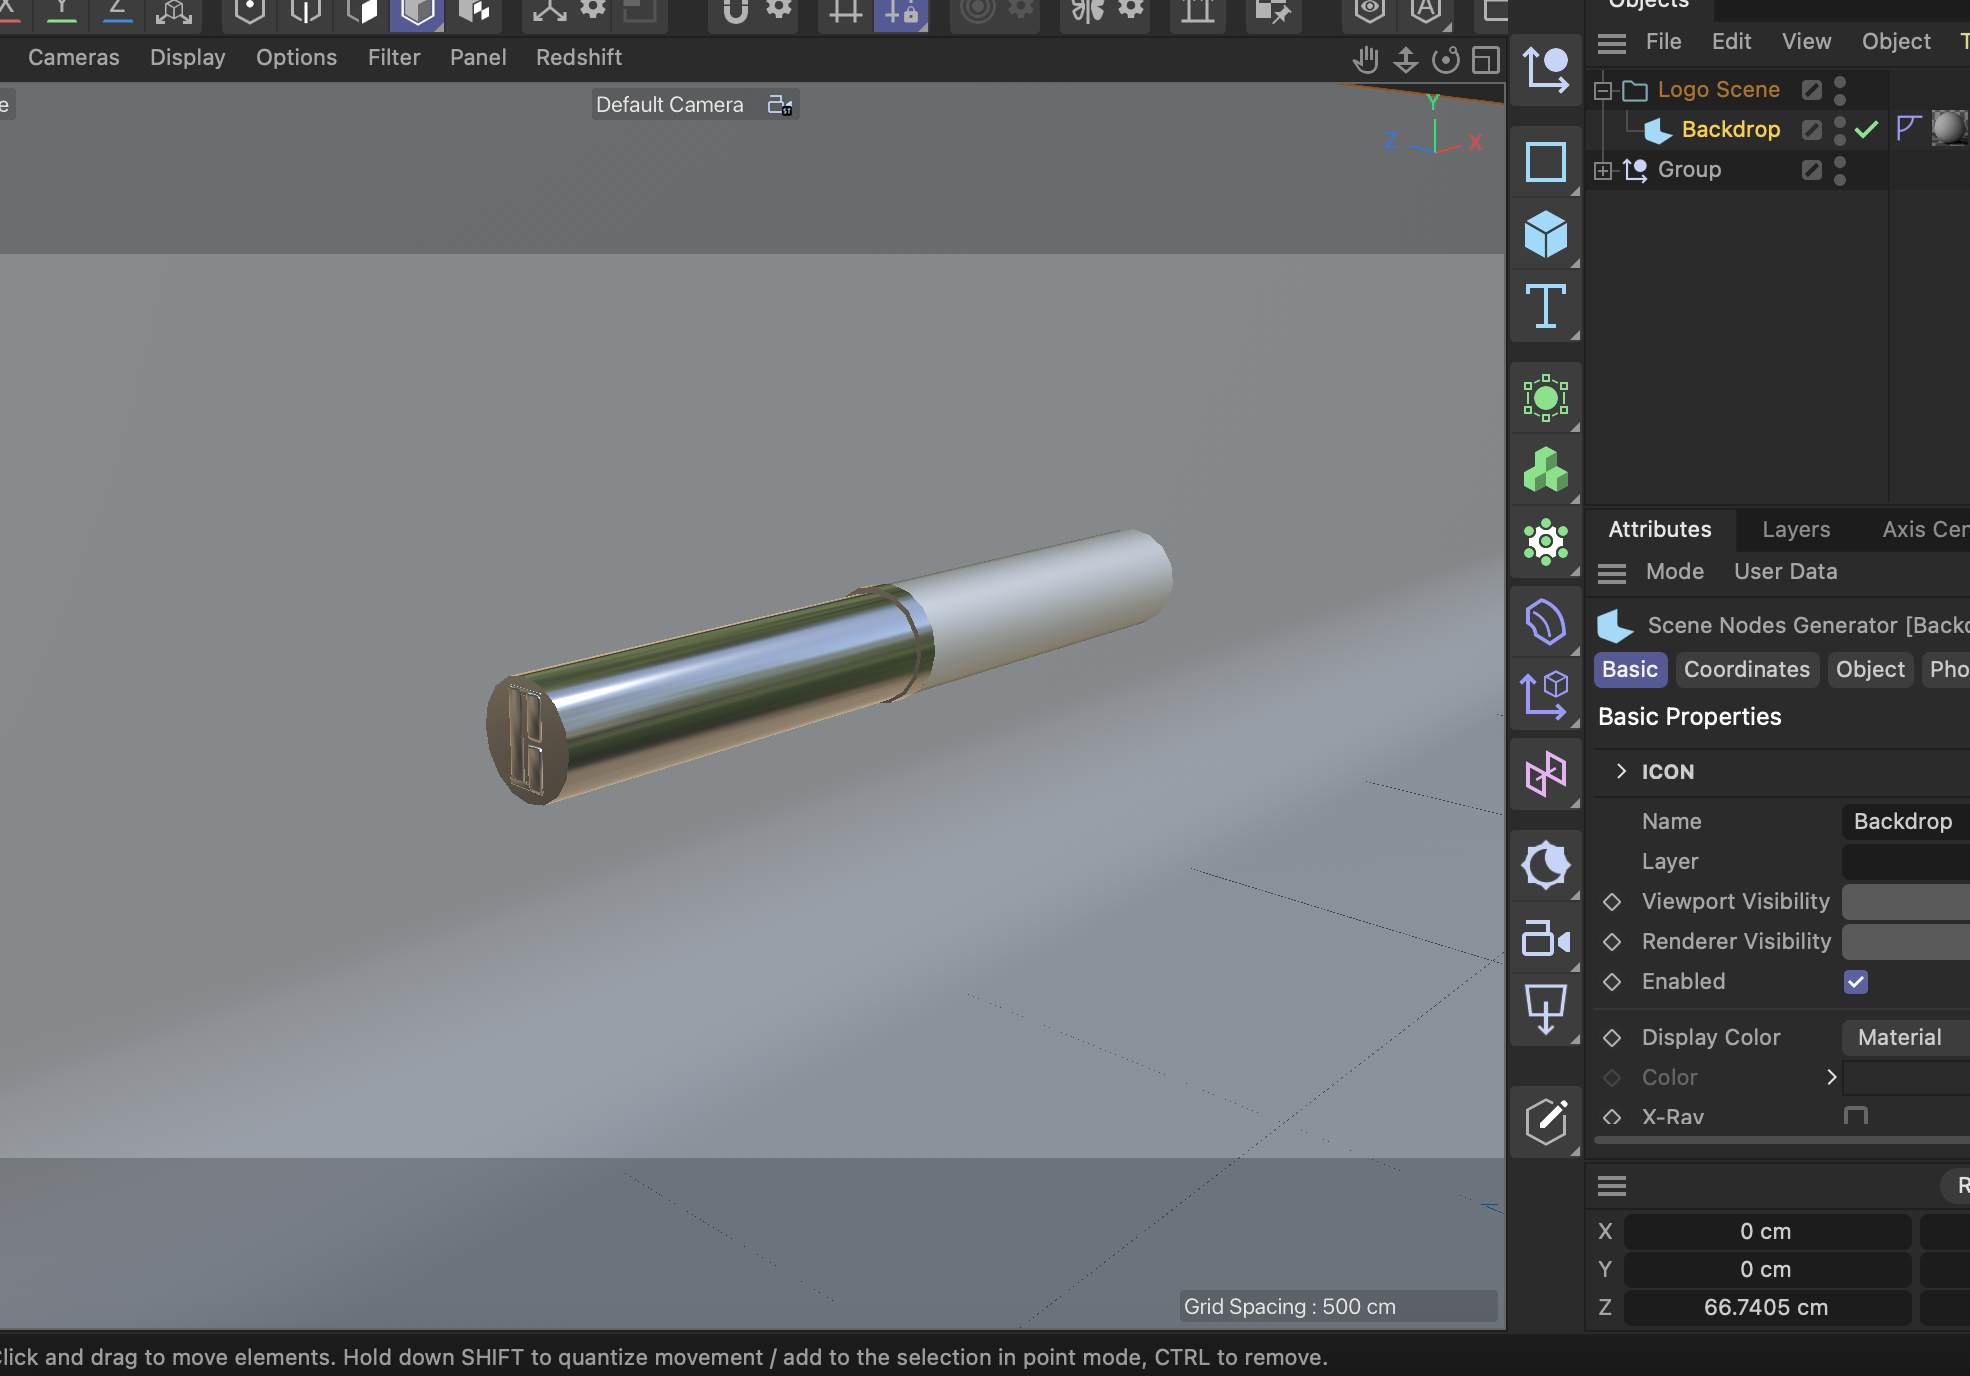
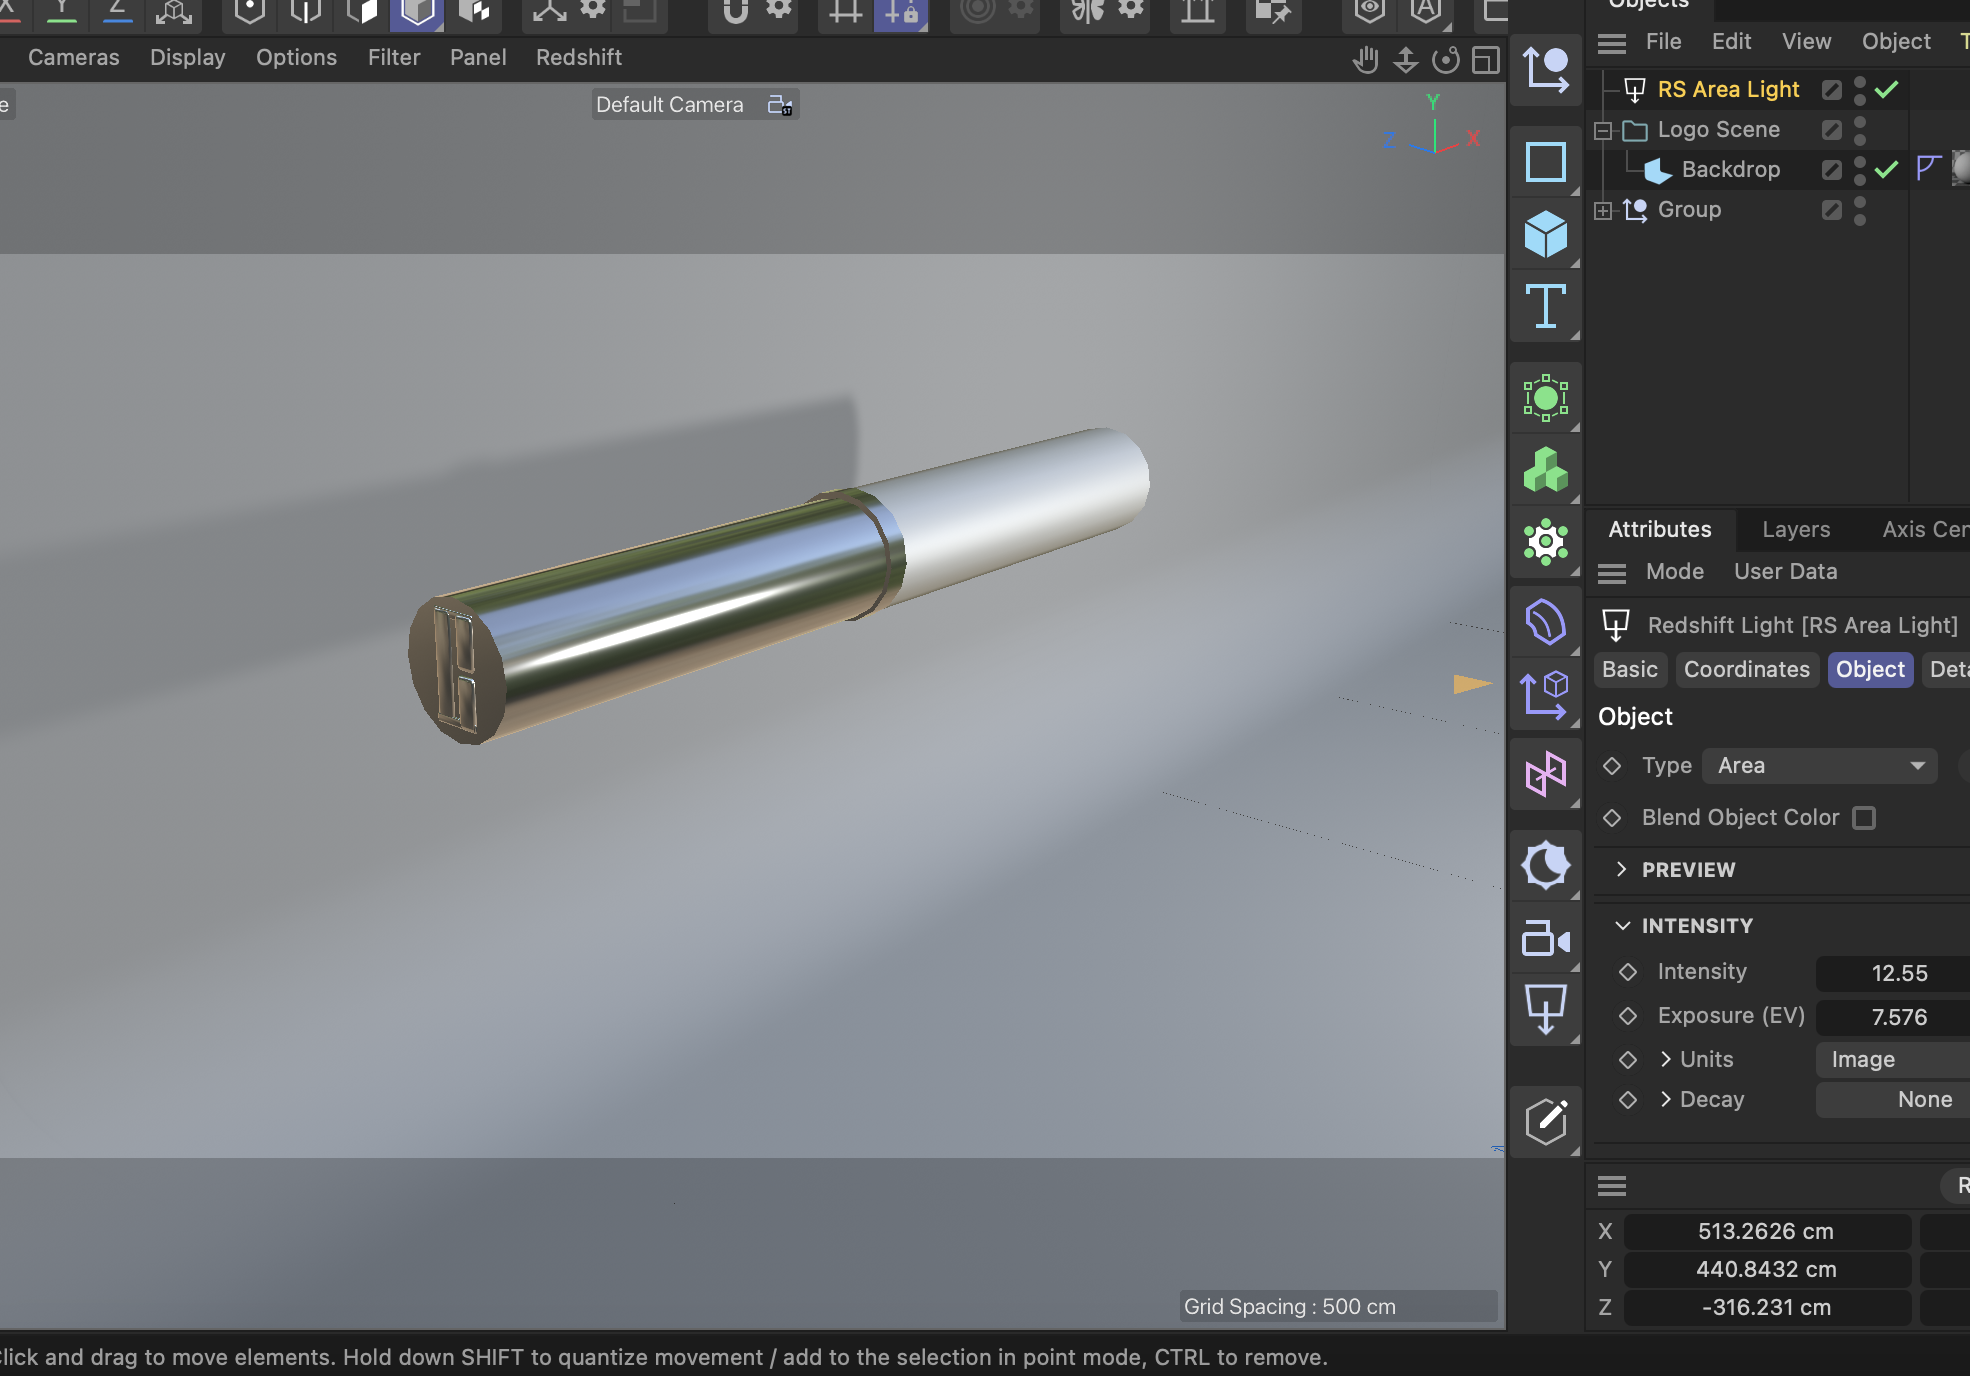
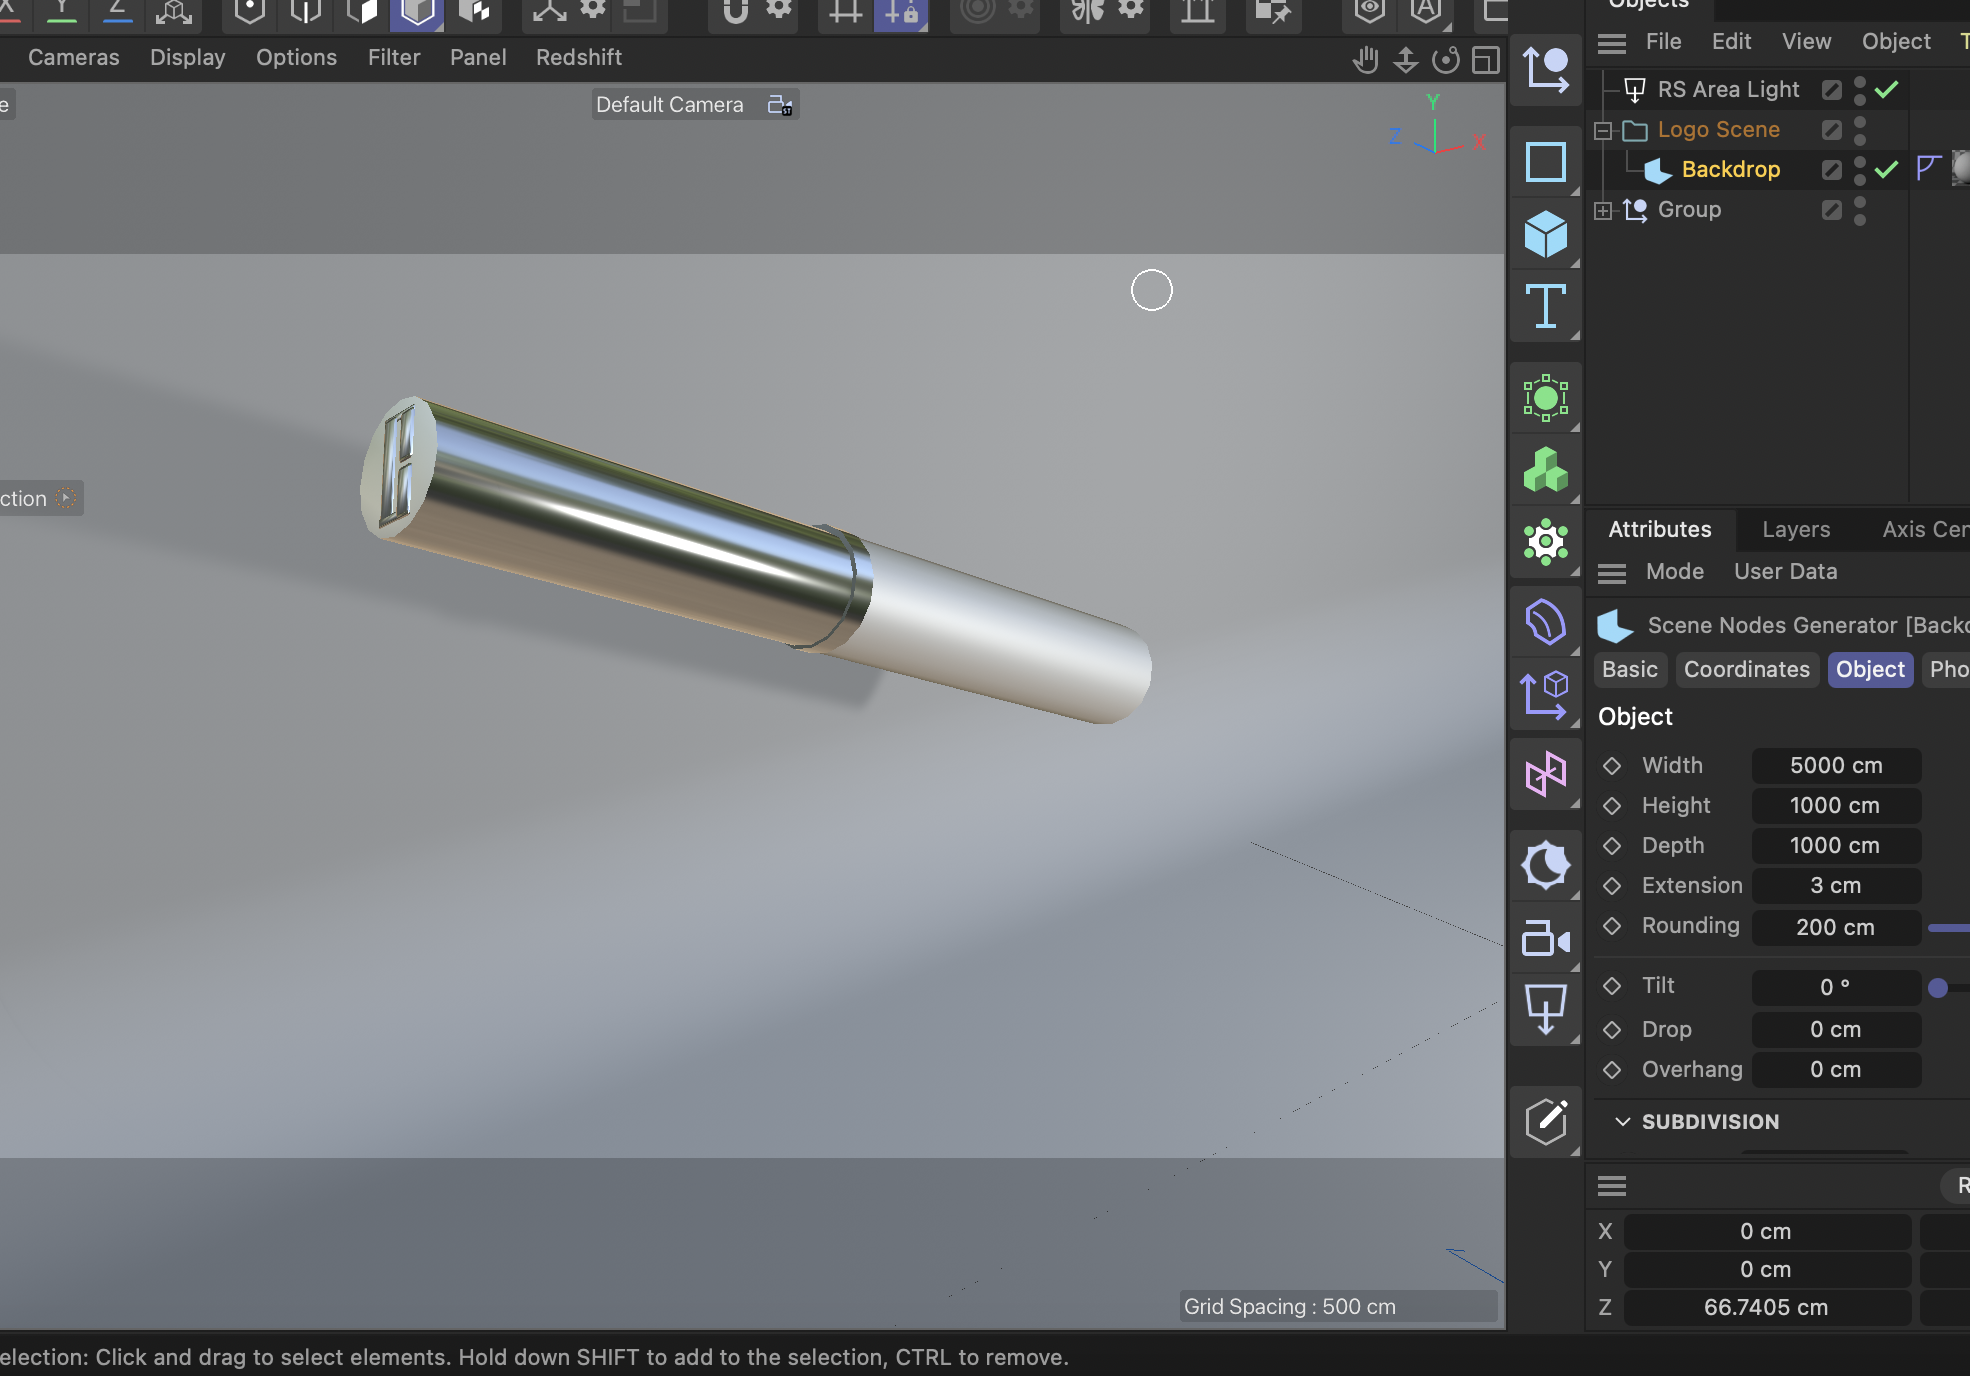
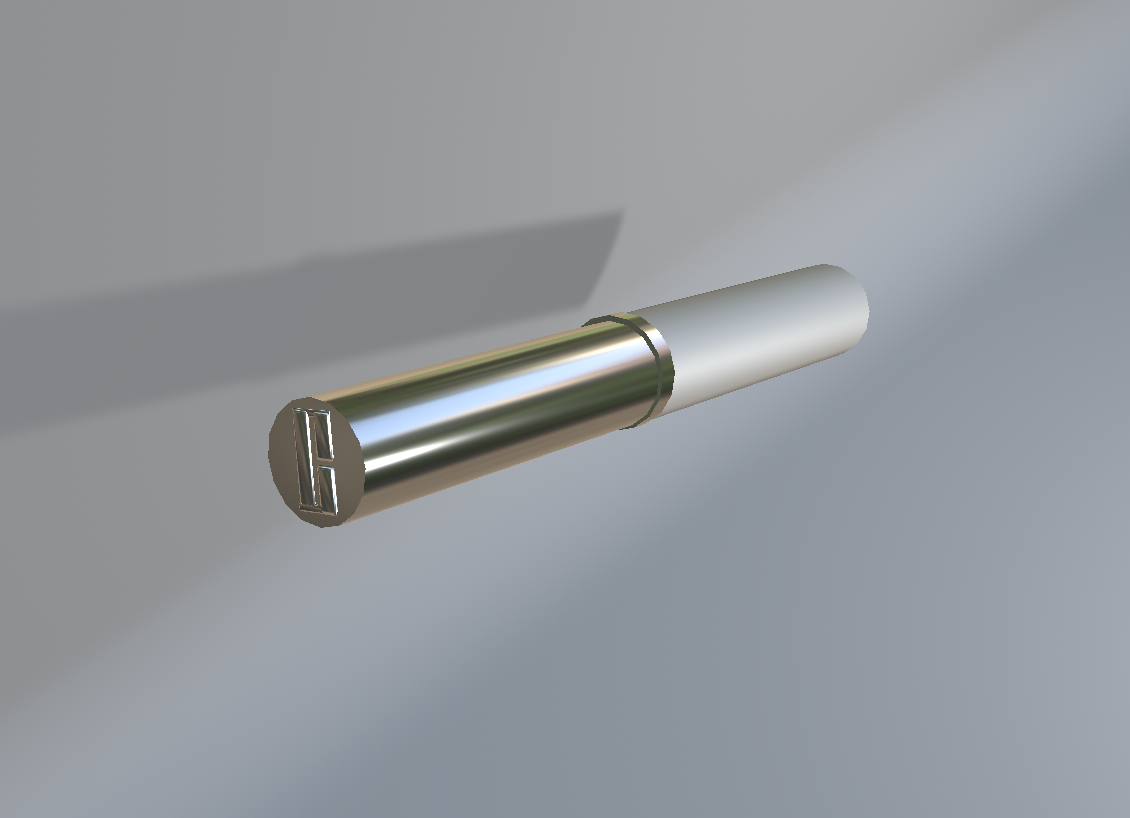
Starting with a basic cylinder. I decided pretty early on that I would be making this using three pieces for the body, the ring in the middle, and then the cap! Cap detached. A closeup of the ridge in the middle. I wanted it to be smoother, but it’s not as bad if you don't zoom in. So, on the actual lipstick, there’s a sticker here, but I decided not to include it. For the record, I took the sticker off after I realized this. All the basic pieces put together. Playing with different levels of metalness. I'm not sure if I like the gray undertone of the body piece. It makes it look translucent. Making sure the pieces are all lined up. All of the pieces, textured, and detached. One of the things I wanted to do, but couldn't achieve, was a slightly rounded corner on the main pieces. Clearly, 'smoothing' wasn't the right tool for this. I got stumped on the logo because in the actual product, it’s debossed into the cap. I didn’t know how to do that in cinema4D, but I still wanted to include it, so I decided to try and make an embossed logo instead. I made the logo by connecting rectangles that I filleted. One issue was that they didn't blend into each other even when you lined them up perfectly. I tried to mitigate by using a smoothing deformer, but it still didn't quite give me the effect I wanted. To start, I don't think the steps I took to make the logo piece were the right ones. I feel like there was an easier and better way to create the lettering than grouping together more primitive shapes. Pressing the logo in a little more. If you look at it from an angle, it does look a little debossed? Making sure the C is centred Trying out different colours of undertones. I found that a nice cold blue matched the colour of the product nicely, but I wanted to try red just for fun. The vibe of this red reminds me of Rimmel London. Blue undertones look closer to the actual product, but this is a little too blue. Final decision on colour for the cap. Another thing that stumped me was the texture of the body piece. The actual product has a bunch of little streaks in it rather than this model’s solid matte white, but I couldn’t figure it out on my own. I assume it’s part of a lesson I’ll learn in later classes! Final decision on colour for the body piece. Adding a background. Positioning the model. Adding some lighting Putting it on an angle for less of a stiff-feeling composition Final!

Design Challenge 2
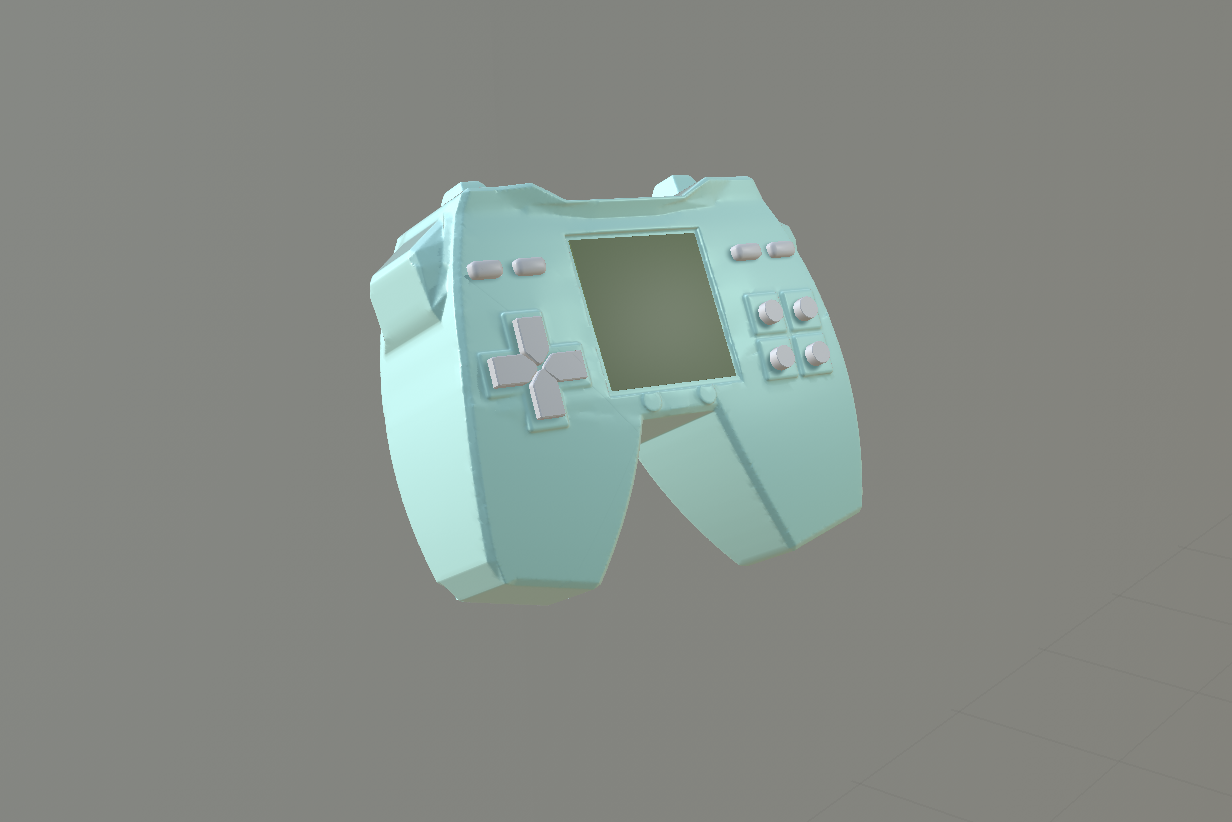
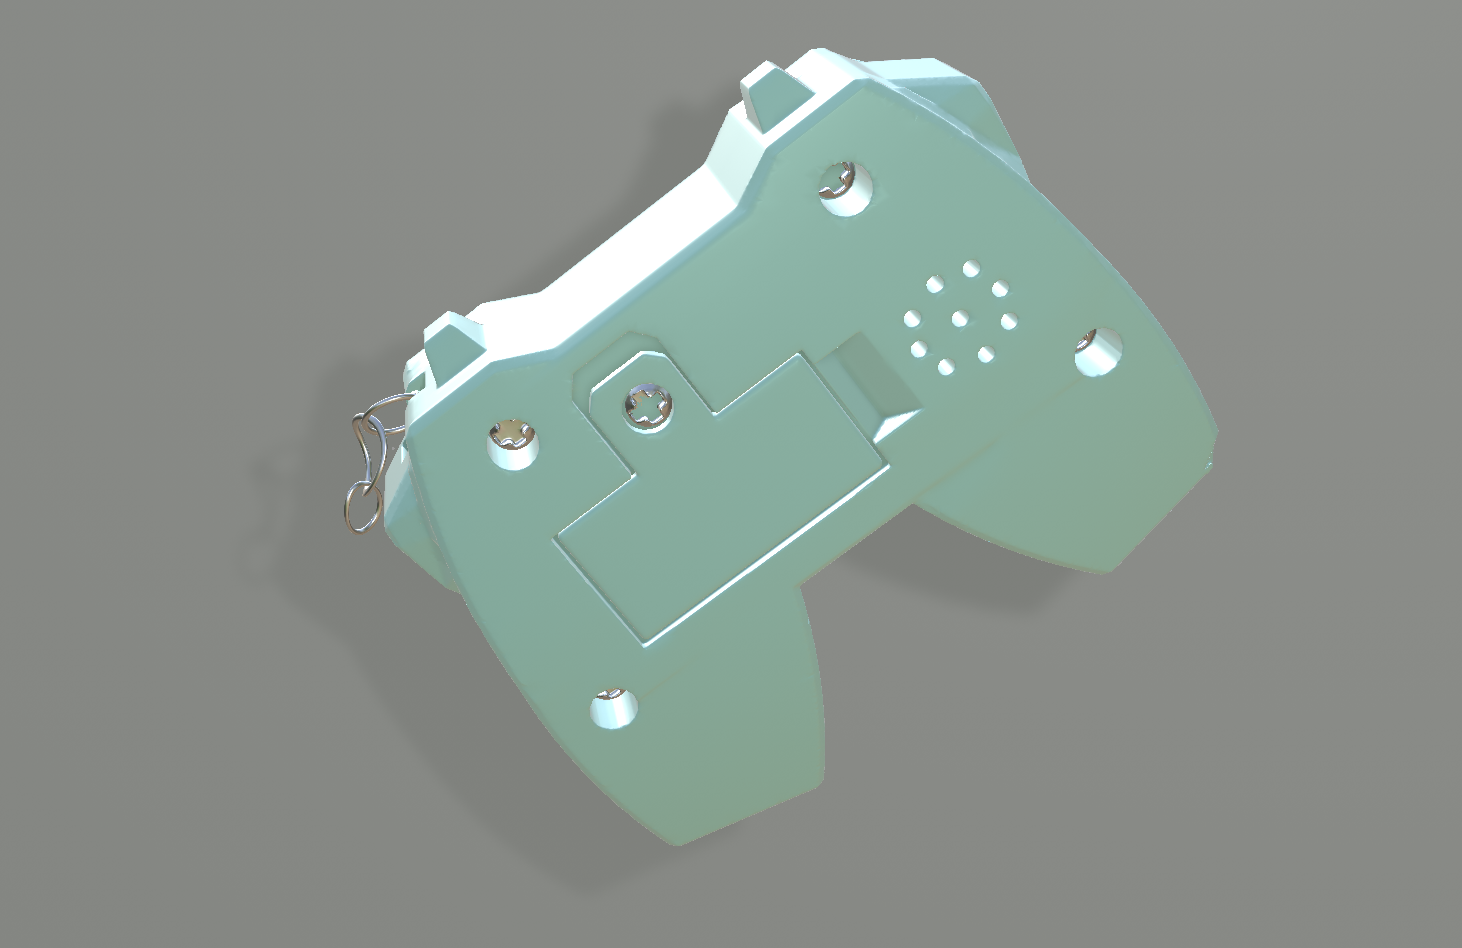
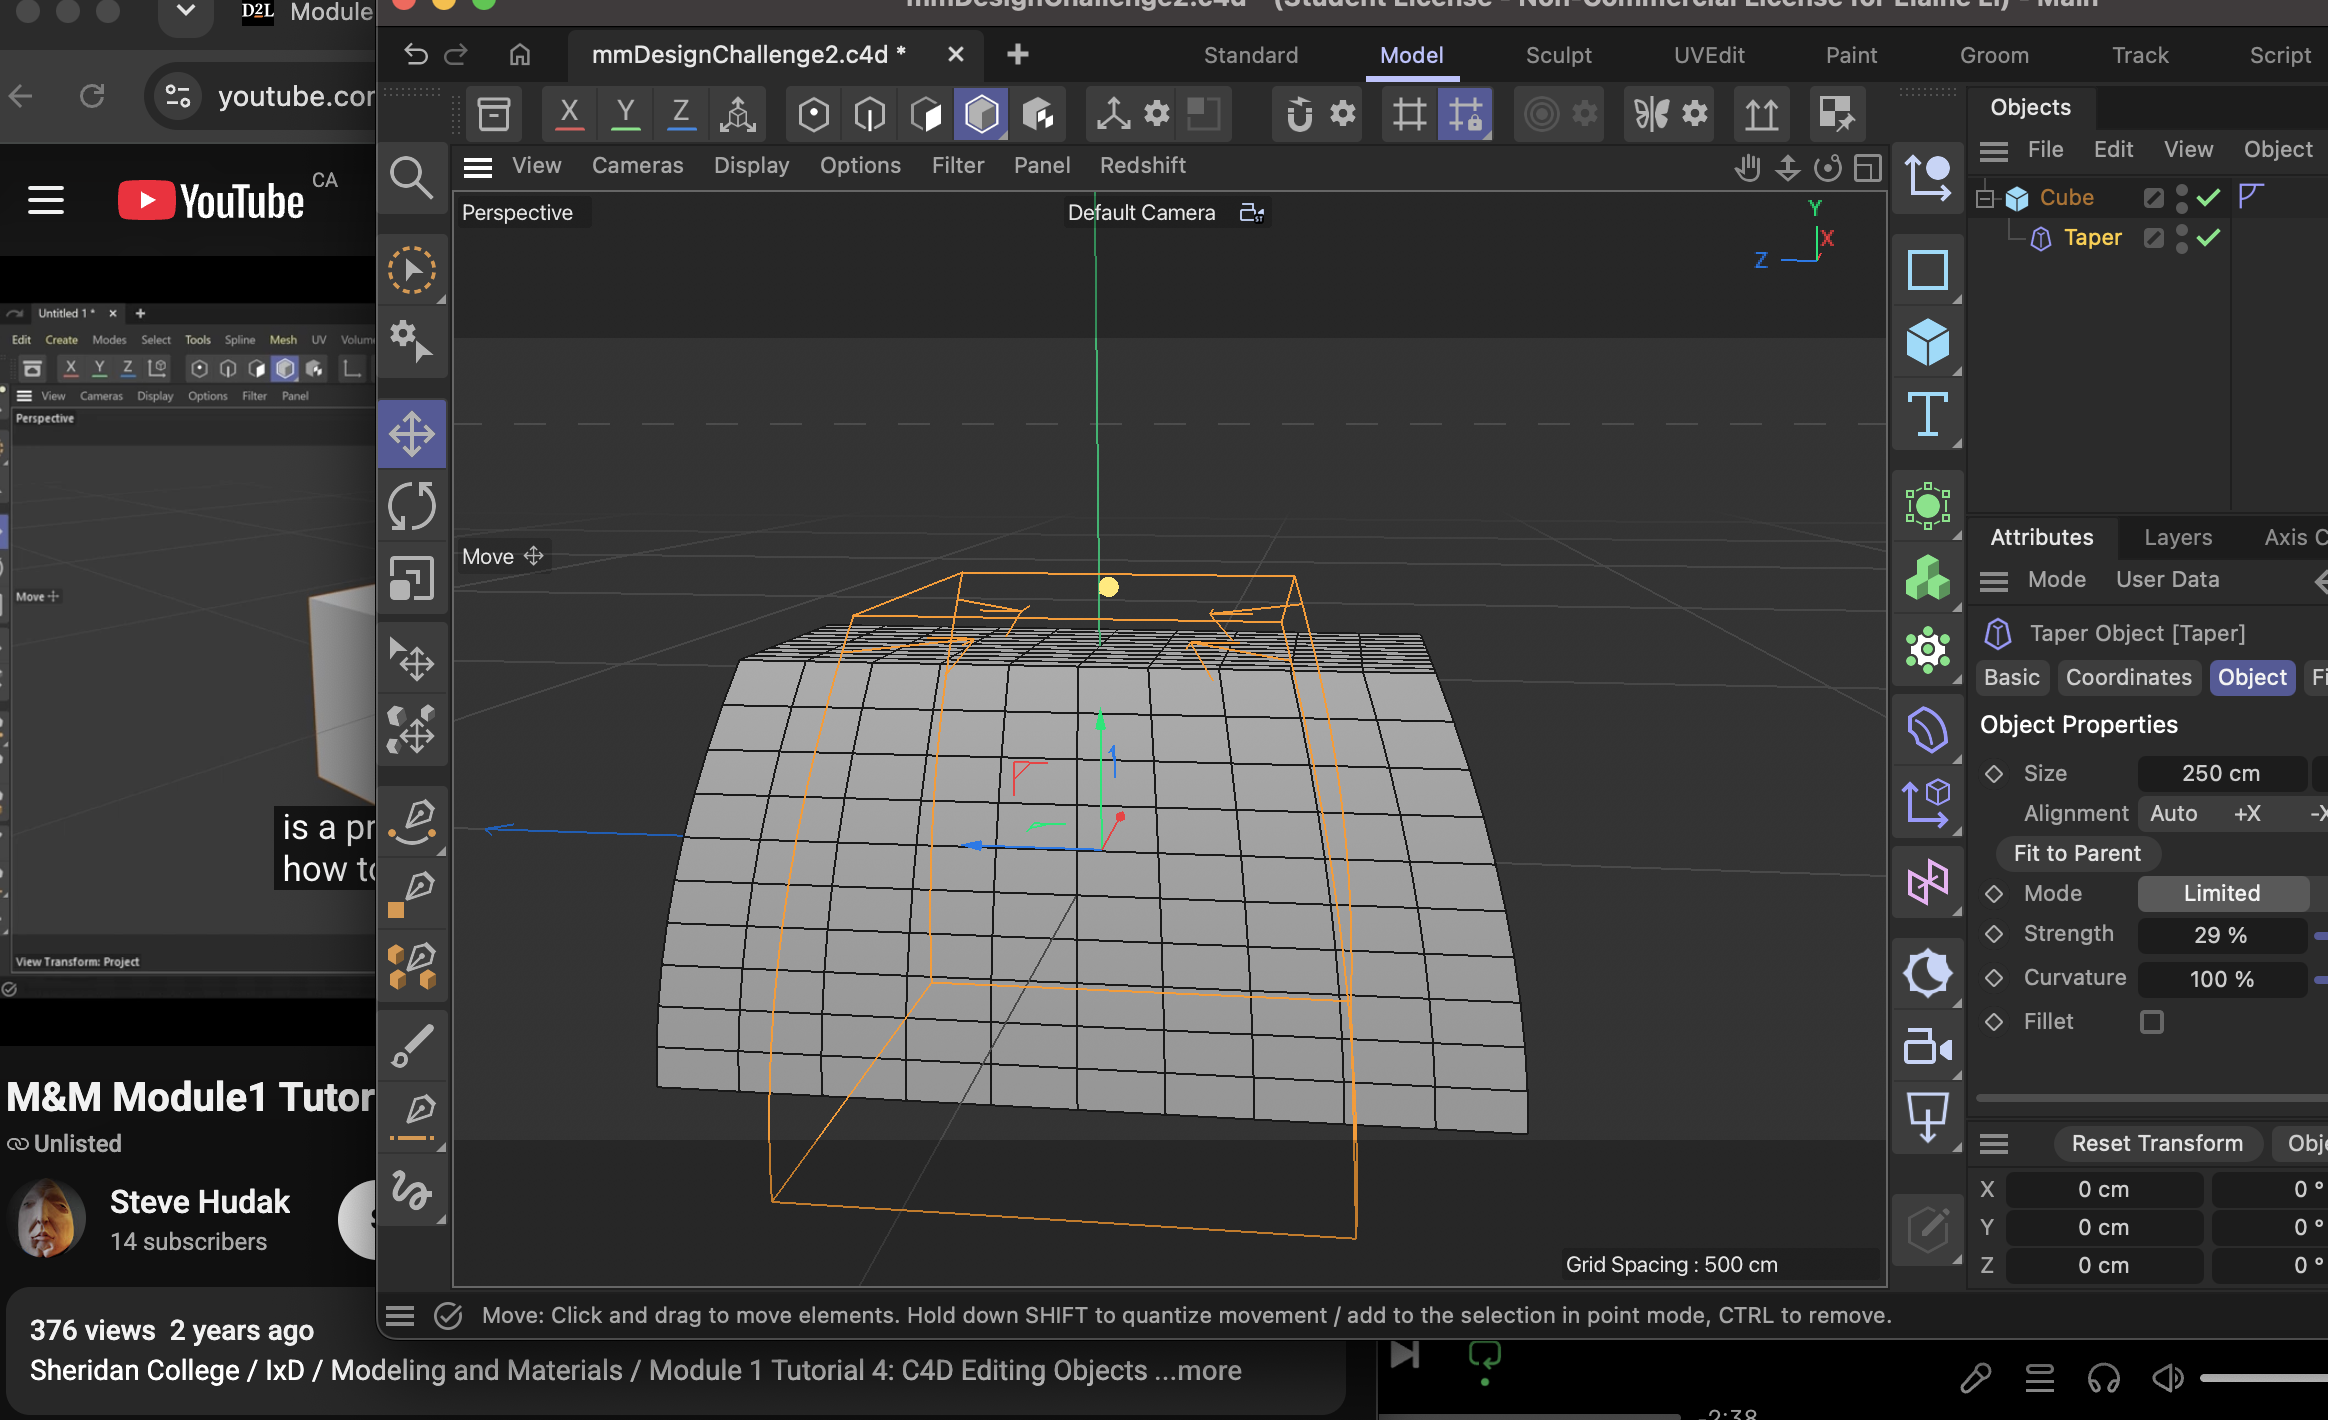
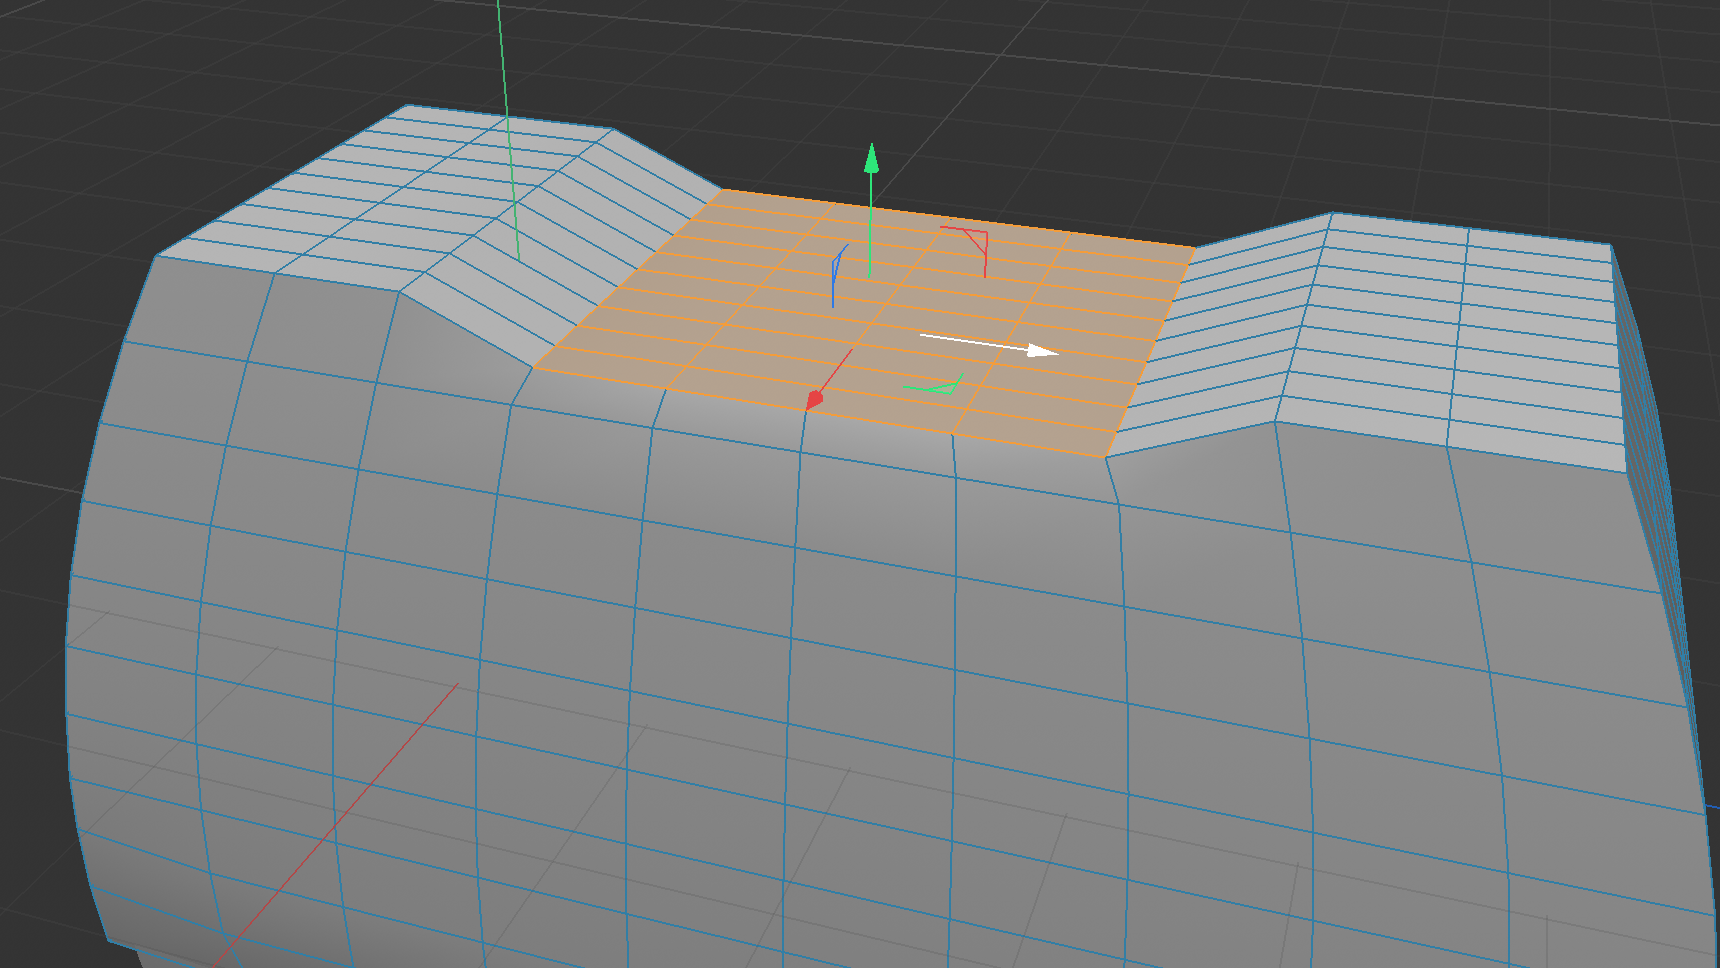
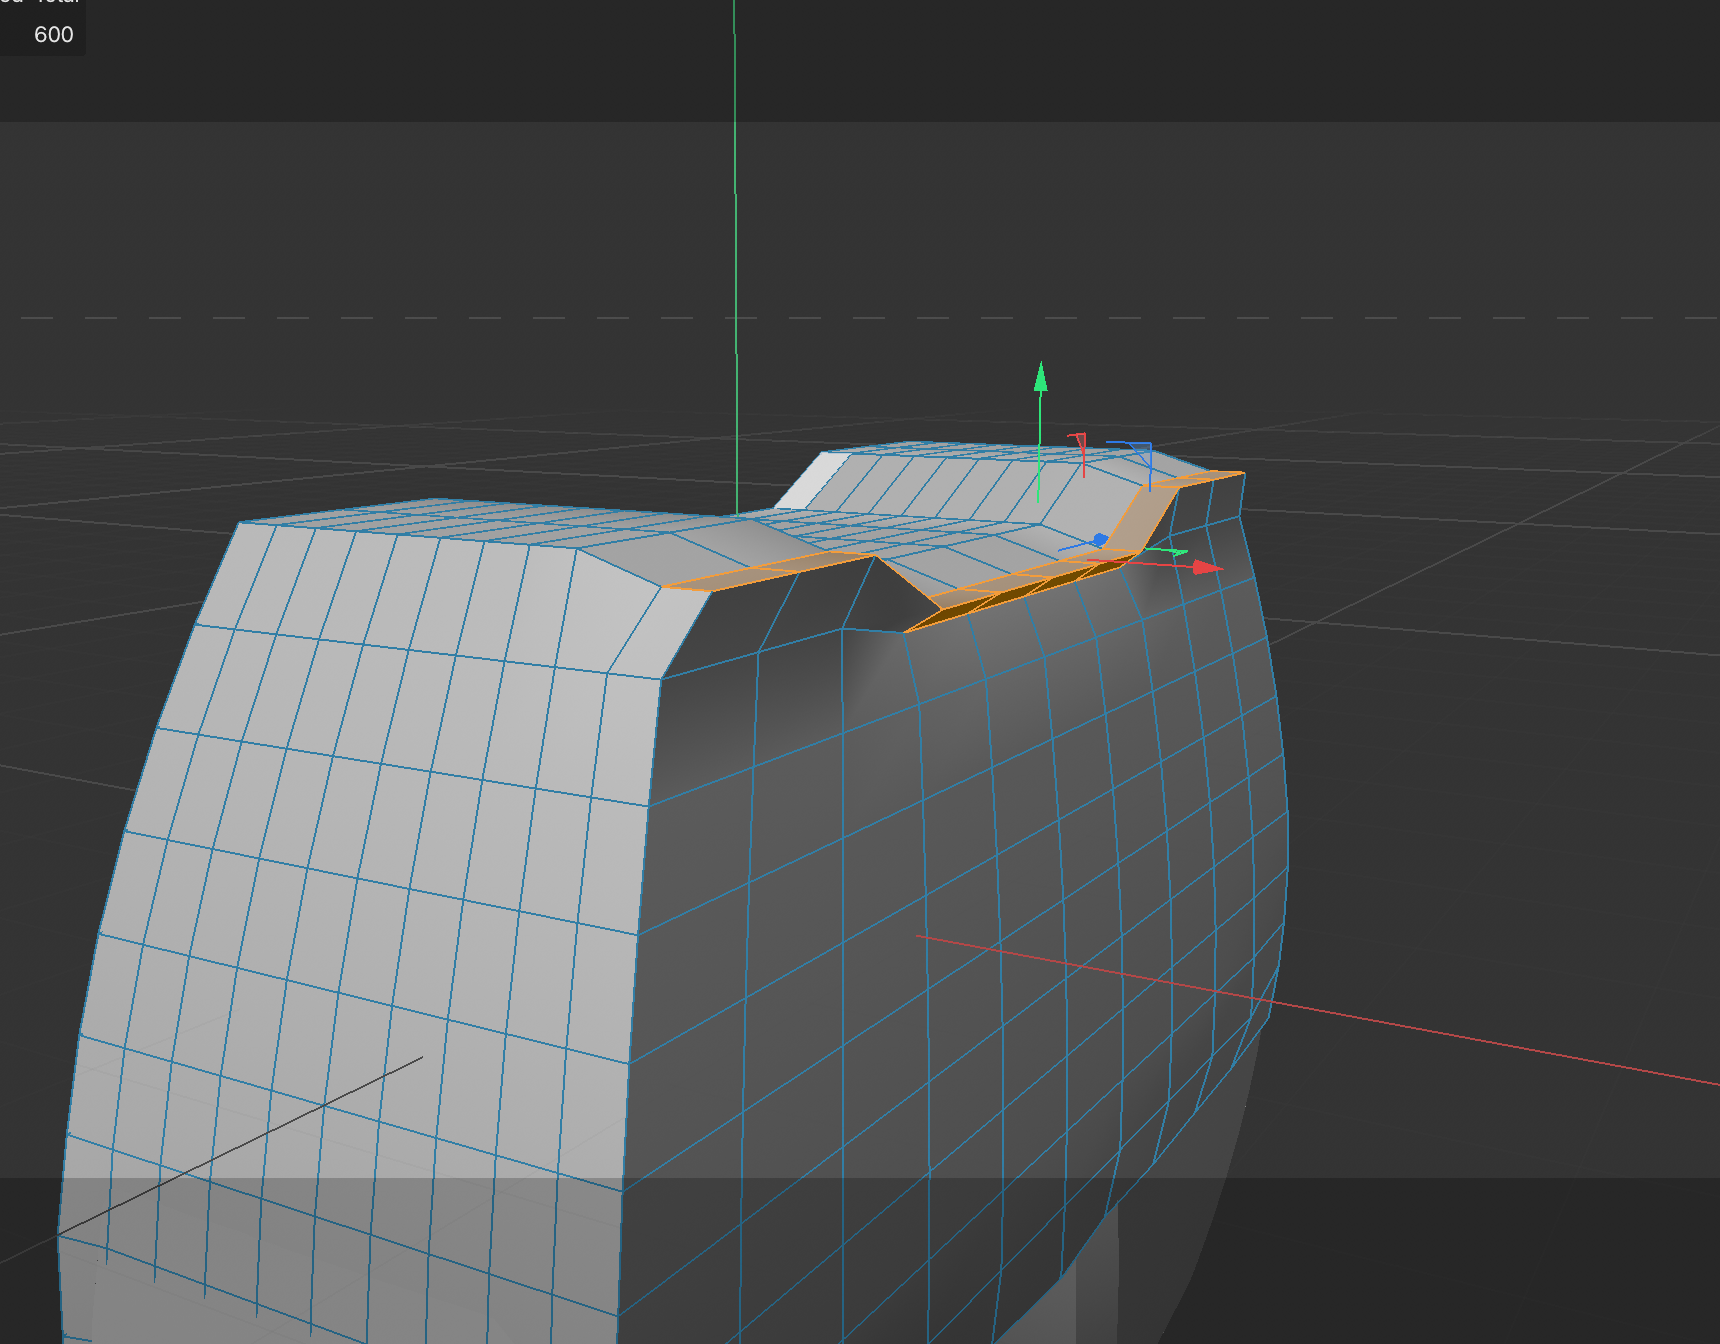
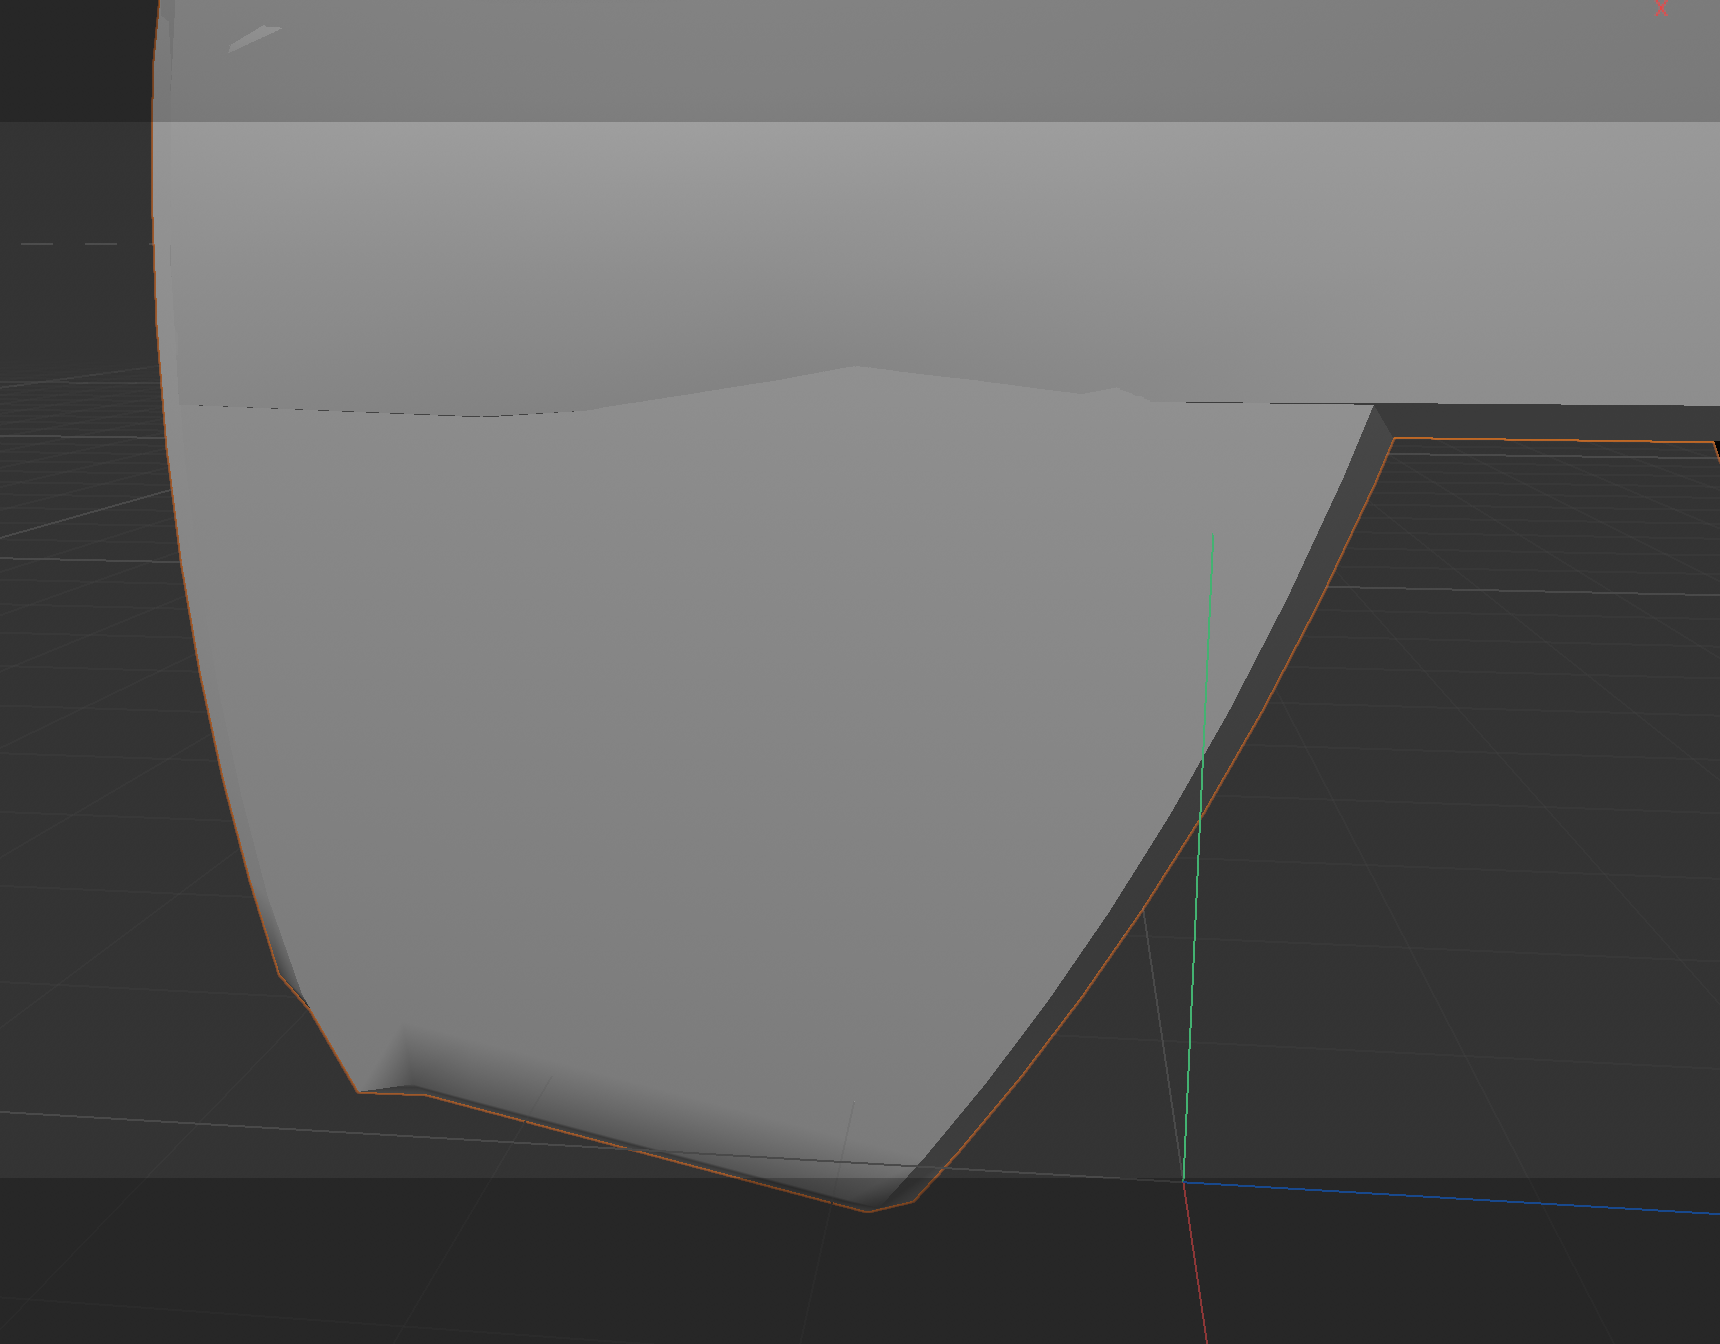
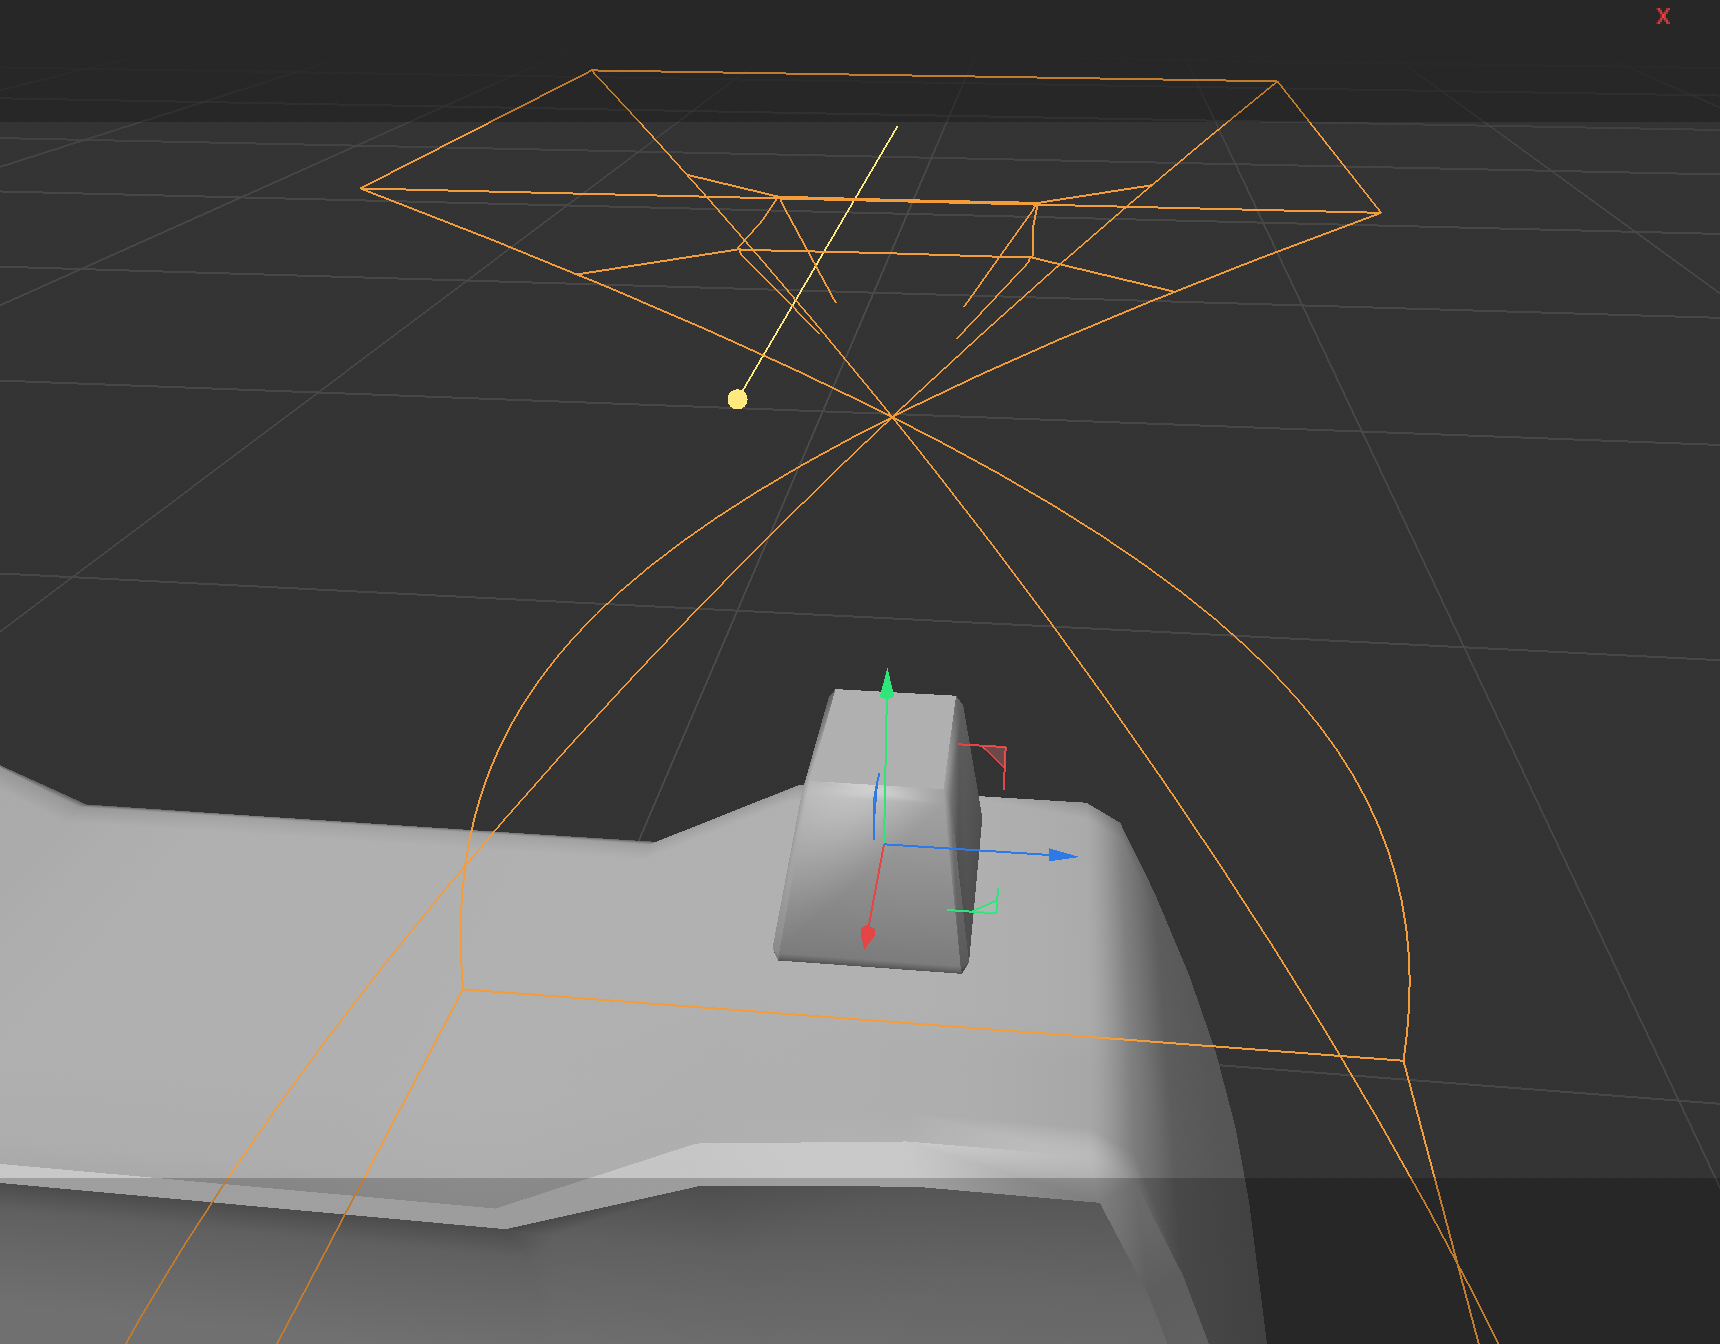
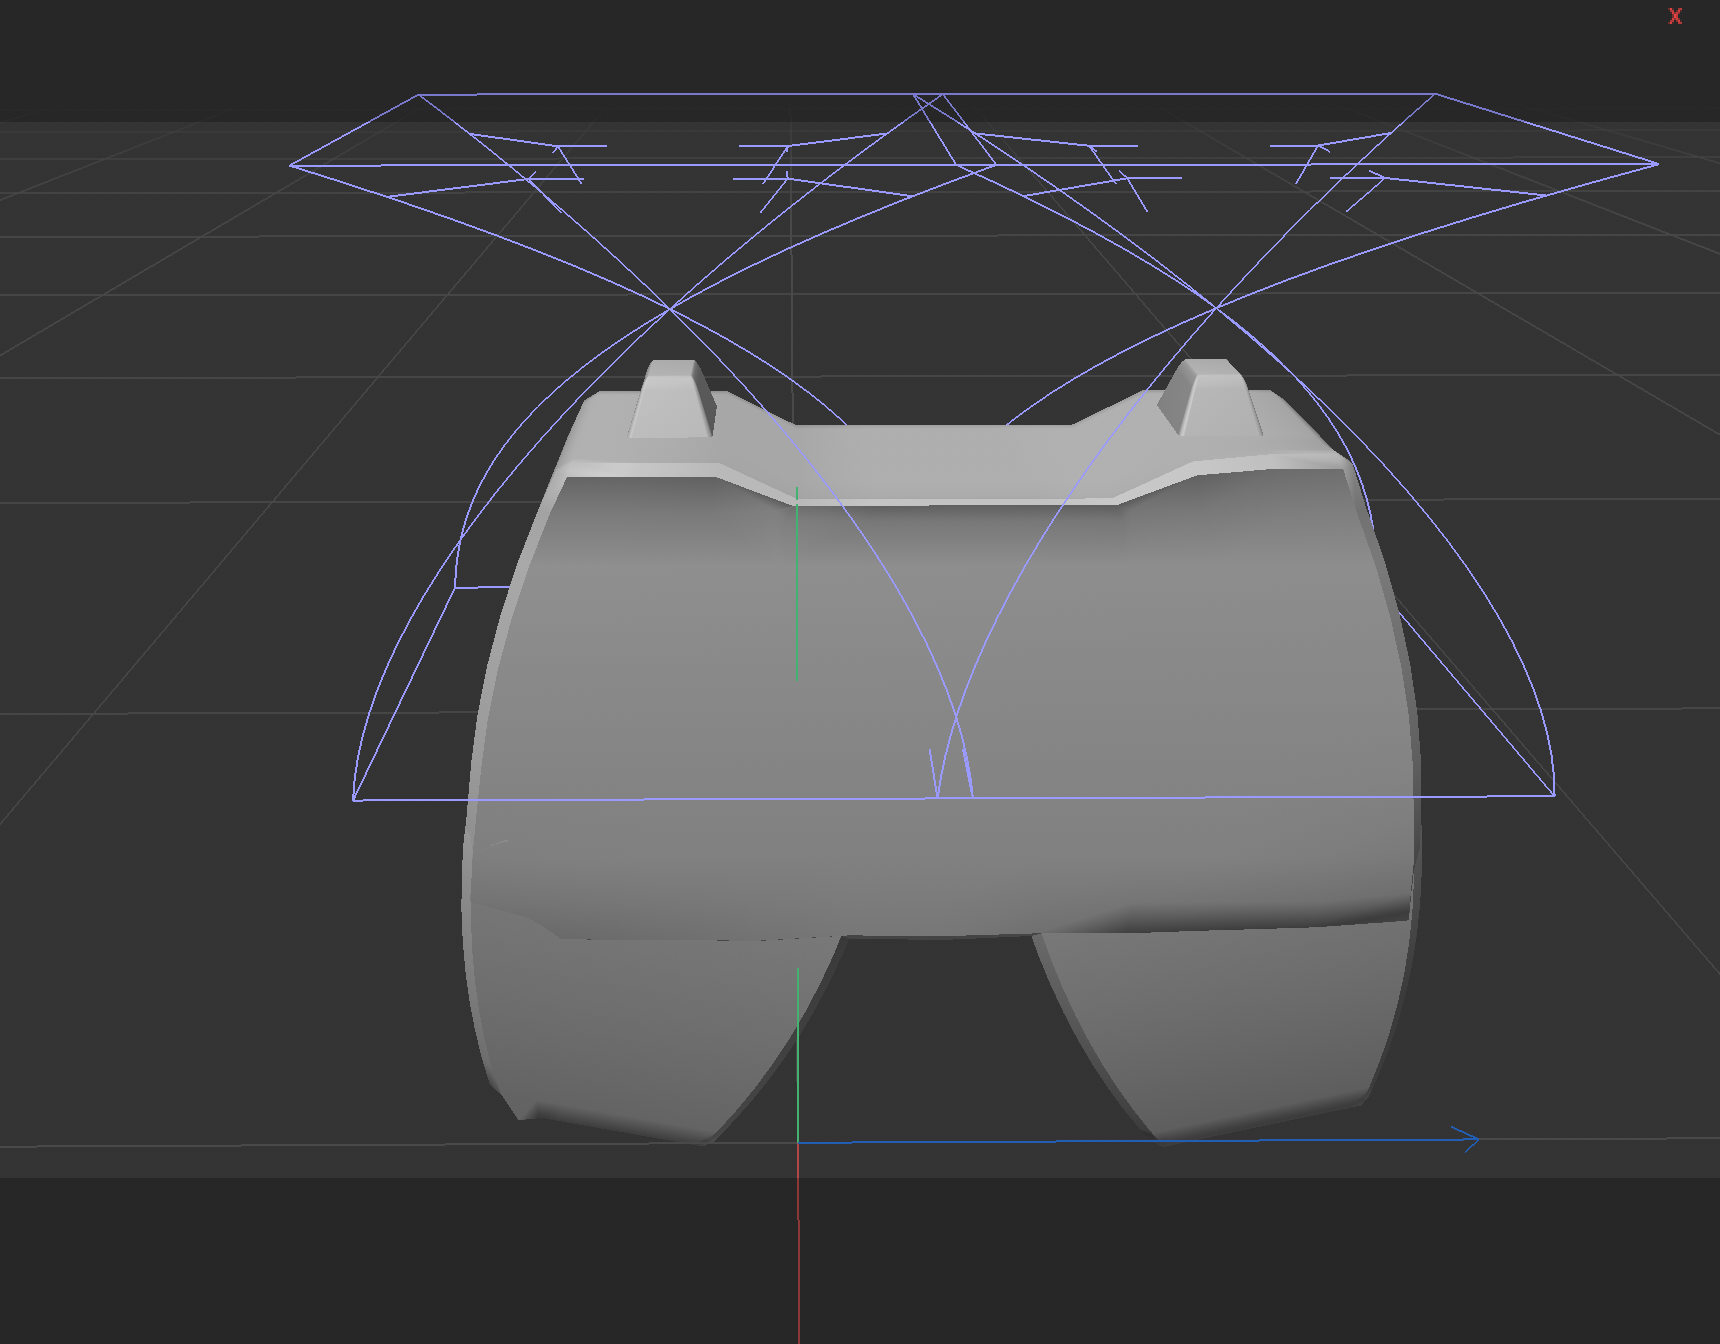
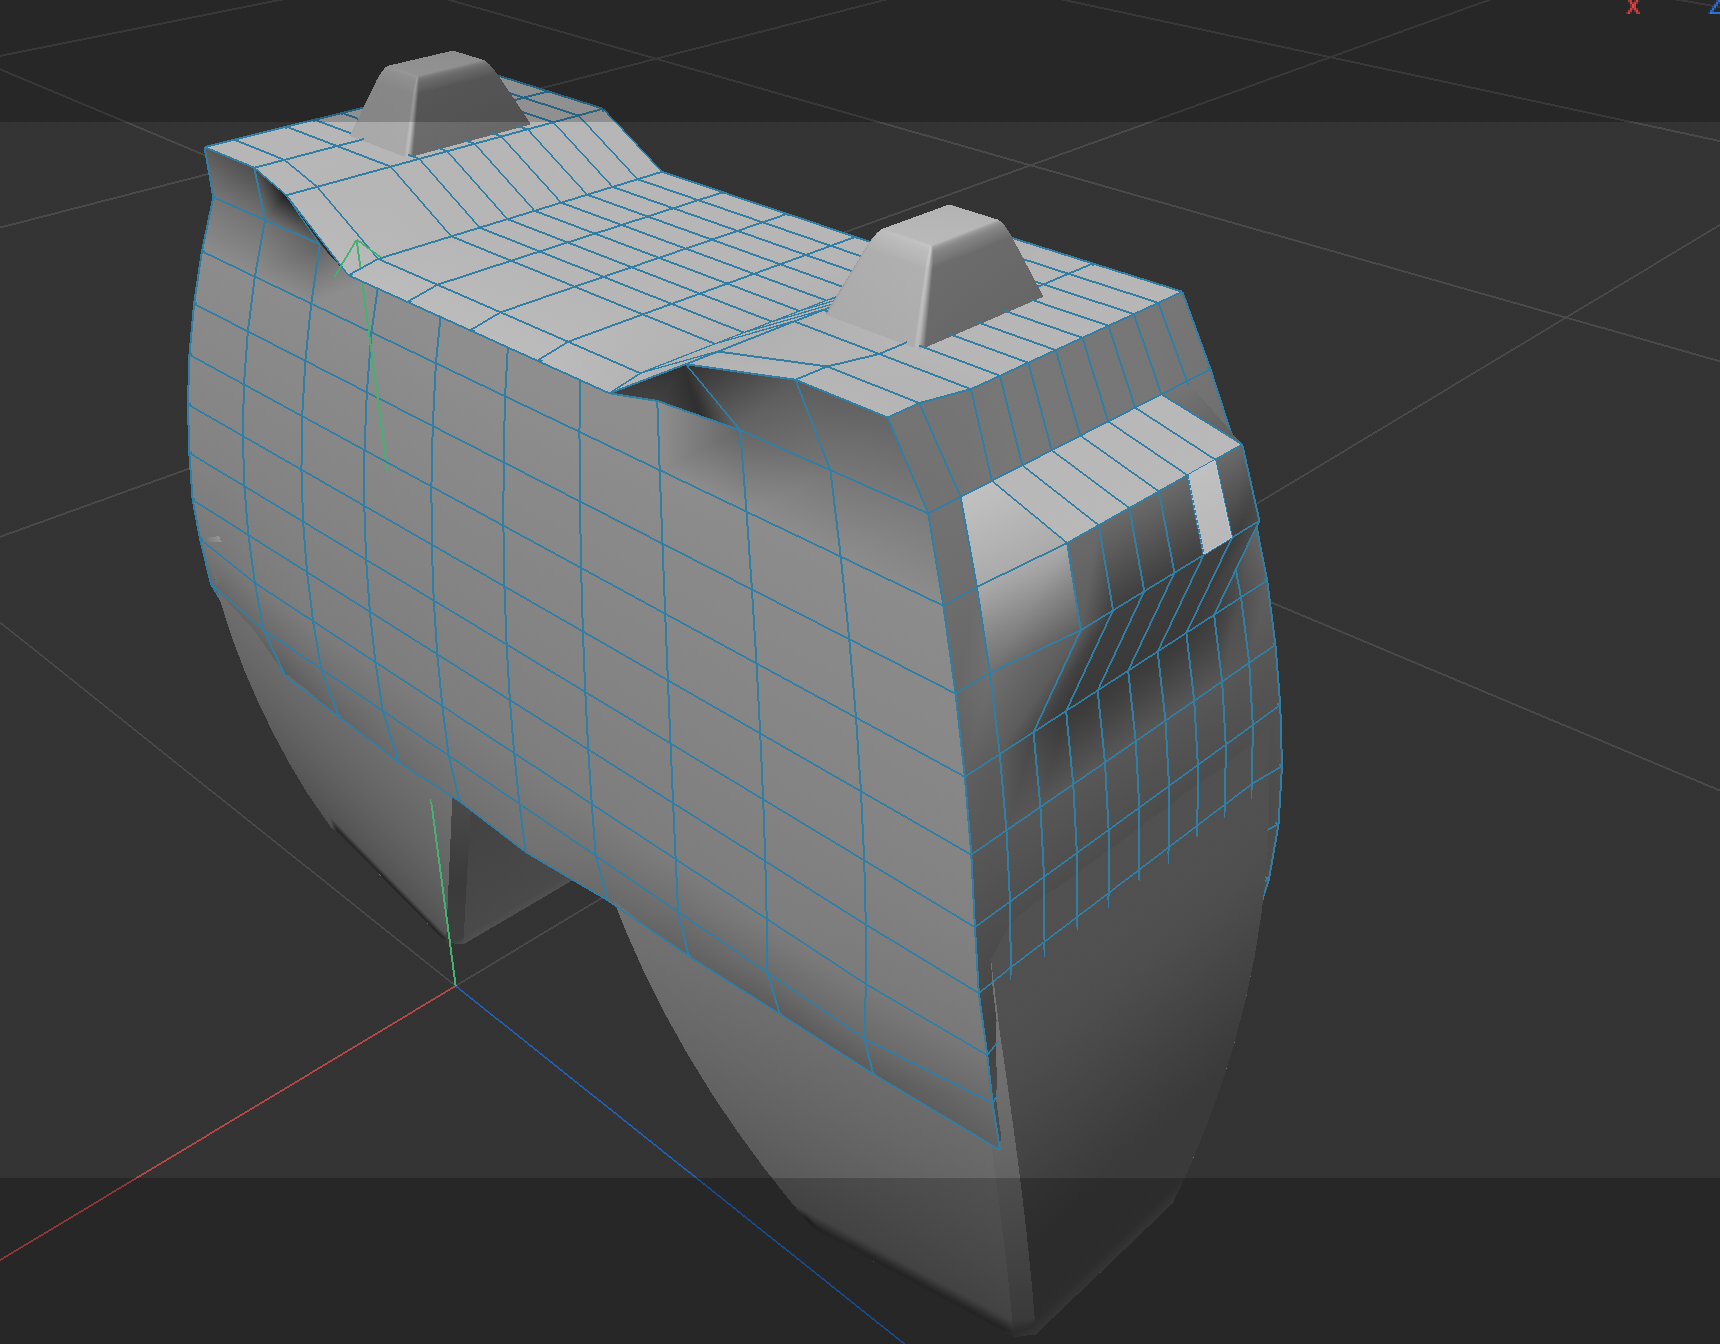
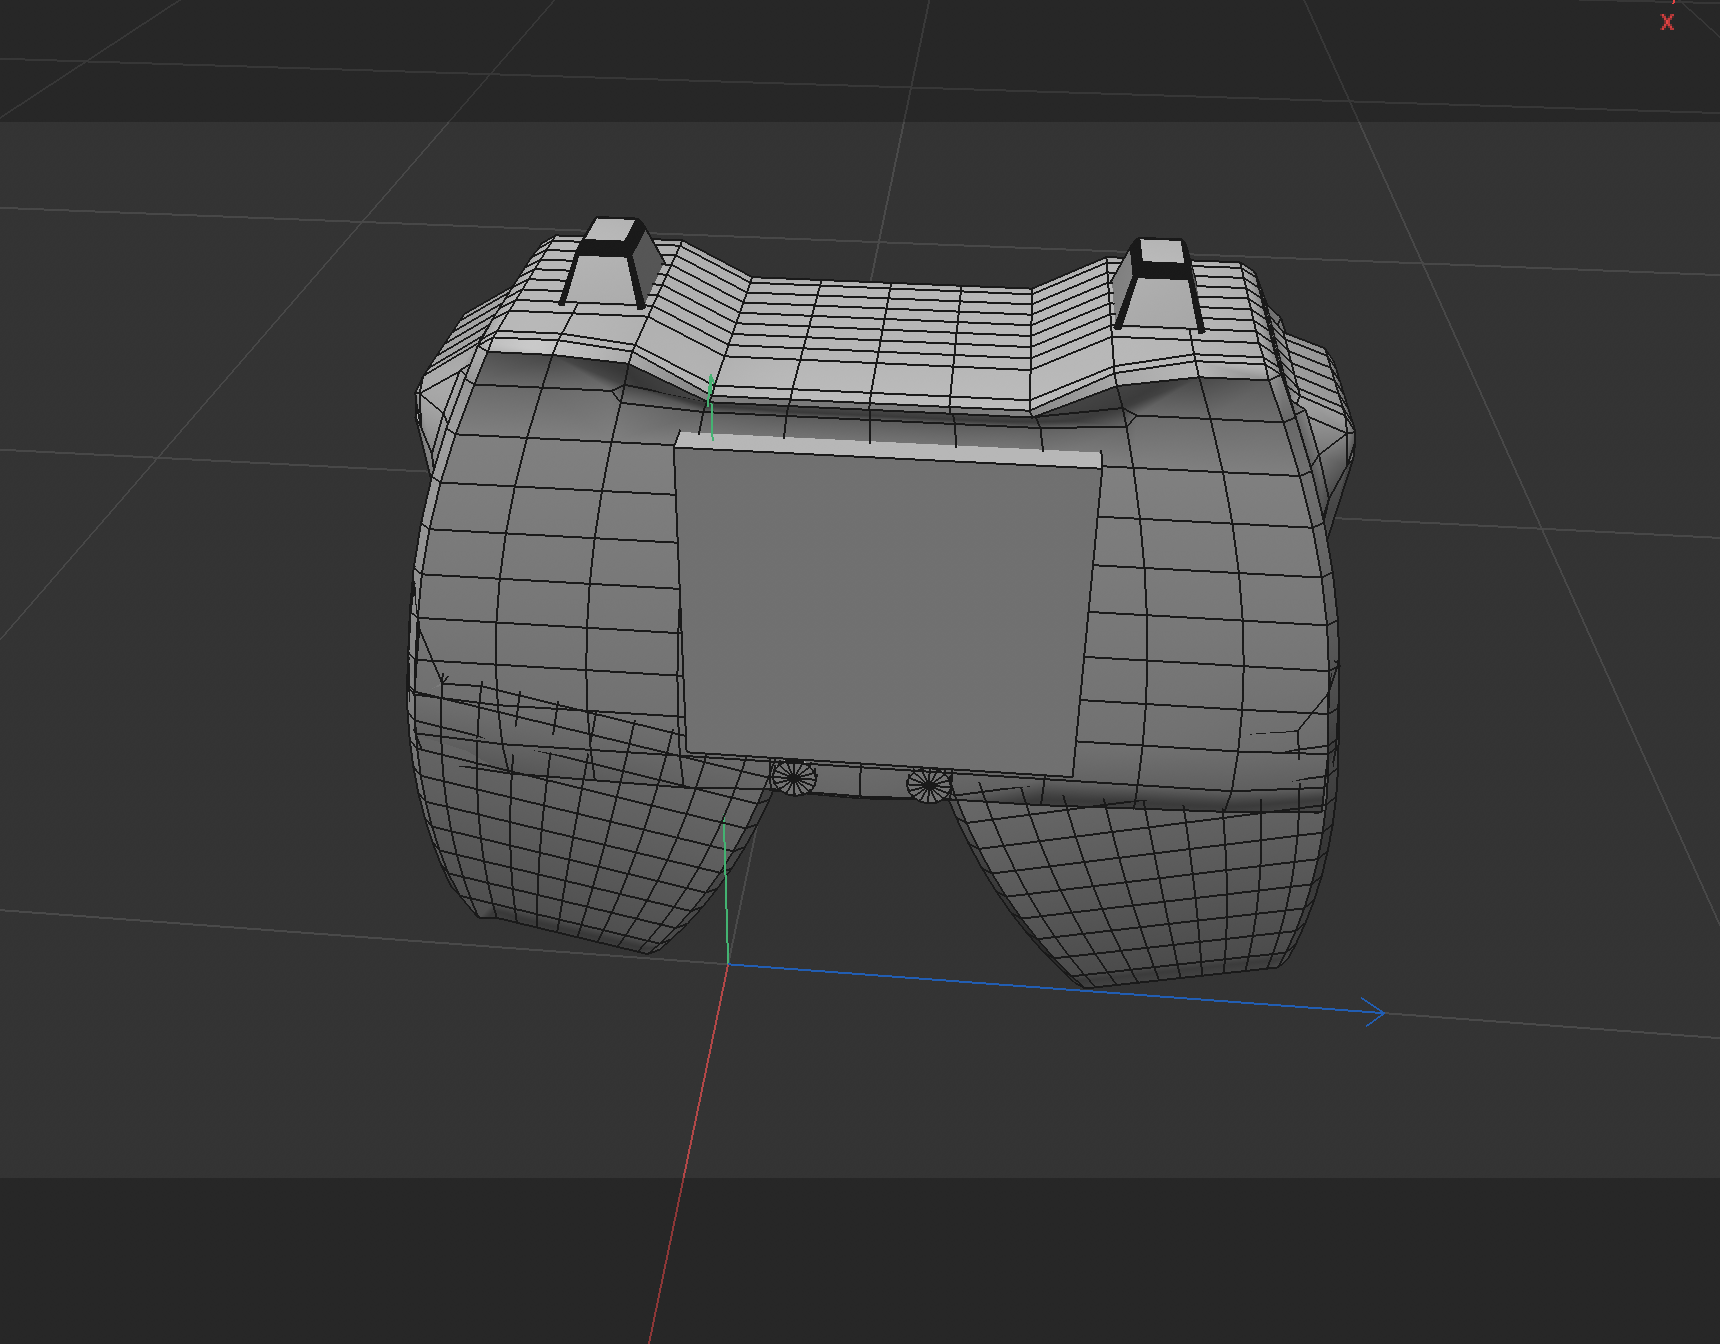
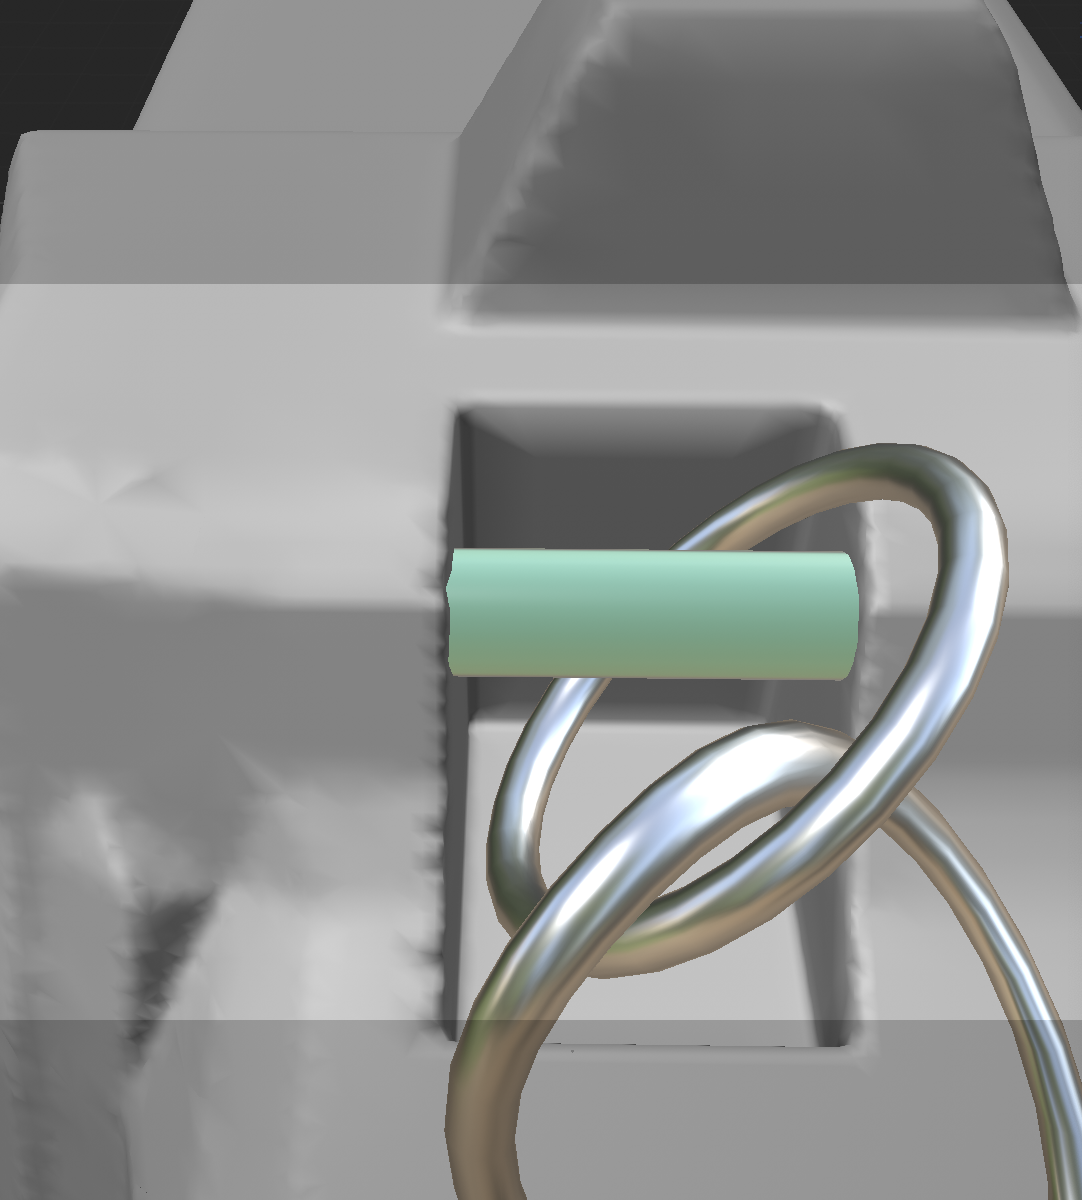
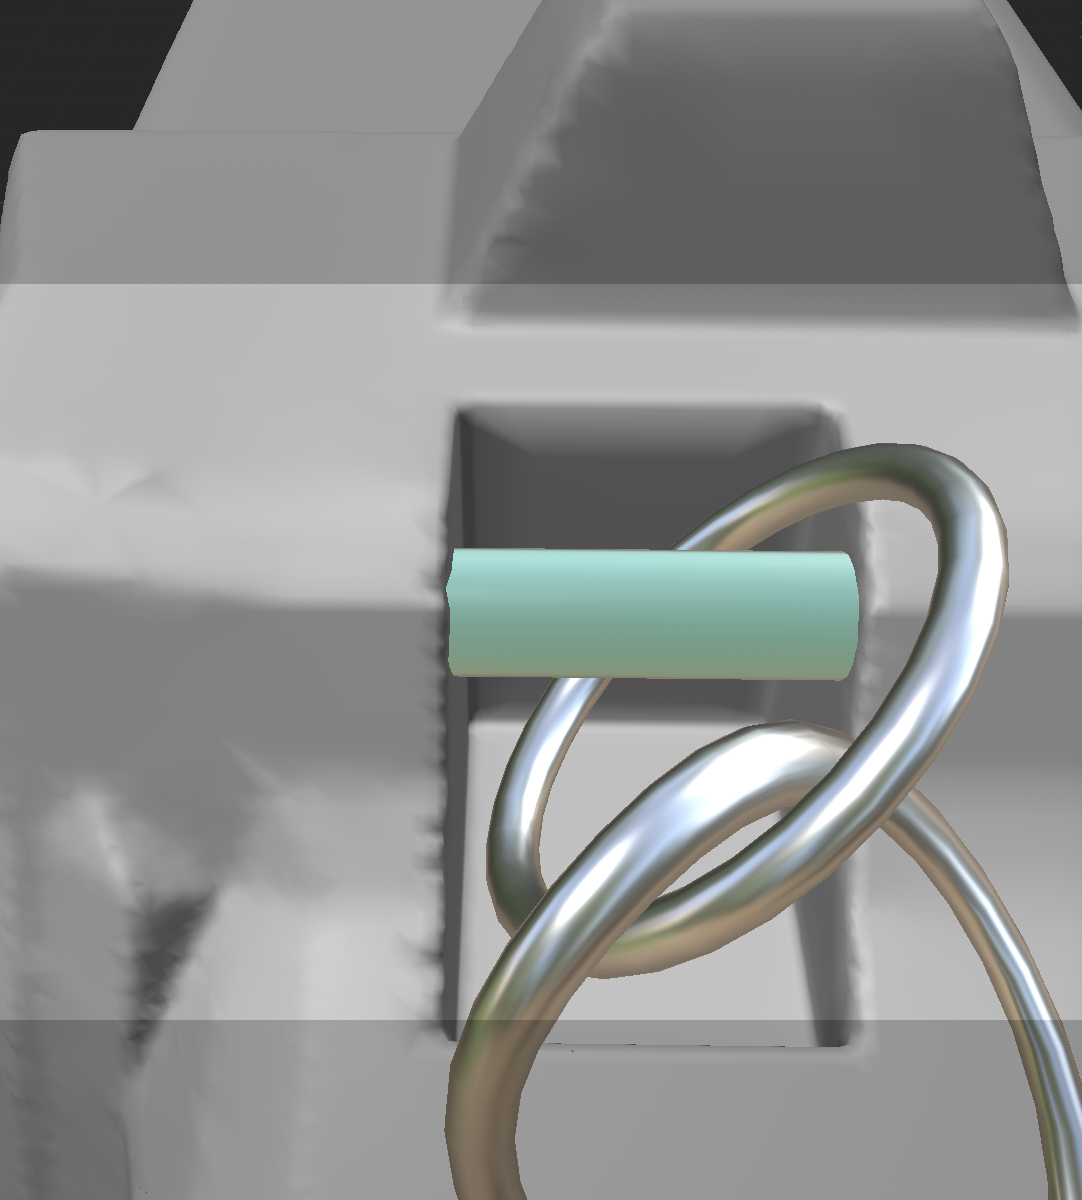
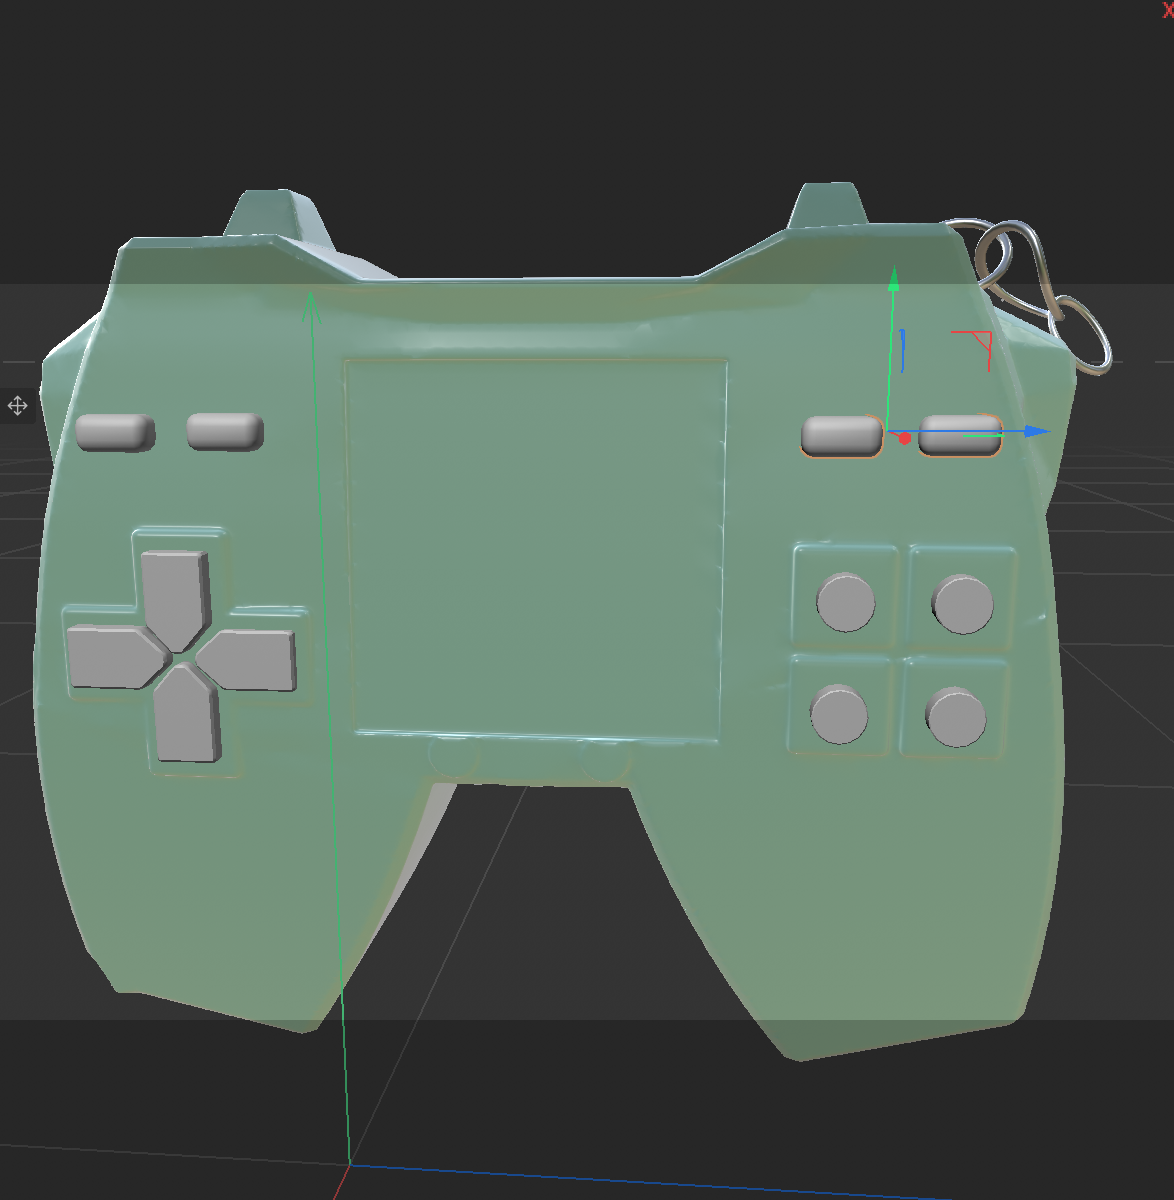
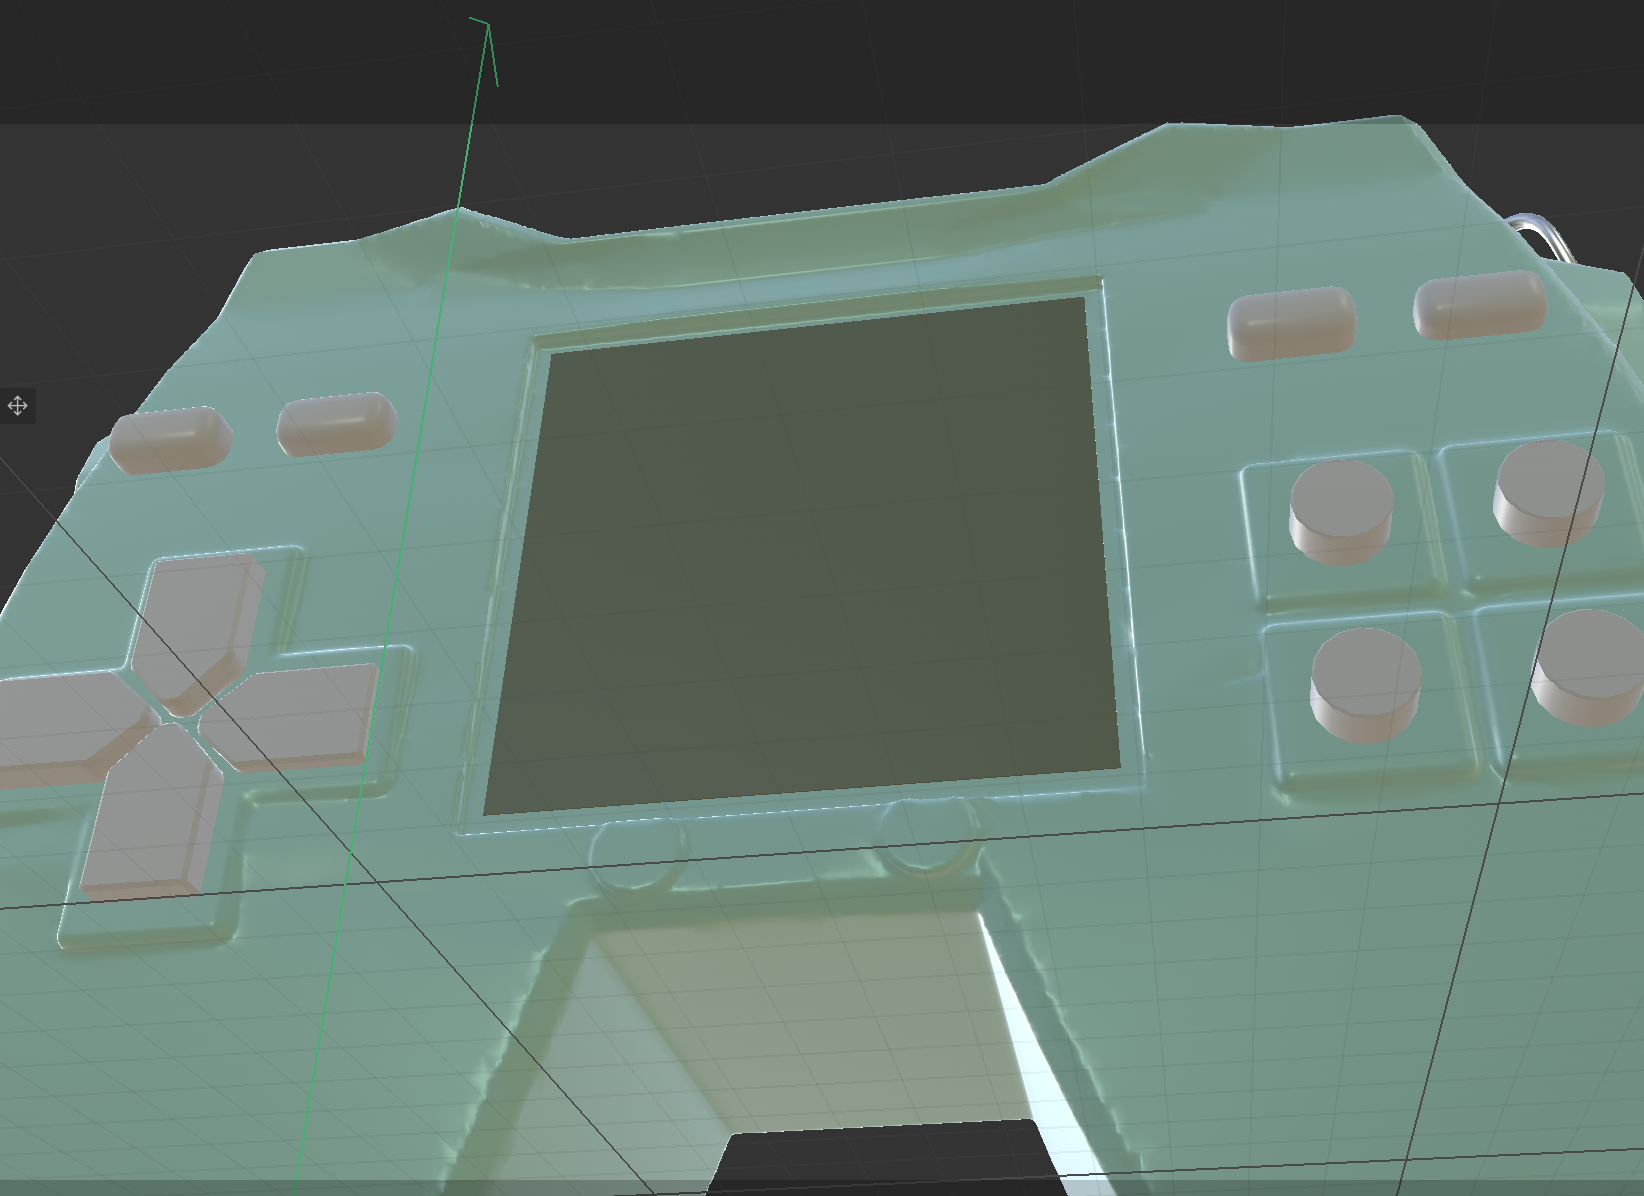
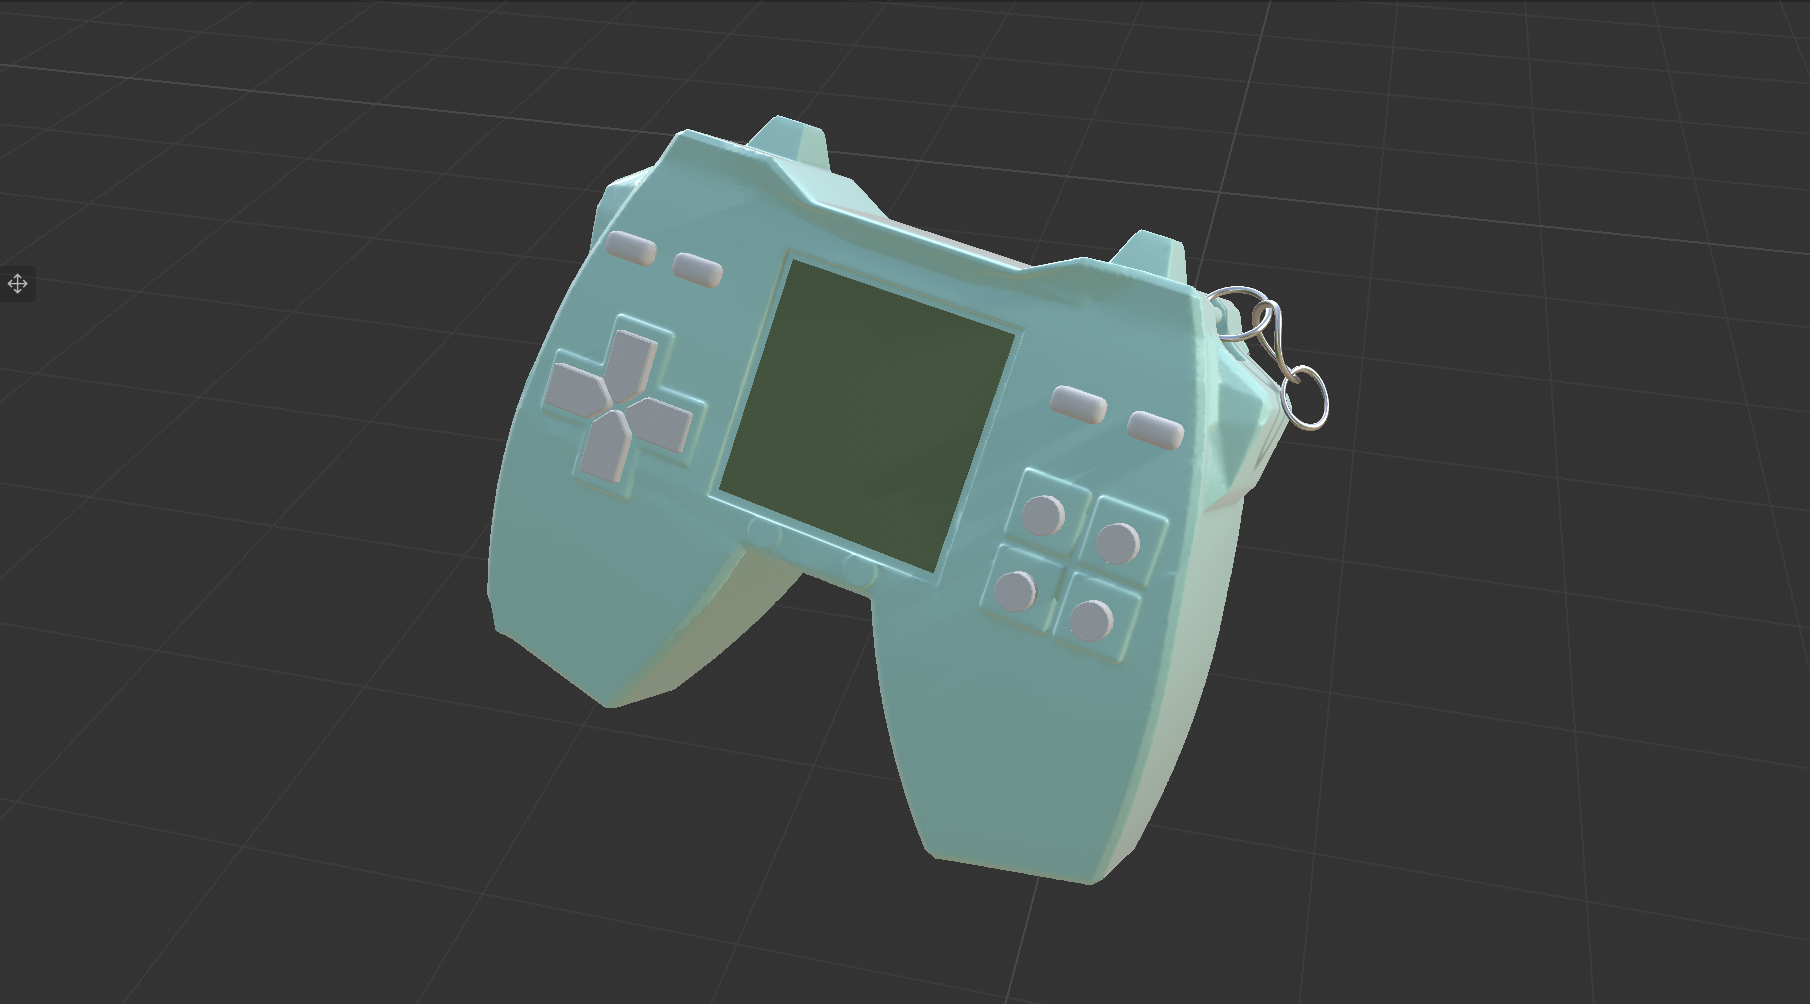
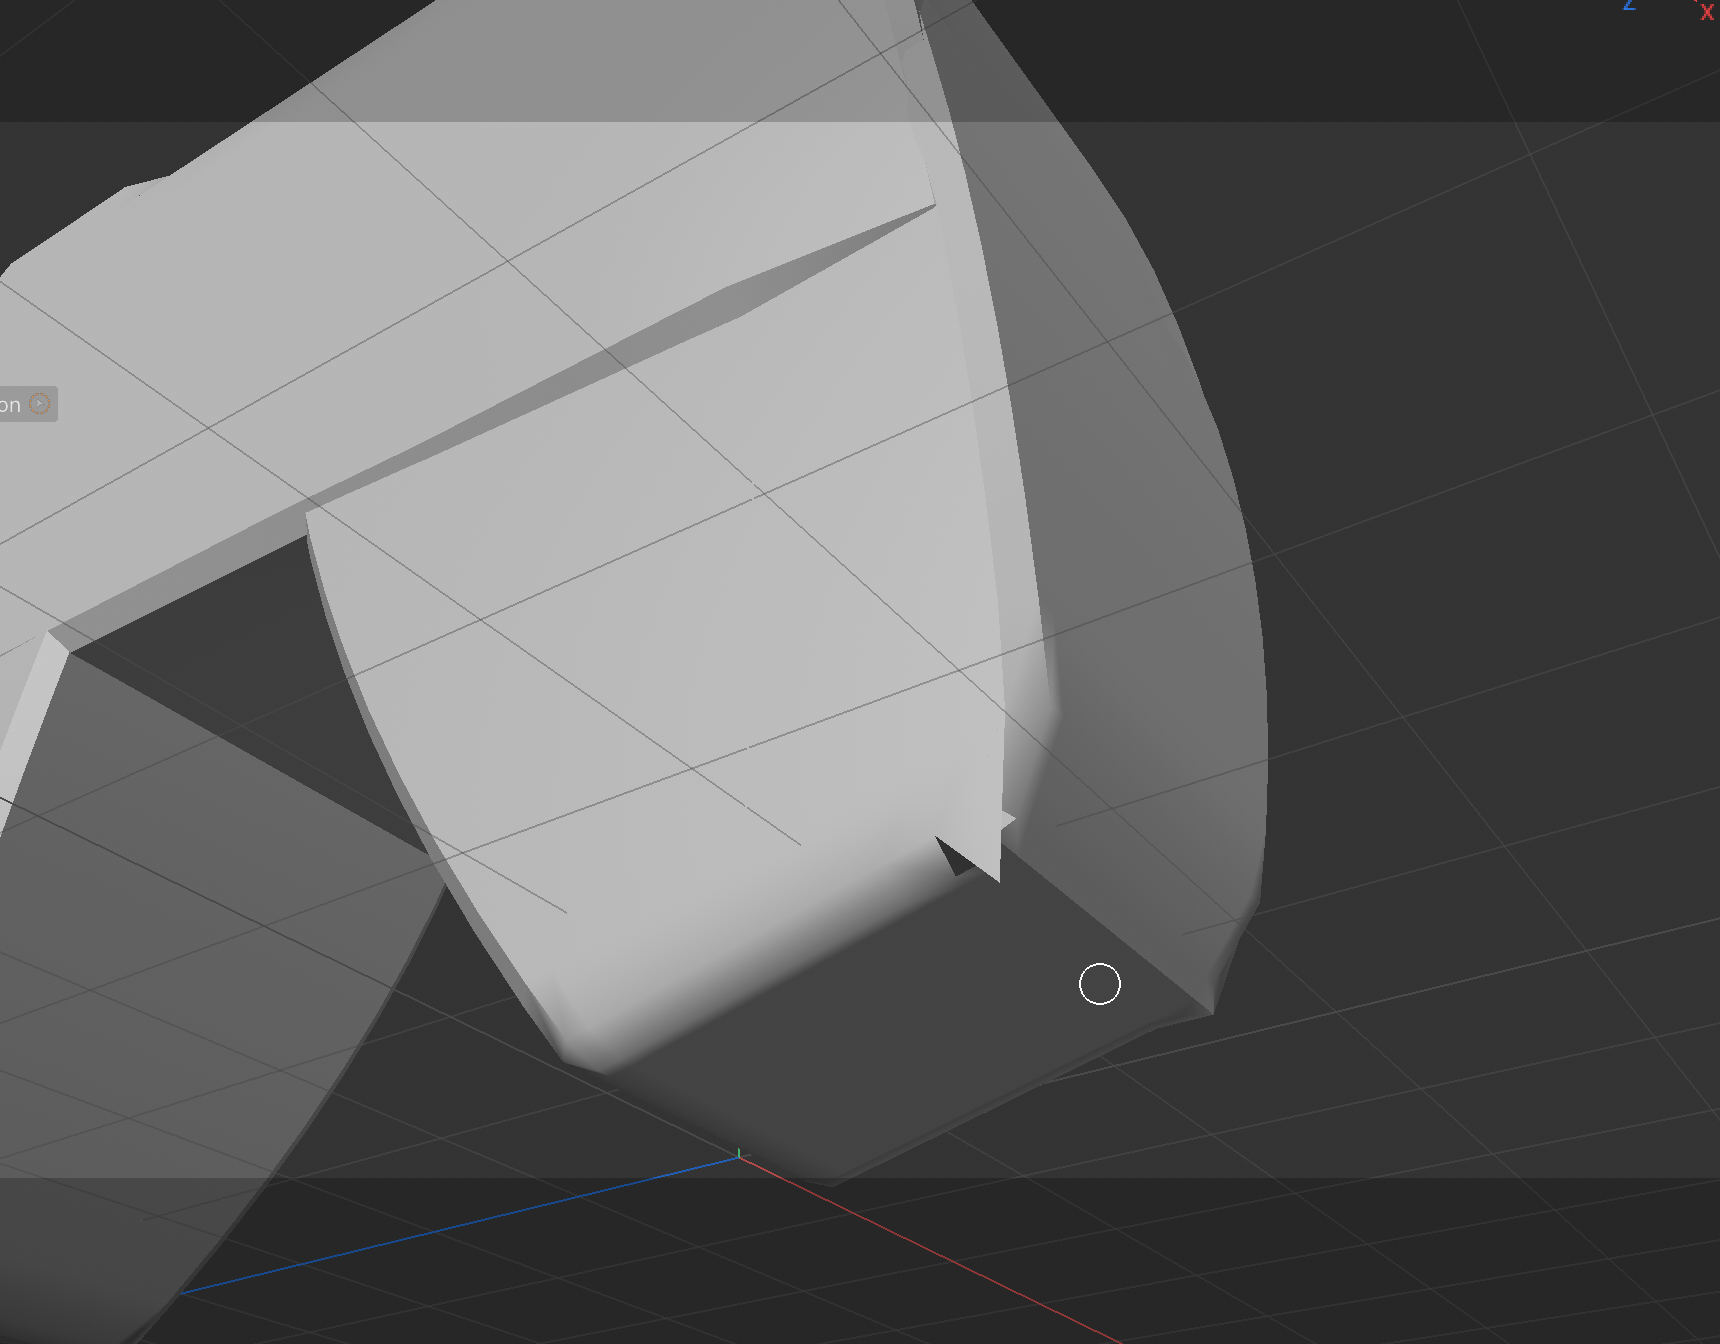
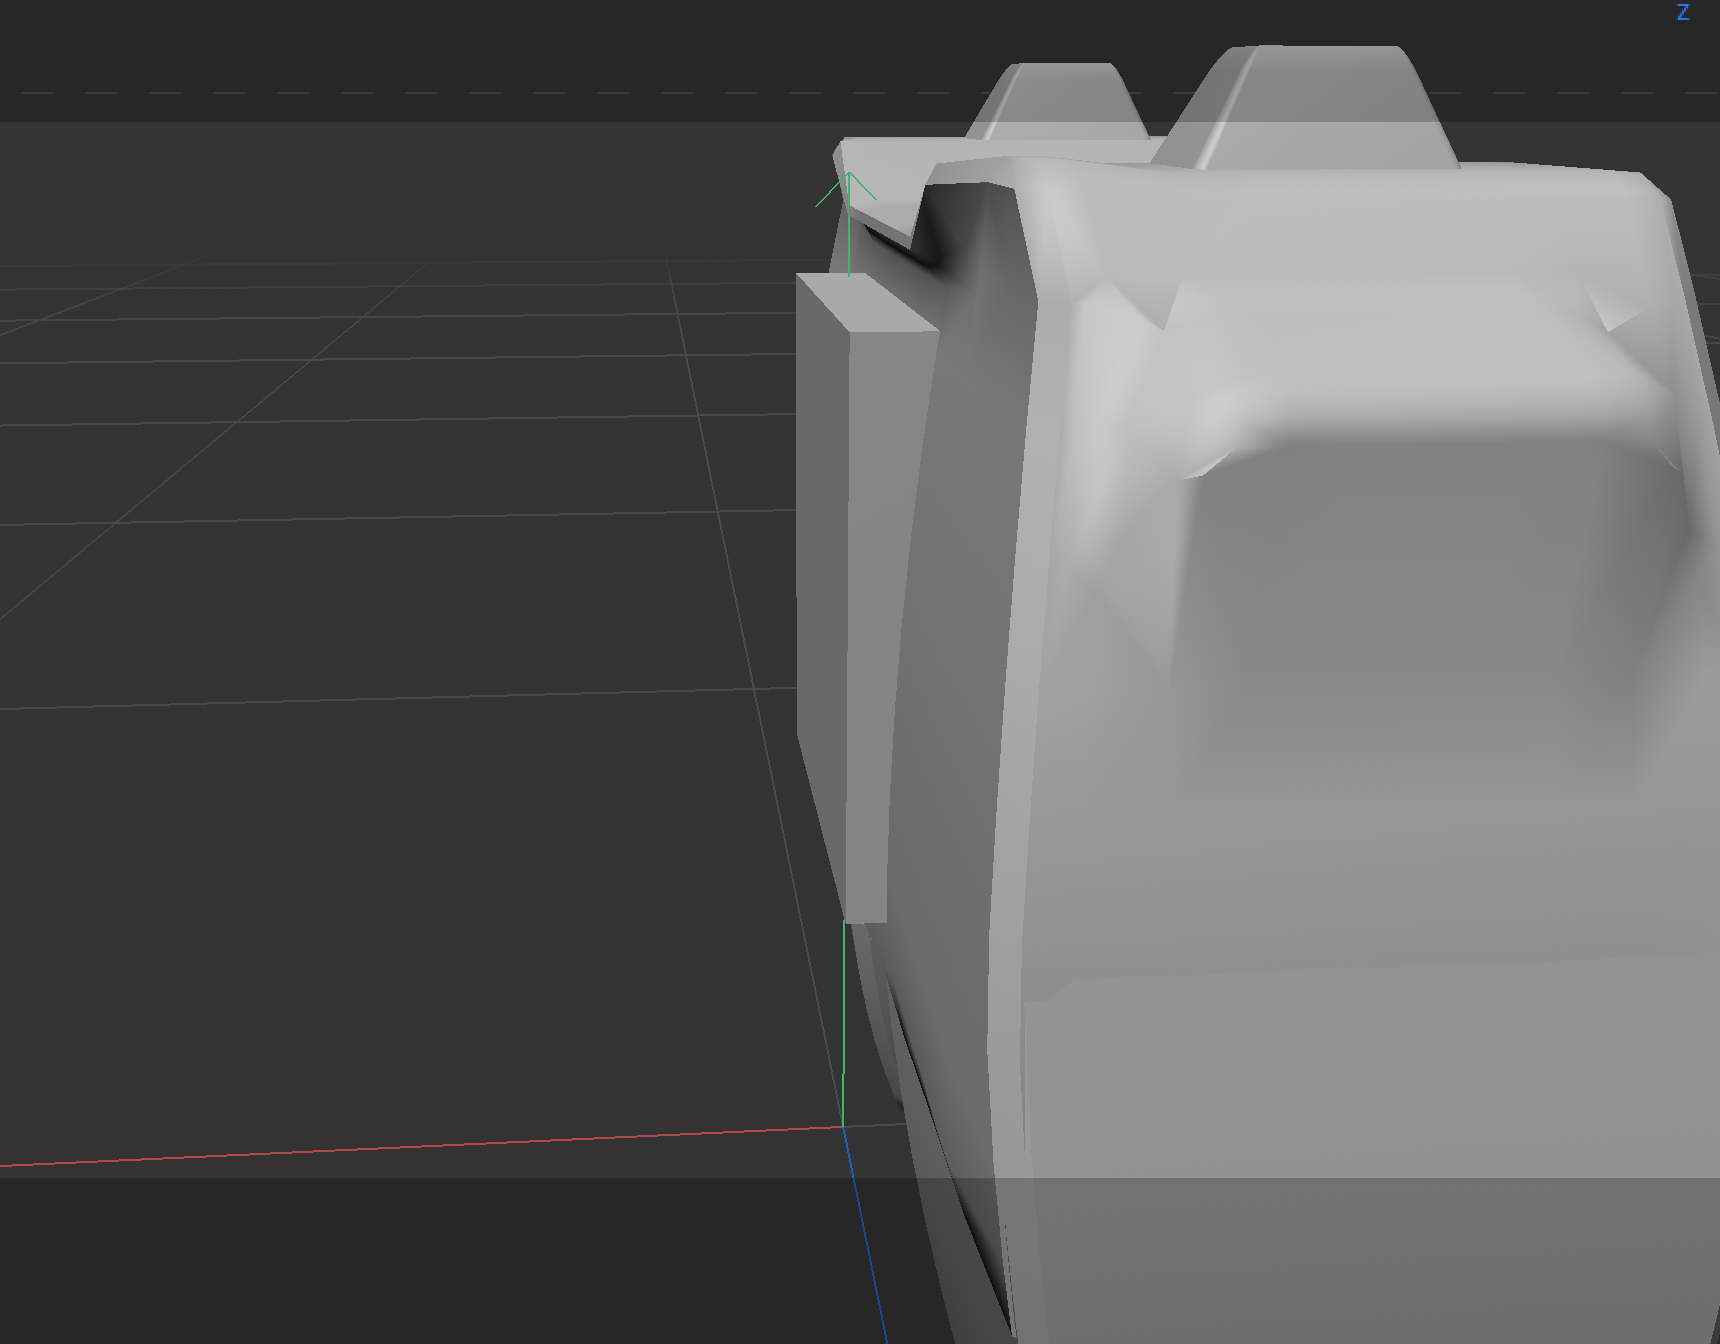
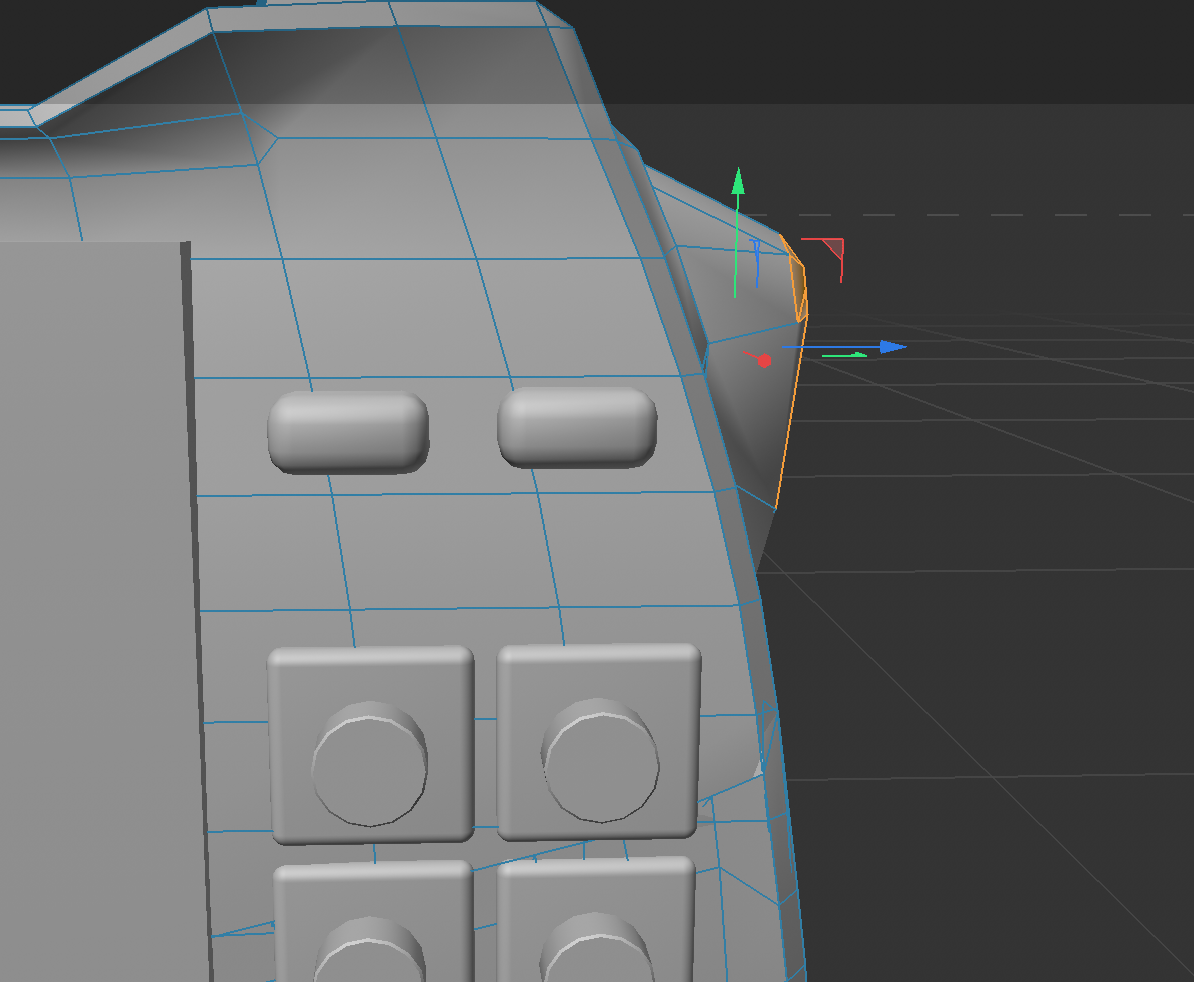
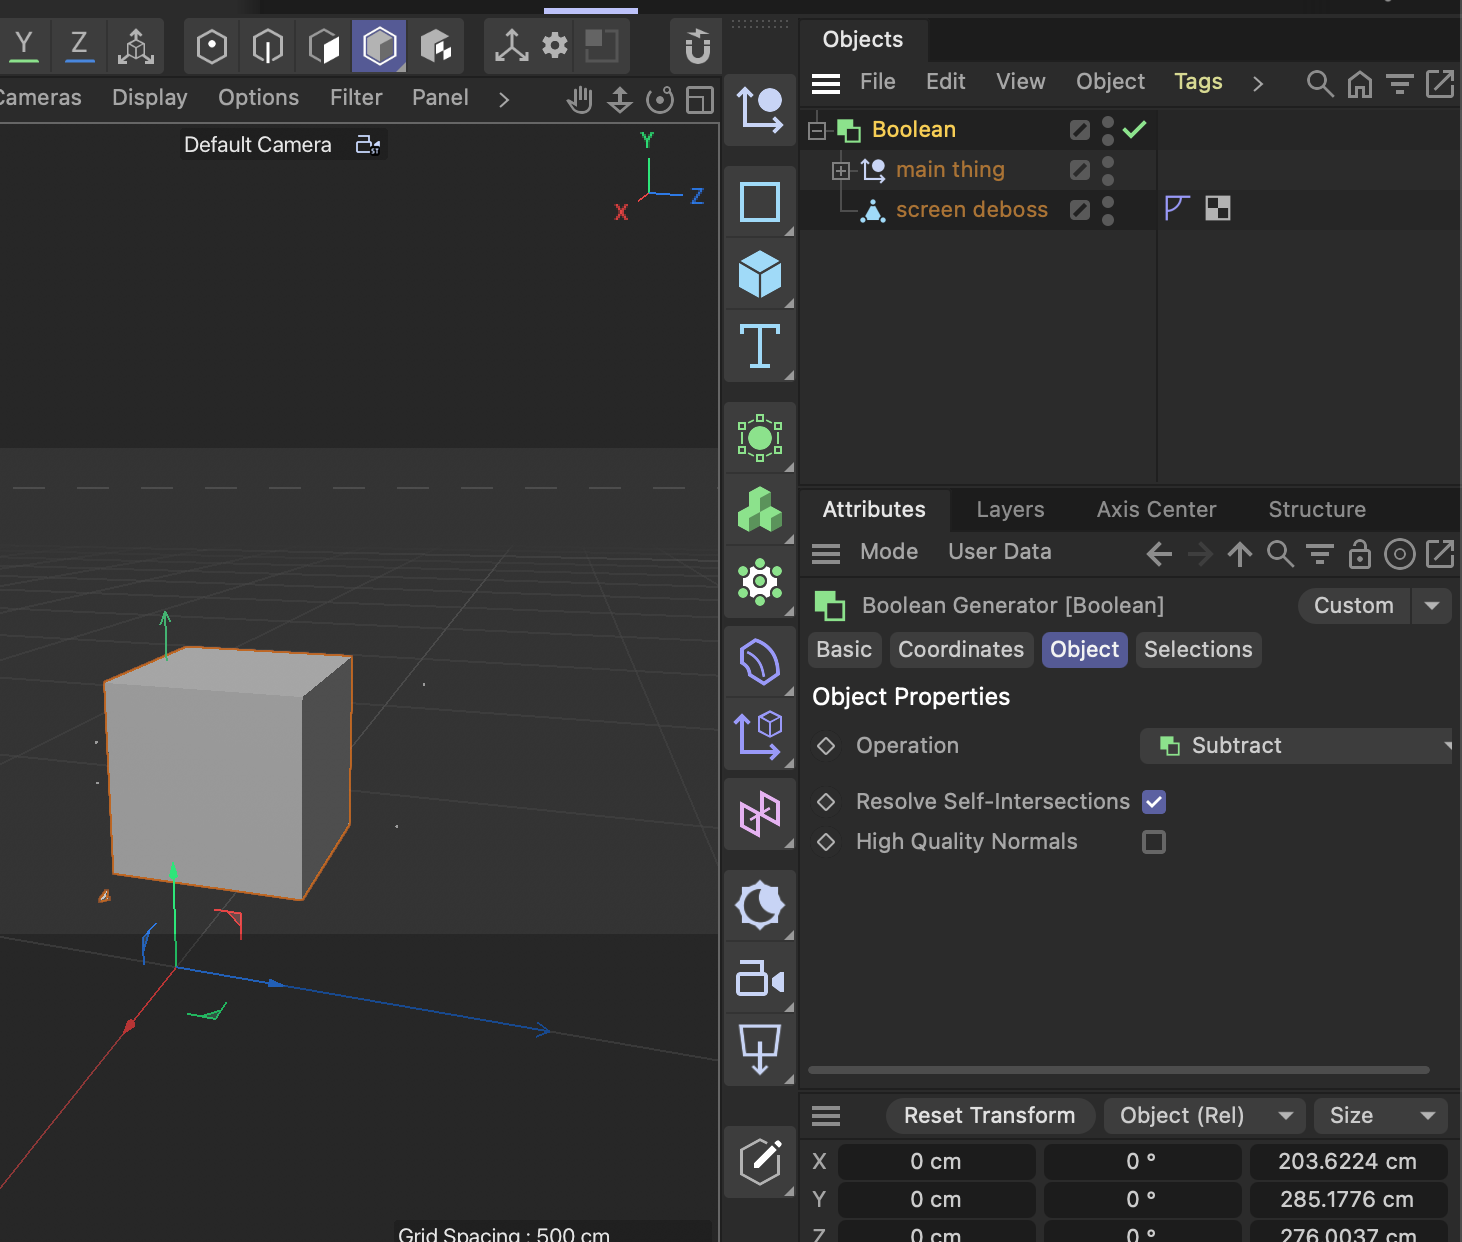
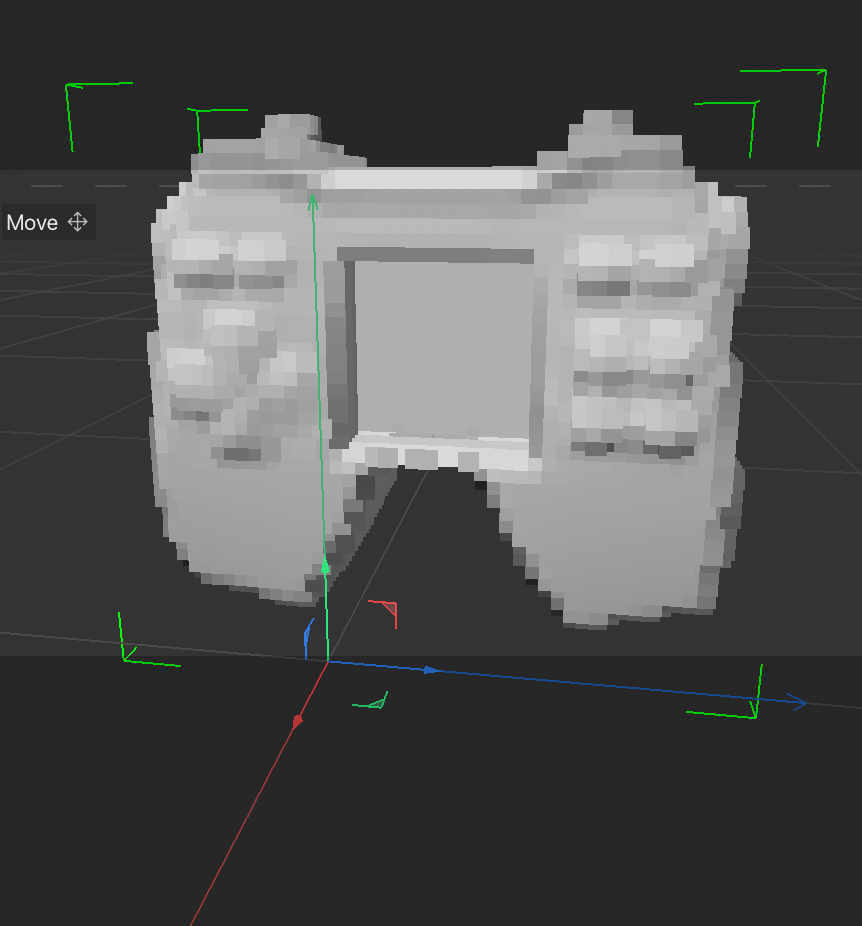
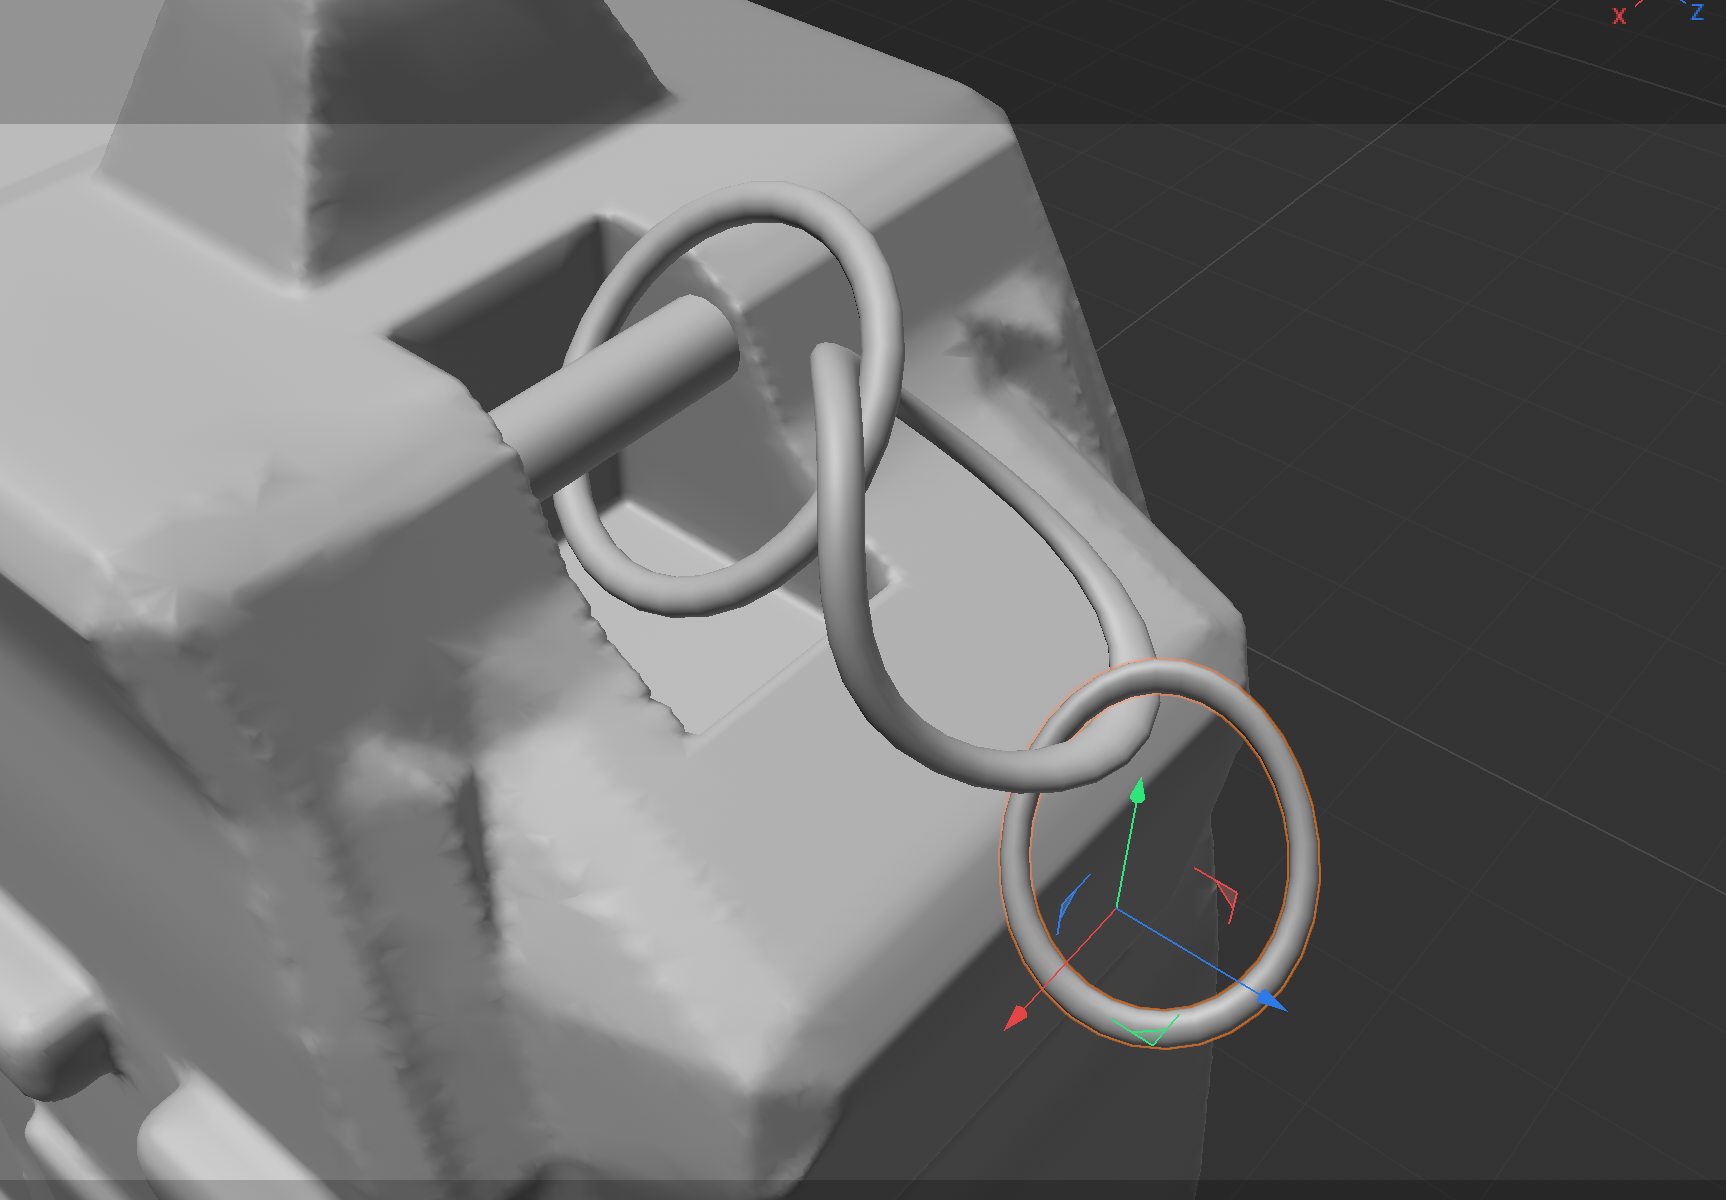
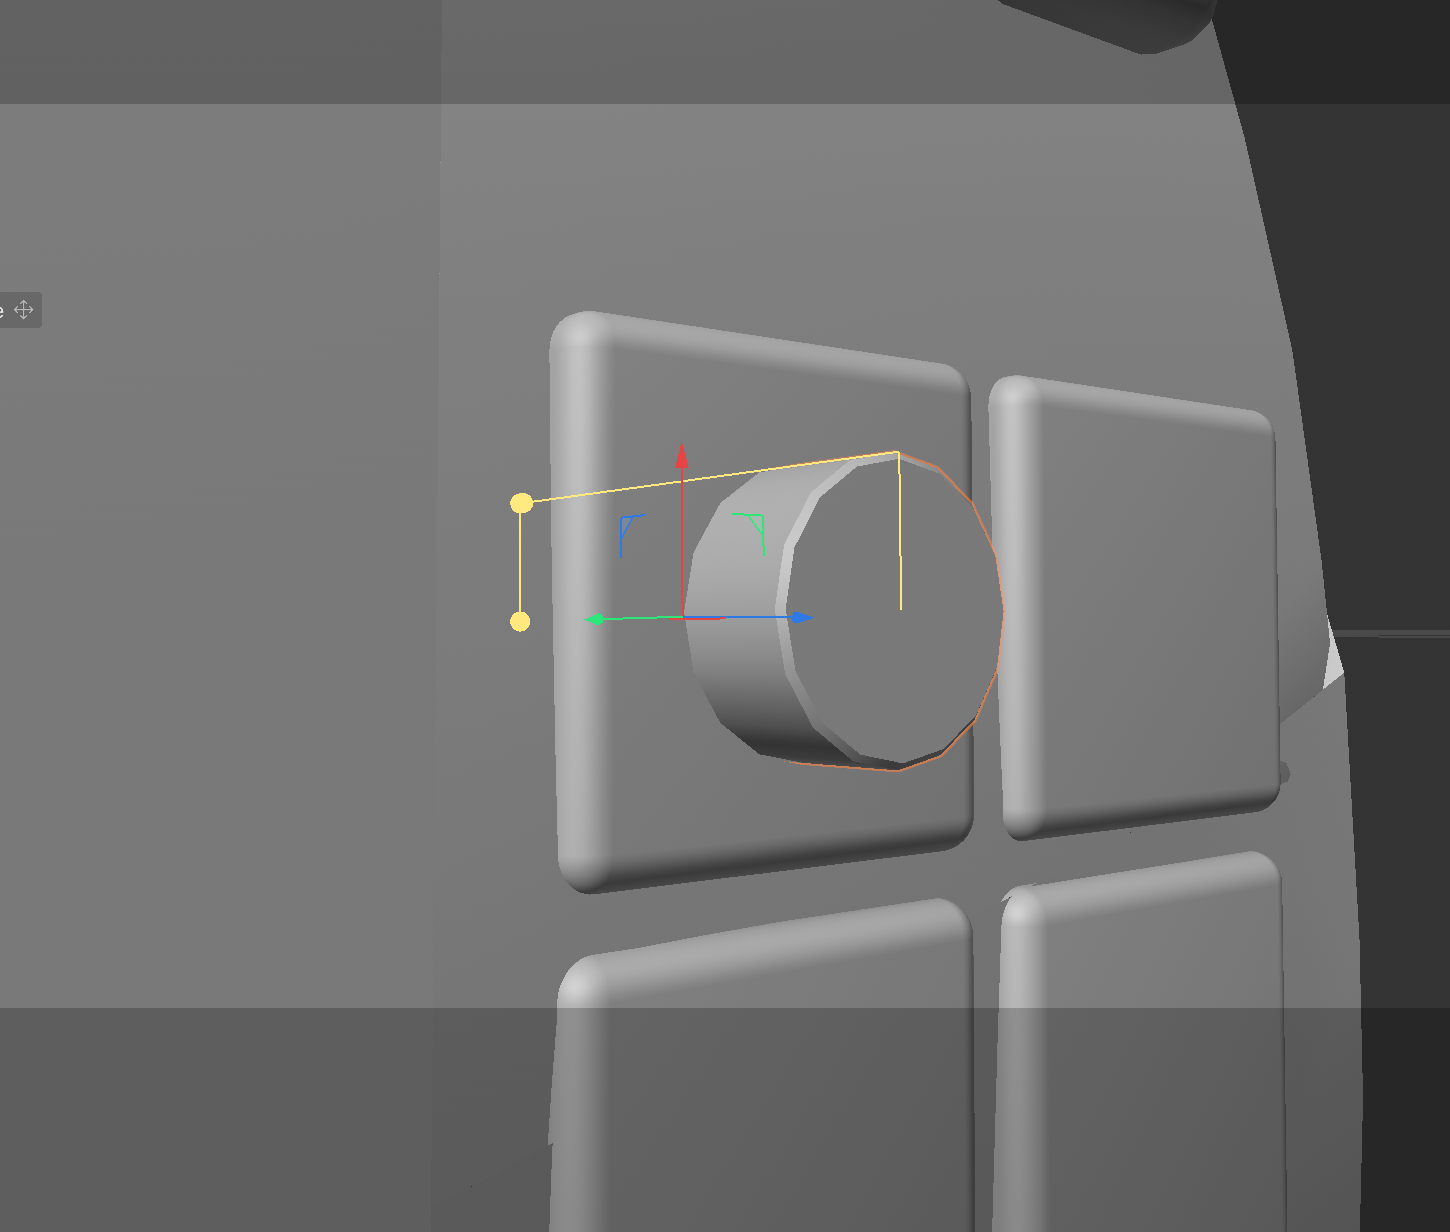
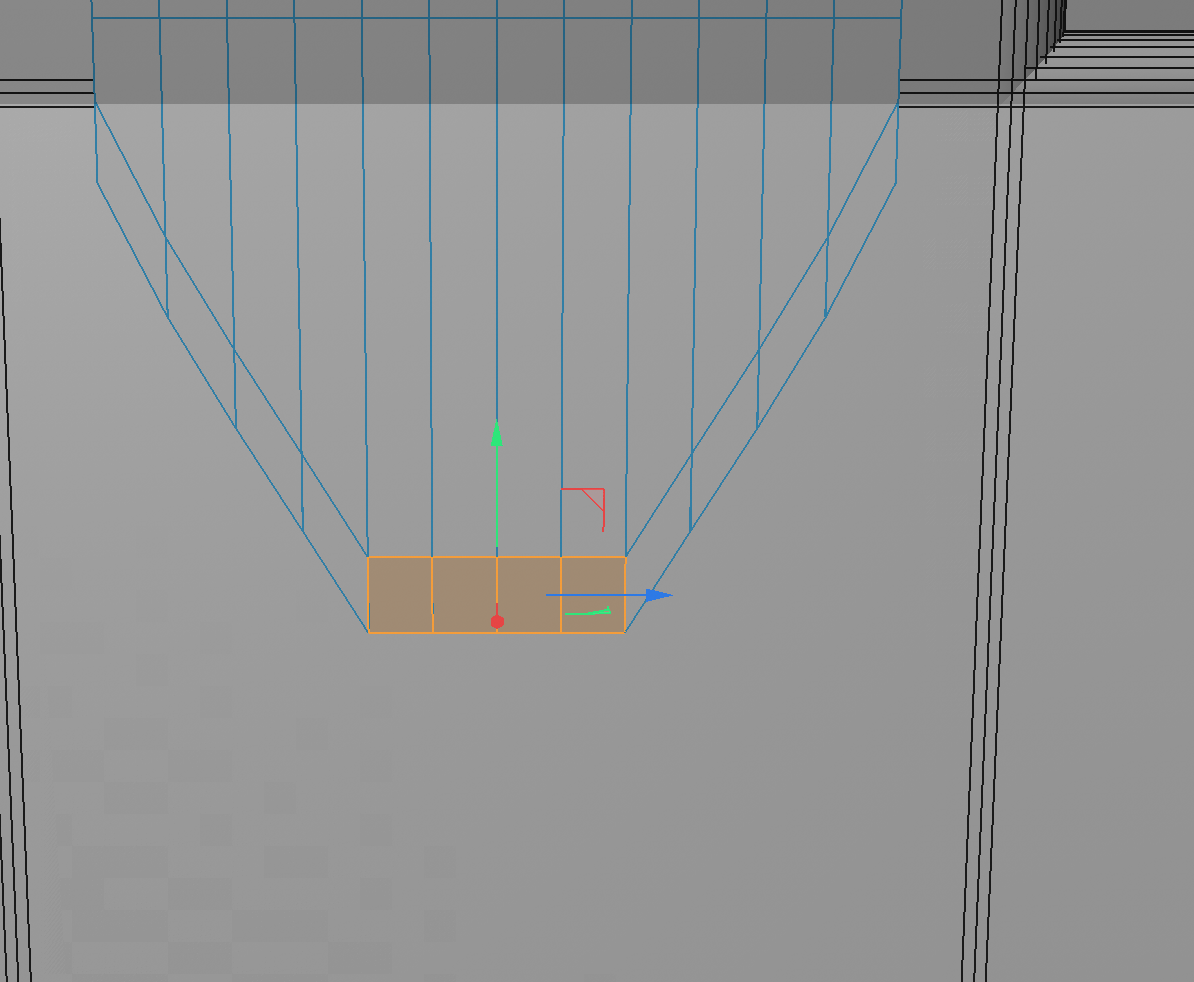
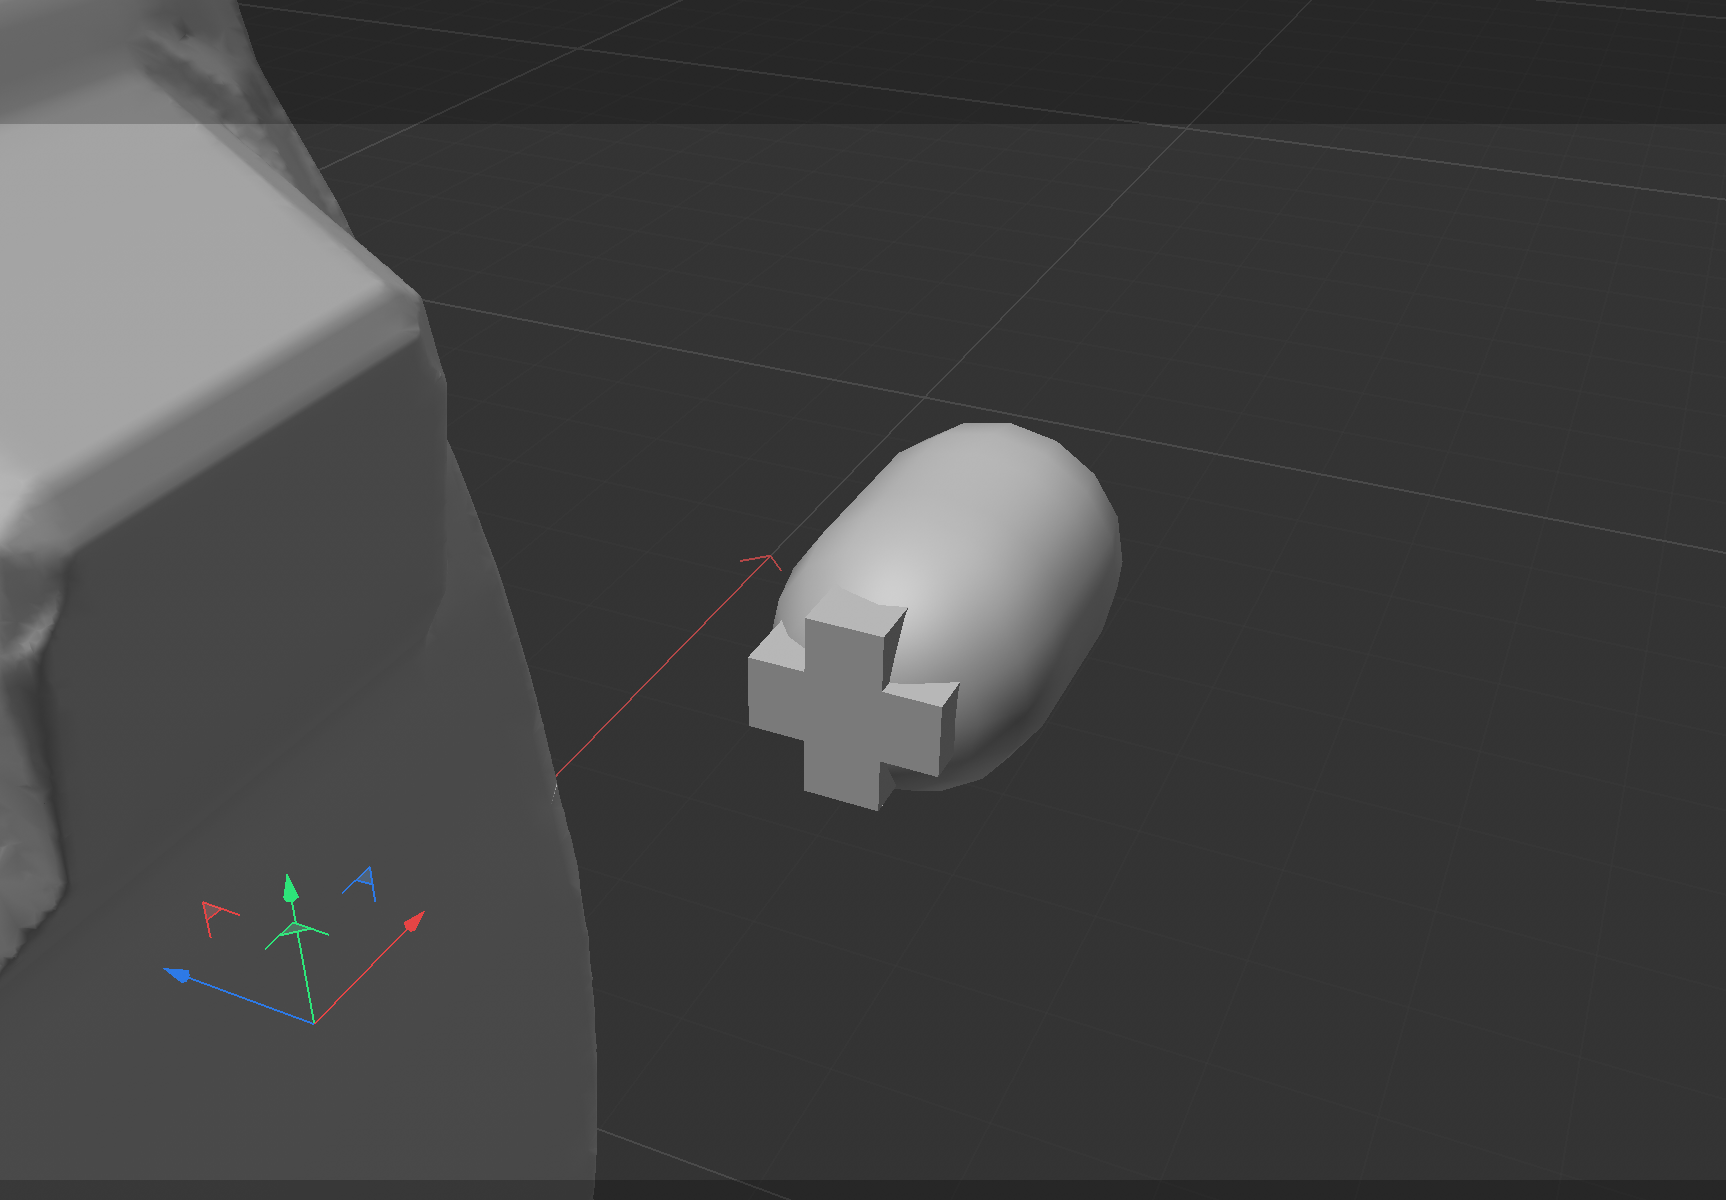
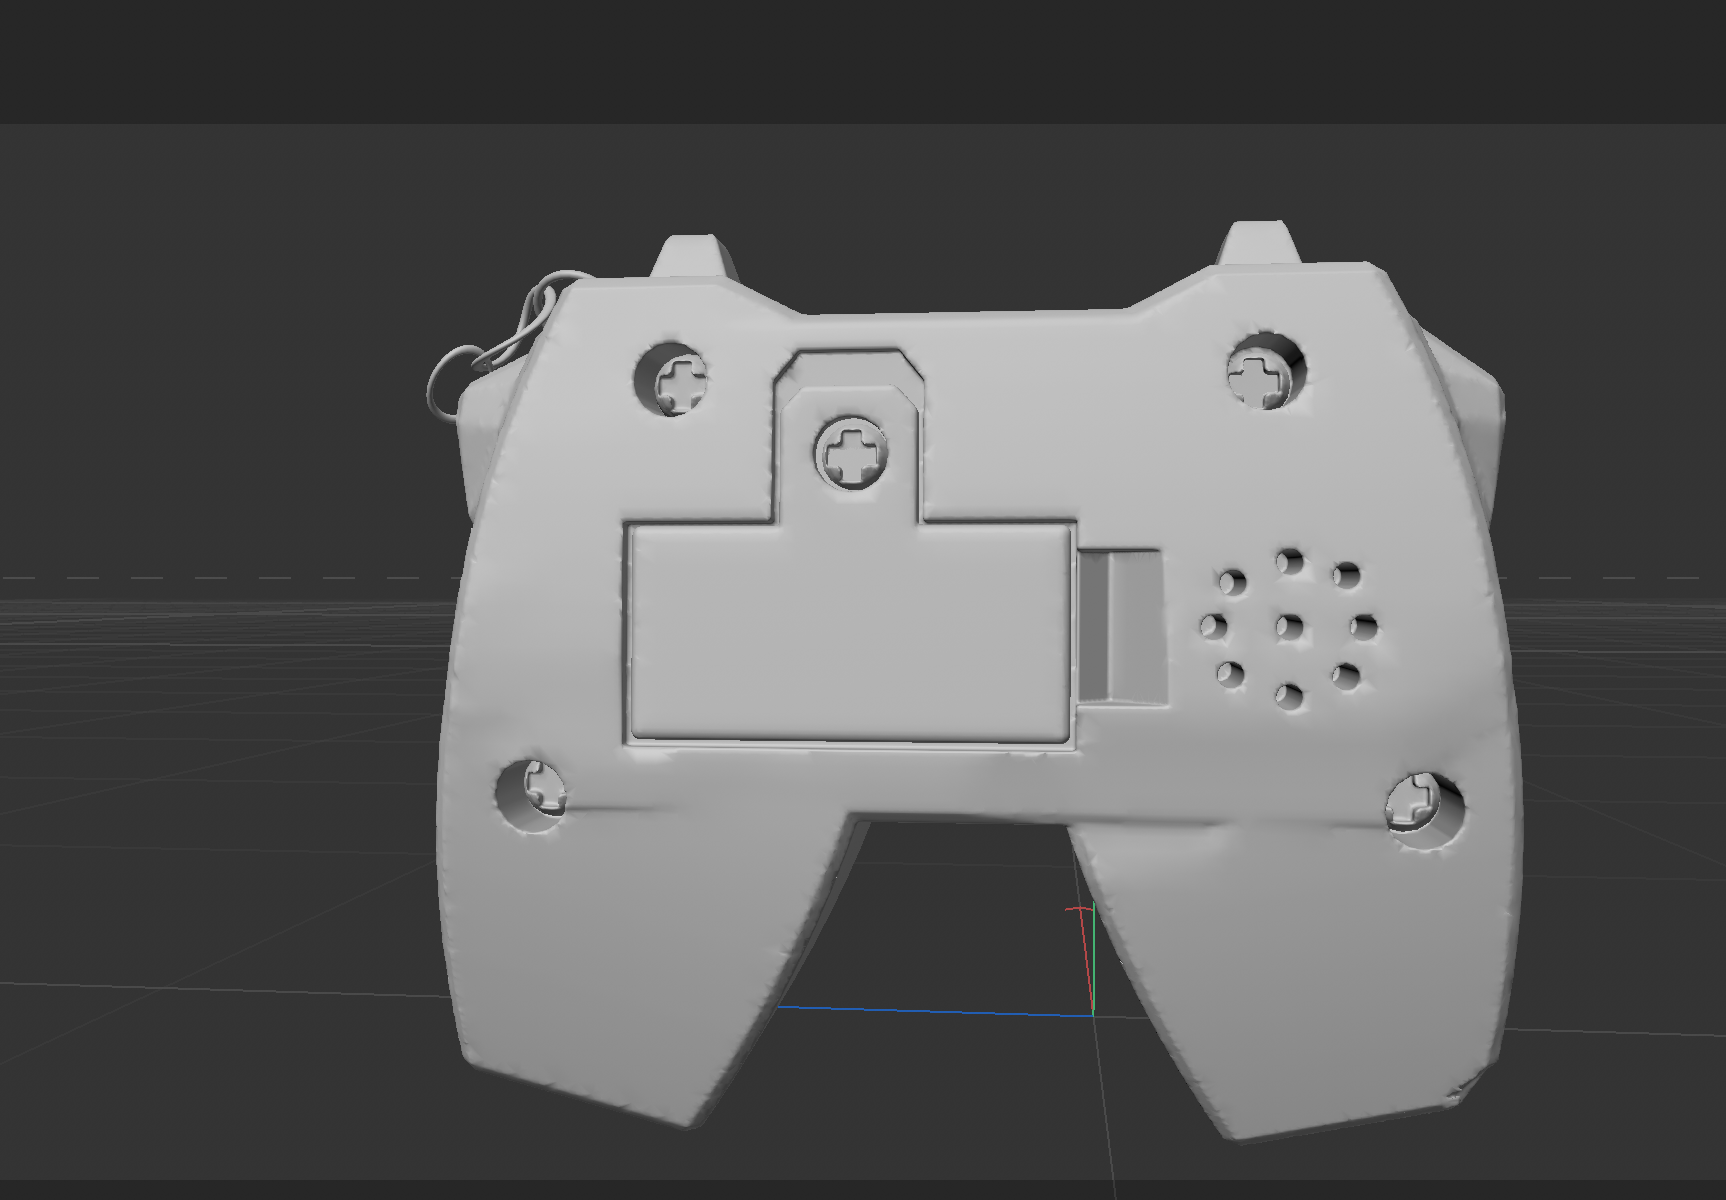
Final image with background and lighting. Final image, backside. Using segments and a taper deformer to create the main body shape. I think almost 80% of the primitive shapes that make up this final model, I used taper to reshape it. For most of the main body, I tried using polygon and edge mode to sculpt my trapezoid. I used a combination of edge and polygon mode to make the ridge. One of the things I struggled with was rounding the tips of the controller handles. Even in my final design, it's a bit too squared for my liking. Originally, I tried to use polygon mode to yank part of the main body upward to create the little horn effect, but the edges were too sloppy so I opted for creating a new shape just for this. Basic shapes molded together with the horns. Pulling out the side pieces with polygon mode. Fitting a placeholder cube to show where the screen would be. Trying out the colour for the main body. My last model was very metallic, but this one I kept relatively matte to try and capture the look of plastic. Final colour decision. With how I had all my pieces grouped in Cinema4D, I realized that, where pieces were supposed to be different colours, I had to group them separately or else they would all be colourdropped the same. Setting up the colour for the screen. Final piece fully coloured. I had a lot of fun creating a material for the buttons, my goal the entire time was to create almost a marshmallow look, creamy and matte white. Covering problems I ran into, I had no idea how and or why I was suddenly dealing with this pointy bit. It might have been because I accidentally had that point or edge selected while moving other parts, and just didn't realize. I ended up tucking it away using point mode... The second problem I encountered was that, while creating the main body piece, I didn't realize that the taper deformer would not only bend the edges but also the faces of the shape. It feels obvious in retrospect, but the roundness was making it hard to figure out how to deboss a flat screen into it. Third problem: symmetry. I tried my best to eyeball it, but I know a lot of the pieces are unbalanced. Another Problem: while in the process of learning how to deboss, the first method I tried was using a boolean, which is why I included the UI in this screenshot. No matter what I did, trying to play around with it, I just couldn't figure it out lol. I ended up using volume builders and that worked exactly as needed, though I was worried about it blowing up my laptop. First time using a volume builder, I was definitely startled by the initial voxel size. Easily fixed by turning it down and adding a volume mesher though! I created the keychains using torus shapes, and then using the twist deformer to squash them a little. Fixing up the buttons. For the navigational buttons on the left side, I made them by creating a cube and then going into polygon mode and slowly dragging one of the sides out. Though I left out a few details, like the arrows on the navigation buttons and the lettering, I really wanted to include the screws in the back. Final model of the backside with all the screws placed in.

Material Workshop 1

put a description here or you will lose grades<a href='https://www.youtube.com/embed/tgbNymZ7vqY' target='_blank'><p>Project Video Link</p></a> put a description here or you will lose grades <div class='container'><iframe class='responsive-iframe' src='https://www.youtube.com/embed/tgbNymZ7vqY'></iframe></div> put a description here or you will lose grades

Material Workshop 2

put a description here or you will lose grades <a href='https://www.youtube.com/embed/tgbNymZ7vqY' target='_blank'><p>Project Video Link</p></a> put a description here or you will lose grades <div class='container'><iframe class='responsive-iframe' src='https://www.youtube.com/embed/tgbNymZ7vqY'></iframe></div> put a description here or you will lose grades

Project 1


Project 1 Models

Published 3D Model 1

PLACEHOLDER TEXT, put a description here or you will lose grades

put a description here or you will lose grades <div class='container'><iframe class='responsive-iframe' src='https://hudak.phoenix.sheridanc.on.ca/P1Stuff/Index.html'></iframe></div>

Published 3D Model 2

PLACEHOLDER TEXT, put a description here or you will lose grades

put a description here or you will lose grades <div class='container'><iframe class='responsive-iframe' src='https://hudak.phoenix.sheridanc.on.ca/P1Stuff/Index.html'></iframe></div>

Published 3D Model 3

PLACEHOLDER TEXT, put a description here or you will lose grades

put a description here or you will lose grades <div class='container'><iframe class='responsive-iframe' src='https://hudak.phoenix.sheridanc.on.ca/P1Stuff/Index.html'></iframe></div>
×

Powered by w3.css